Browse sweetirene47 🍭SweetIrene🍭 sex ed's leaked naked videos across TikTok cross-posts, featuring hot porn and exclusive OnlyFans clips.
Uncover sweetirene47 🍭SweetIrene🍭 sex ed nude's private leaks: daily updates with sextape scenes, porn galleries, and erotic OnlyFans material.
Main profile
🍭SweetIrene🍭
@sweetirene47
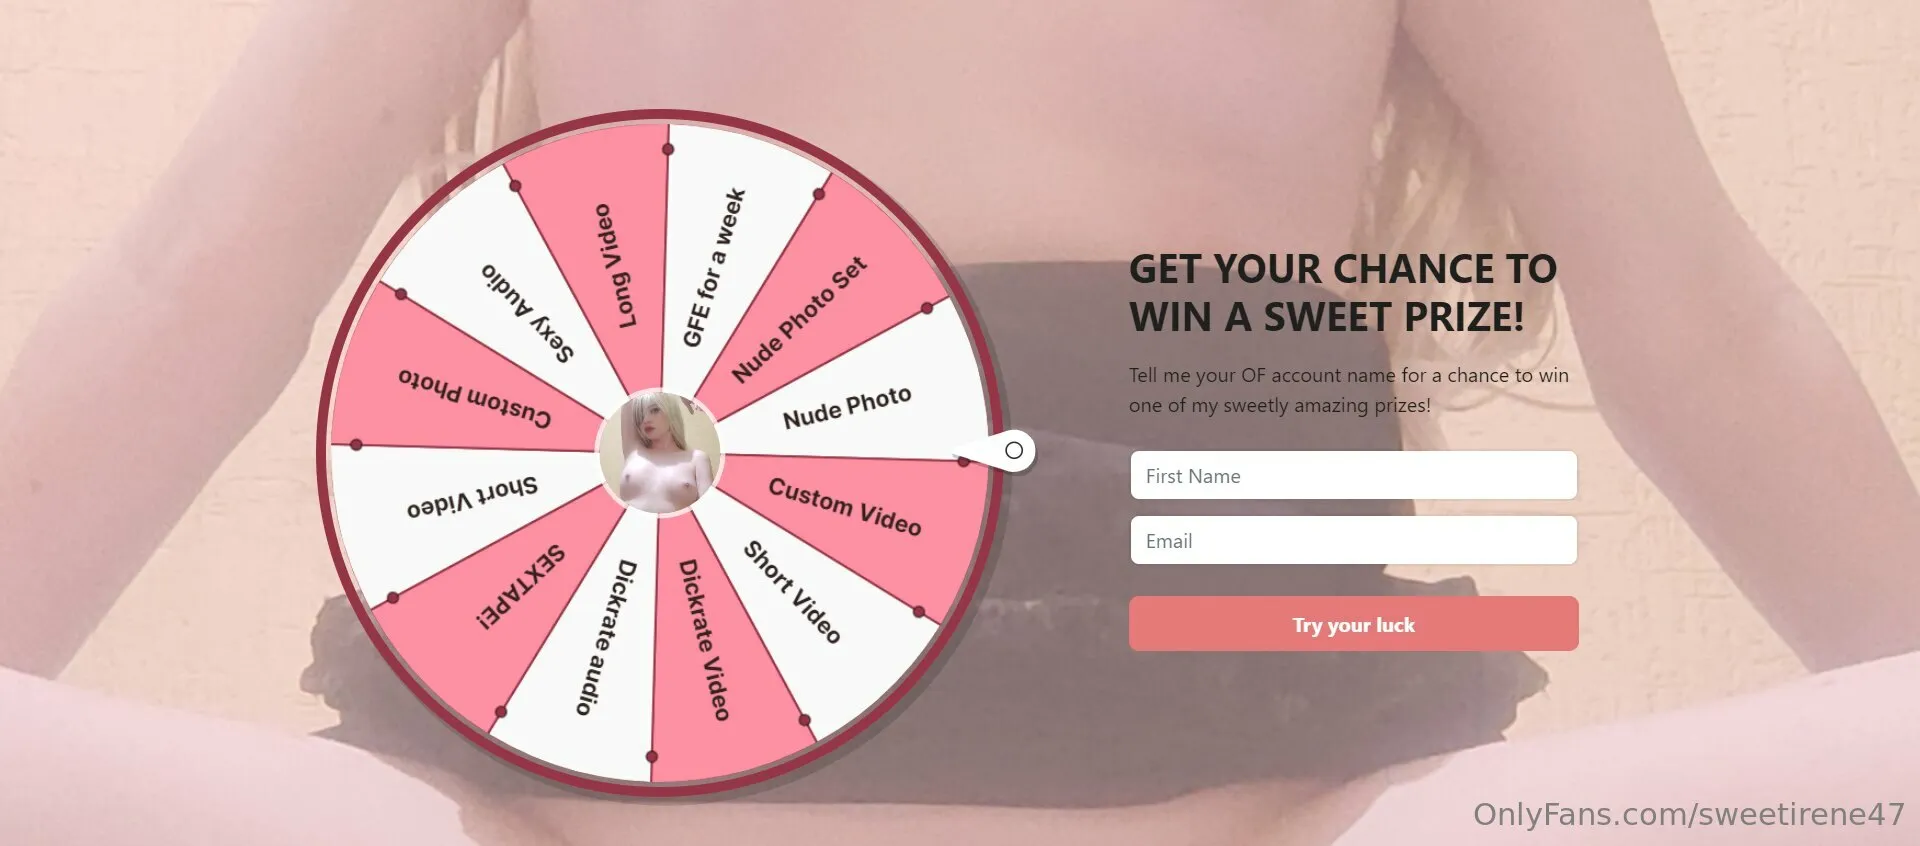
🍭SweetIrene🍭 nude Photo / sweetirene47 Porn - Photo #1

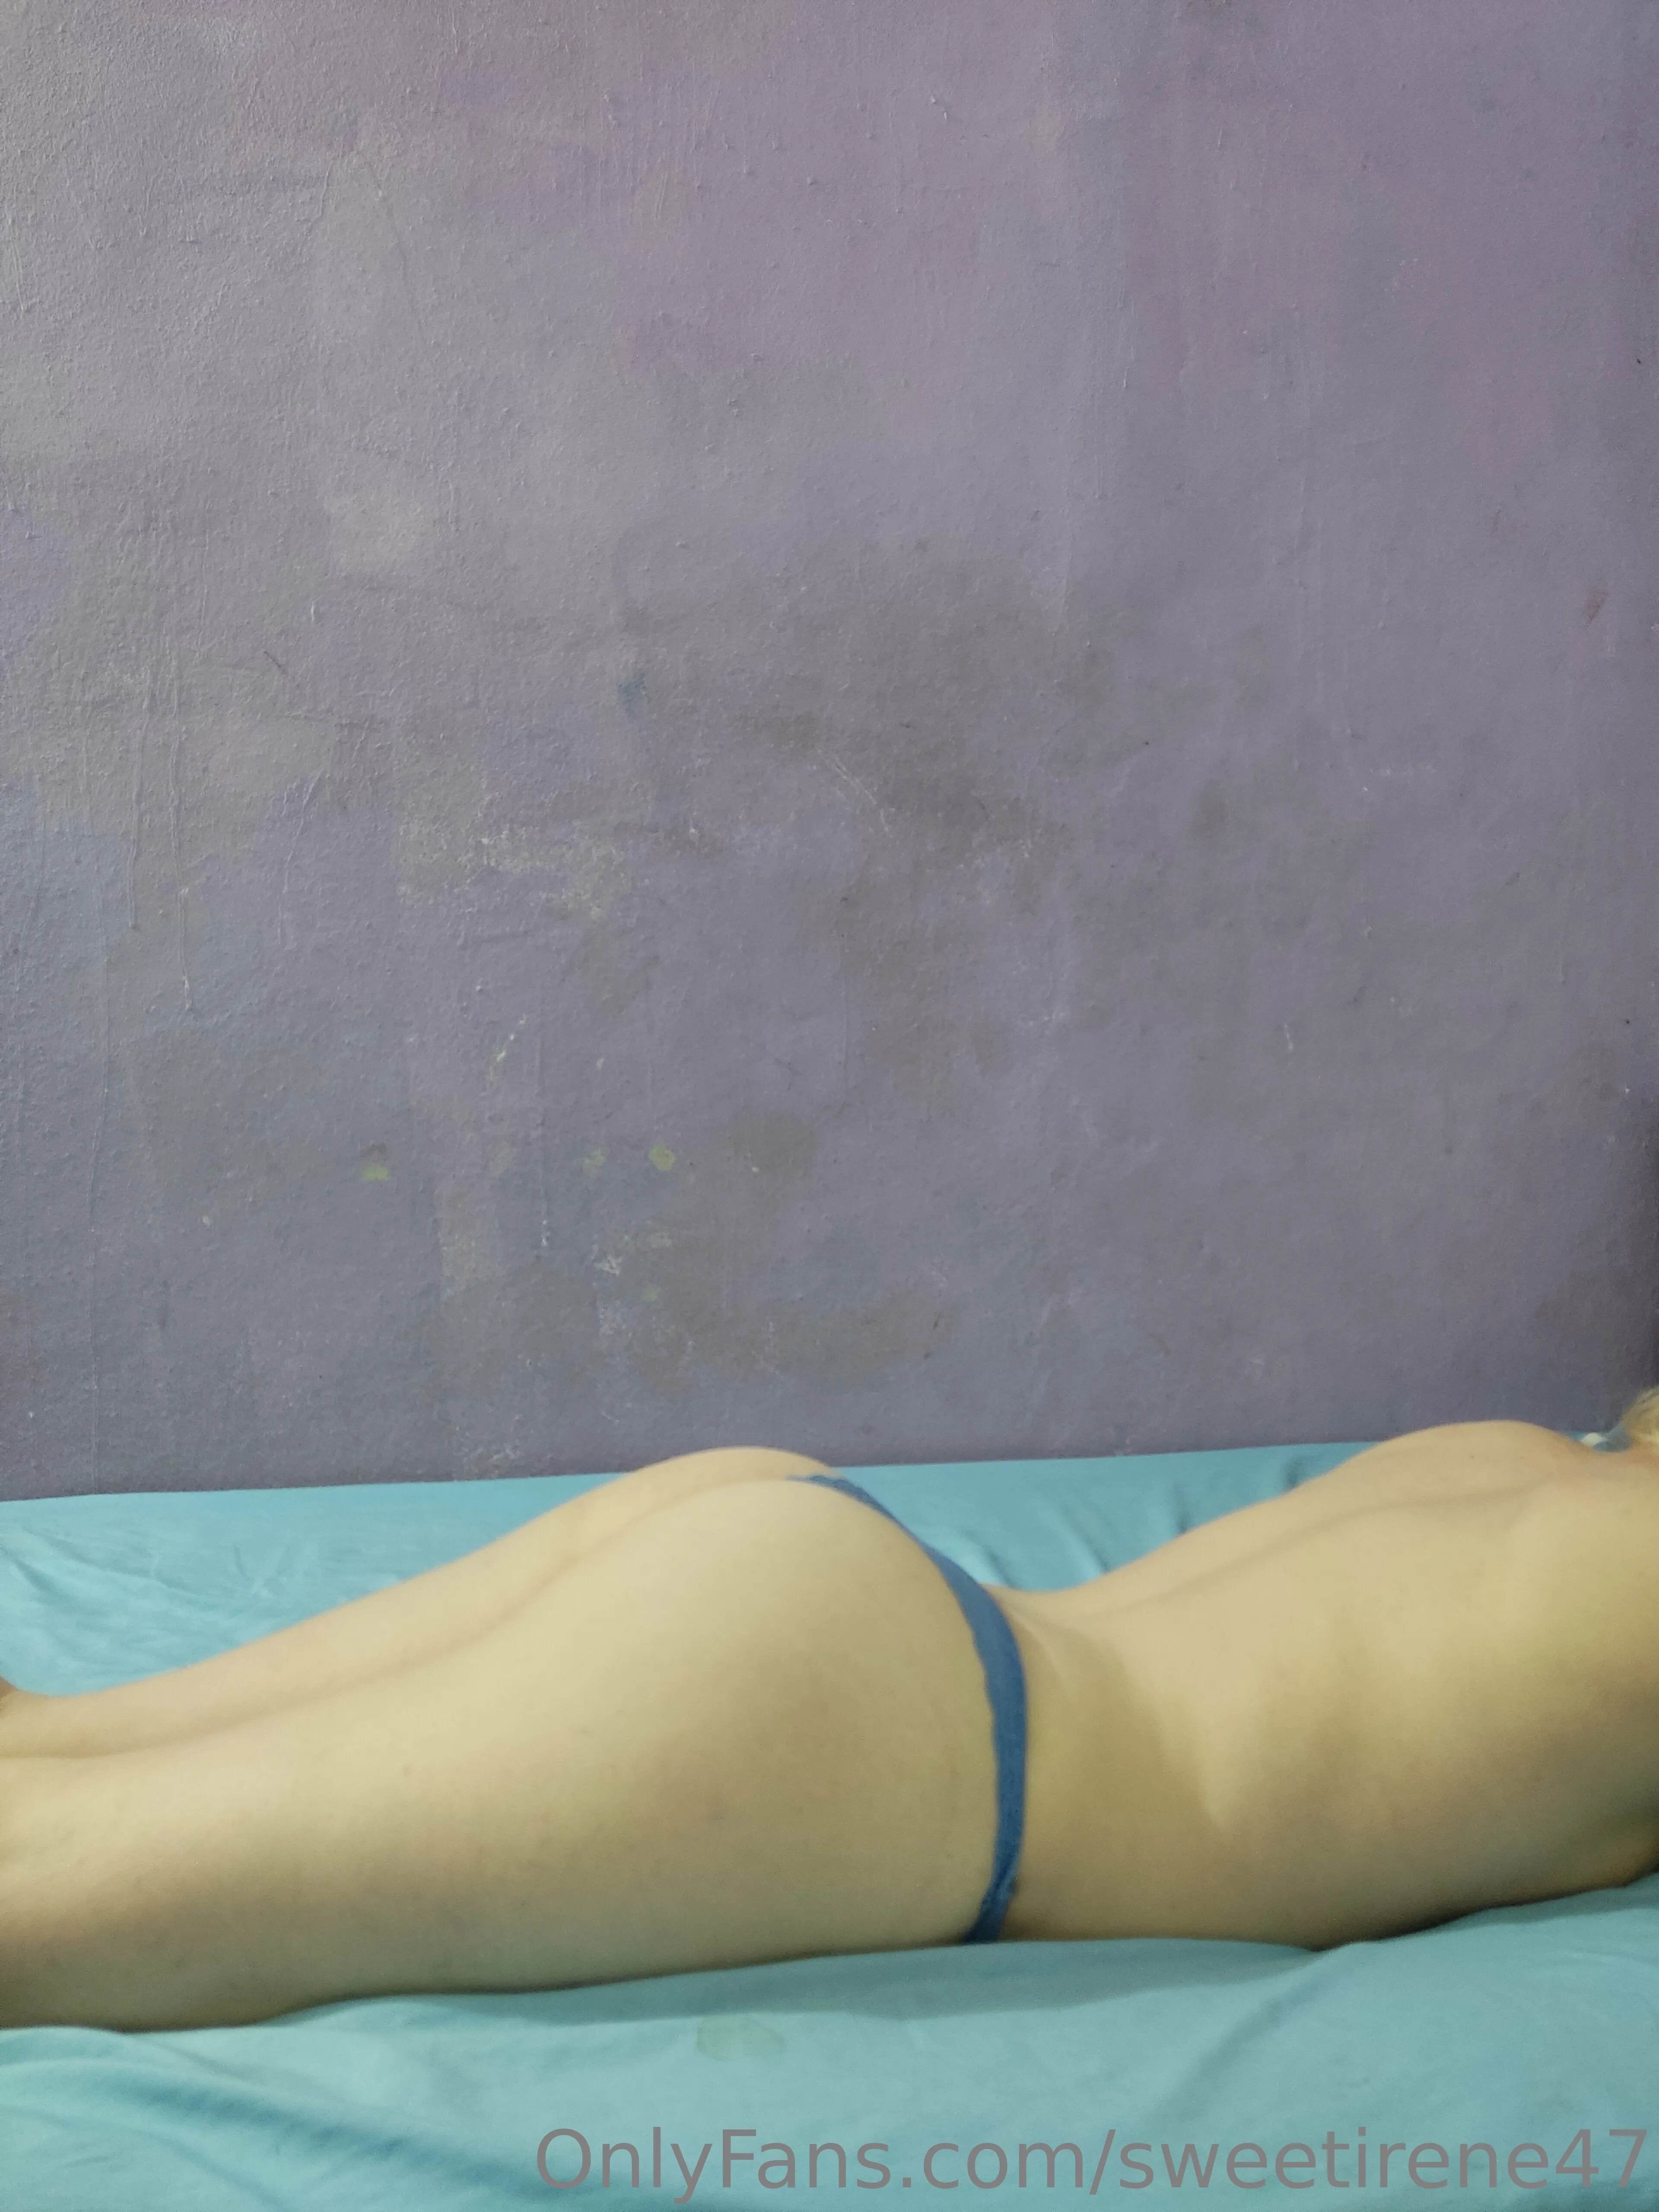
🍭SweetIrene🍭 nude Photo / sweetirene47 Porn - Photo #2

🍭SweetIrene🍭 nude Photo / sweetirene47 Porn - Photo #3
🍭SweetIrene🍭 nude Photo / sweetirene47 Porn - Photo #4

🍭SweetIrene🍭 nude Photo / sweetirene47 Porn - Photo #5

🍭SweetIrene🍭 nude Photo / sweetirene47 Porn - Photo #6

🍭SweetIrene🍭 nude Photo / sweetirene47 Porn - Photo #7

🍭SweetIrene🍭 nude Photo / sweetirene47 Porn - Photo #8

🍭SweetIrene🍭 nude Photo / sweetirene47 Porn - Photo #9

🍭SweetIrene🍭 nude Photo / sweetirene47 Porn - Photo #10

🍭SweetIrene🍭 nude Photo / sweetirene47 Porn - Photo #11

🍭SweetIrene🍭 nude Photo / sweetirene47 Porn - Photo #12
More leaked posts
Explore the drops

shyboy ❤️ nude Photo / Porn - Photo #3

Cath28 nude Photo / Porn - Photo #31

blaire 。.。:∞♡* nude Photo / Porn - Photo #6

Maddysmith111 nude Photo / Porn - Photo #6
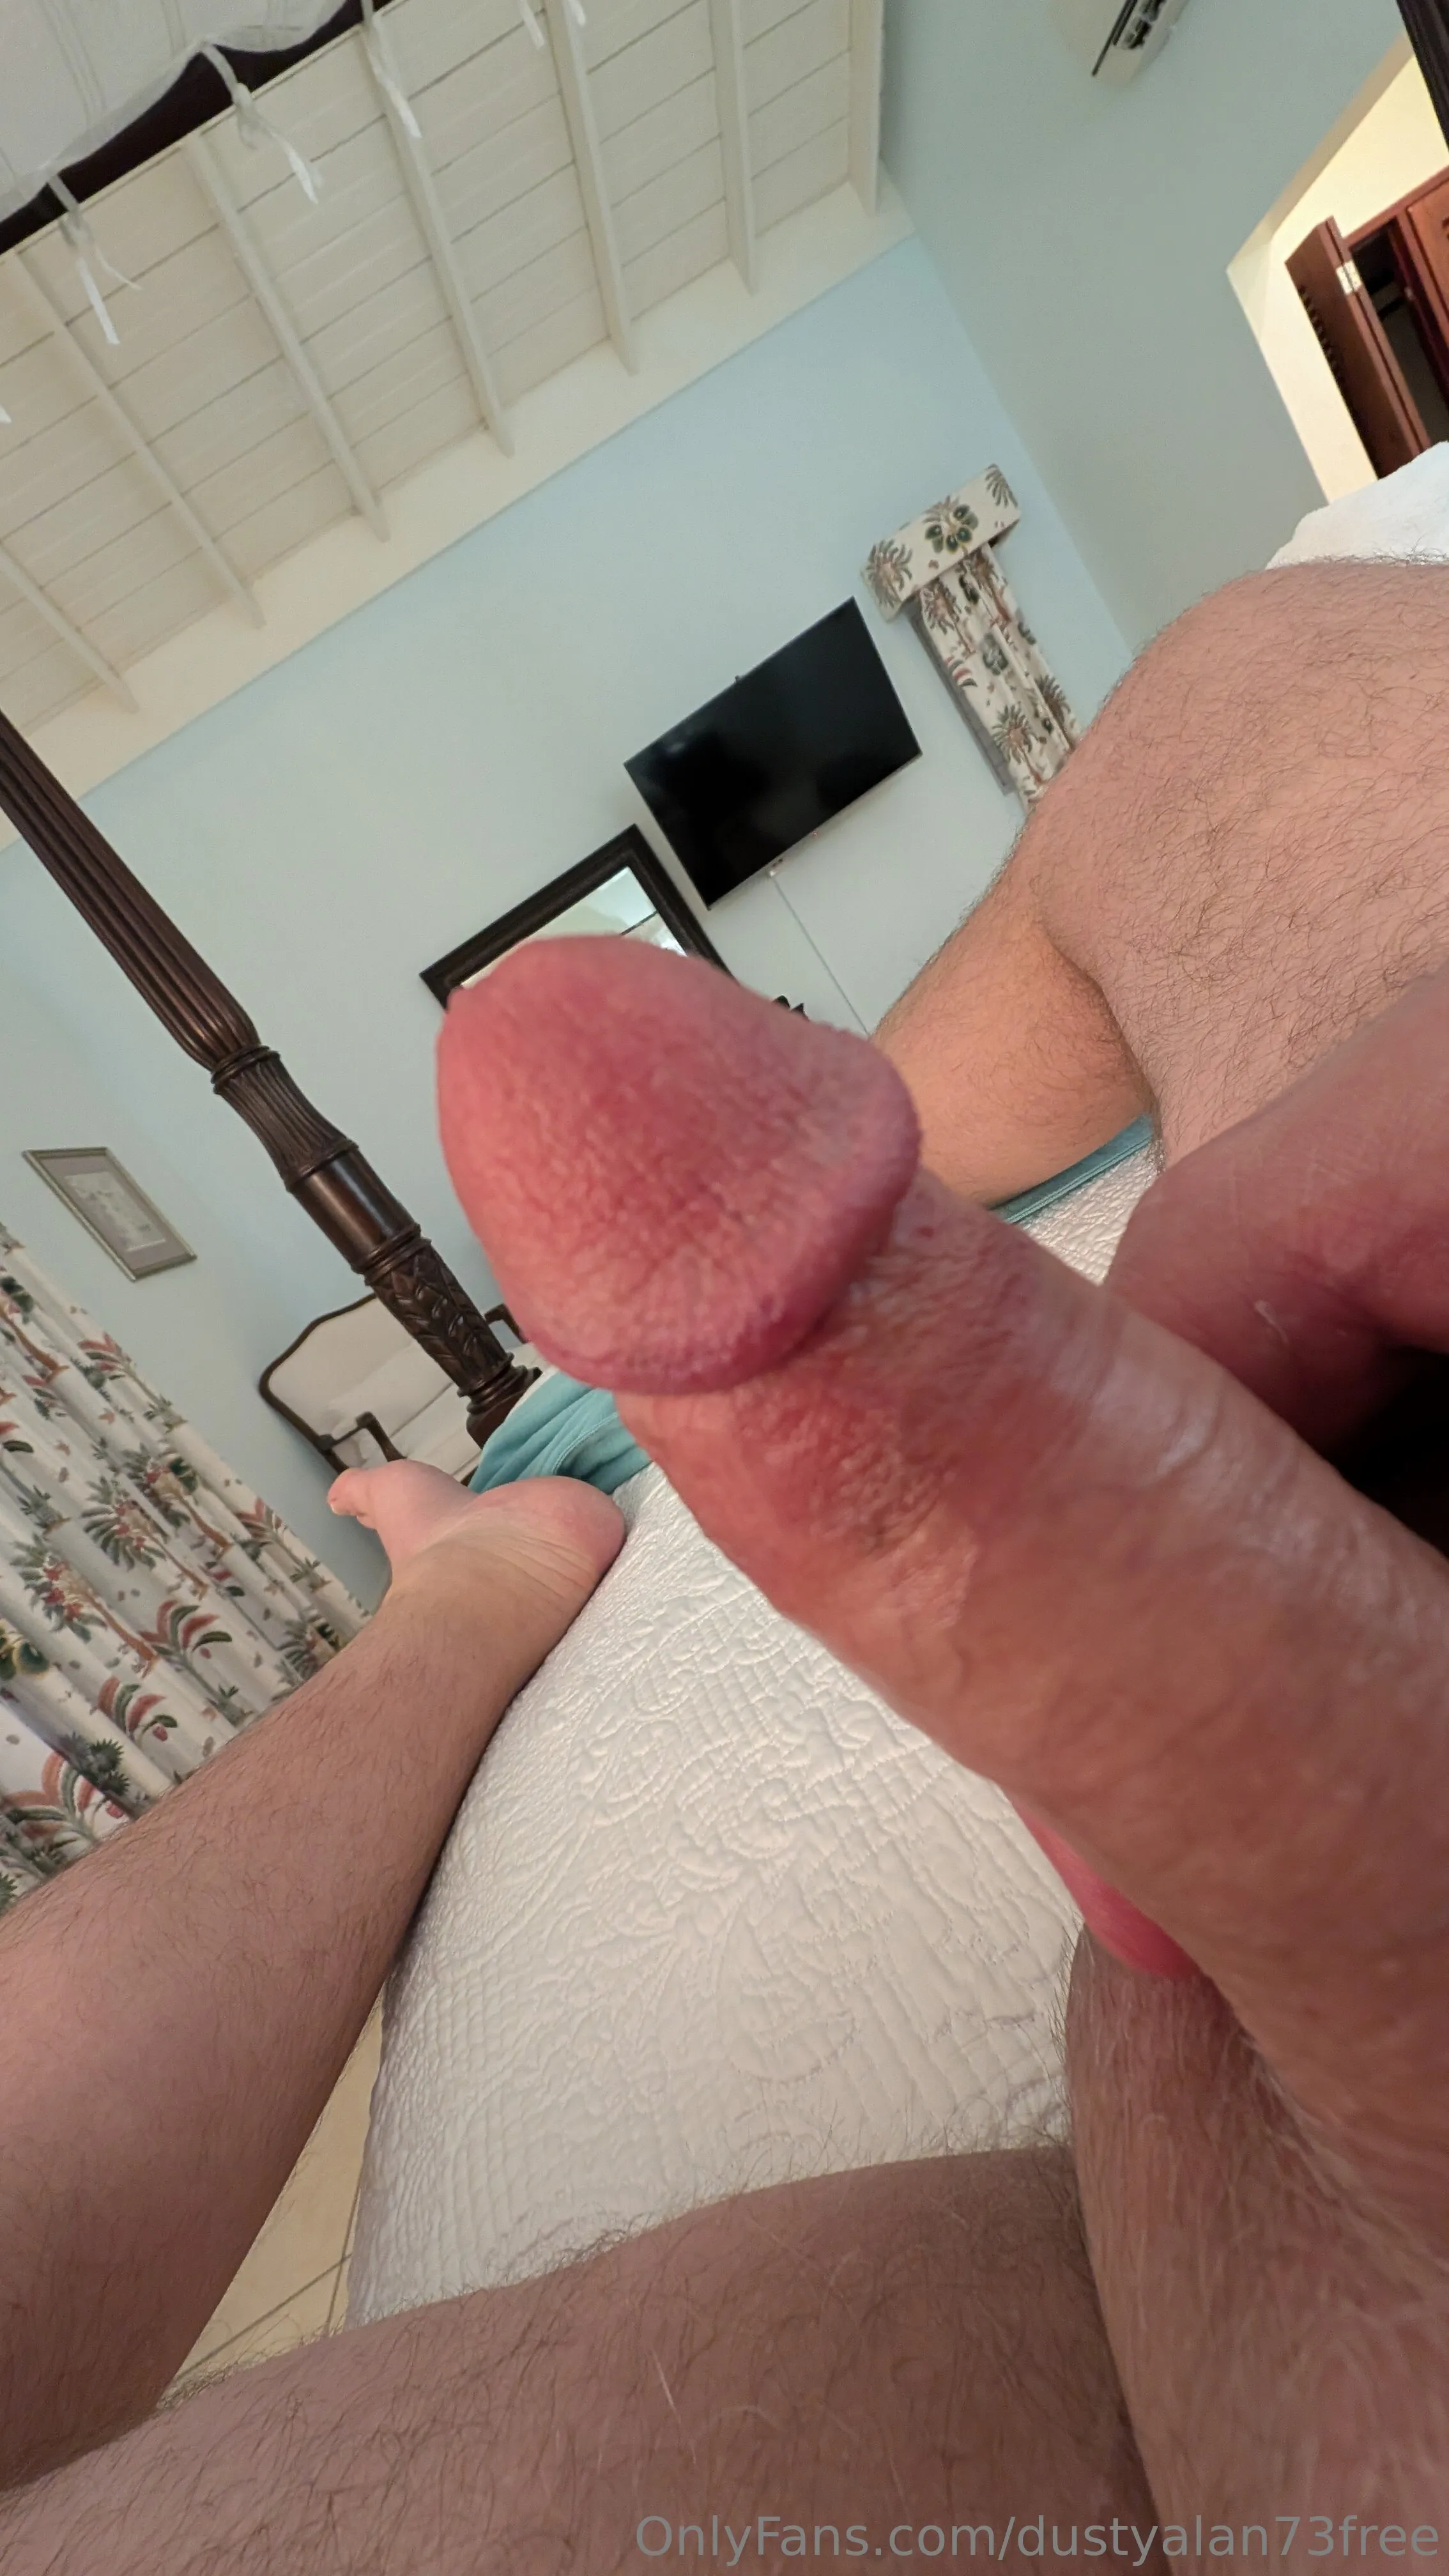
DustyAlan73Free nude Photo / Porn - Photo #10

Leo84 nude Photo / Porn - Photo #10

Bunny nude Photo / Porn - Photo #22

Ayelen VIDEO CALLSS 🔥🔥🔥 nude Photo / Porn - Photo #3

Lily 💖 nude Photo / Porn - Photo #21

Zara HOT💋 nude Photo / Porn - Photo #19

Aussie 💗 #1 Australian on OF 💦 nude Photo / Porn - Photo #5

👠Cock Whispering Hotwife JJ BBW Big Tits nude Photo / Porn - Photo #17

Infuse❤️Mari nude Photo / Porn - Photo #9

G ❤️🔥 nude Photo / Porn - Photo #9

KittyCriminalcat nude Photo / Porn - Photo #13

🫨 𝖇𝖊𝖑𝖑𝖆 ⋆˙⟡♡ nude Photo / Porn - Photo #8

❤️✨MOMMY LEX nude Photo / Porn - Photo #11

Amber Jasmine nude Photo / Porn - Photo #10

martini nude Photo / Porn - Photo #3

Evelyn nude Photo / Porn - Photo #4

Miss Spent Youth nude Photo / Porn - Photo #3
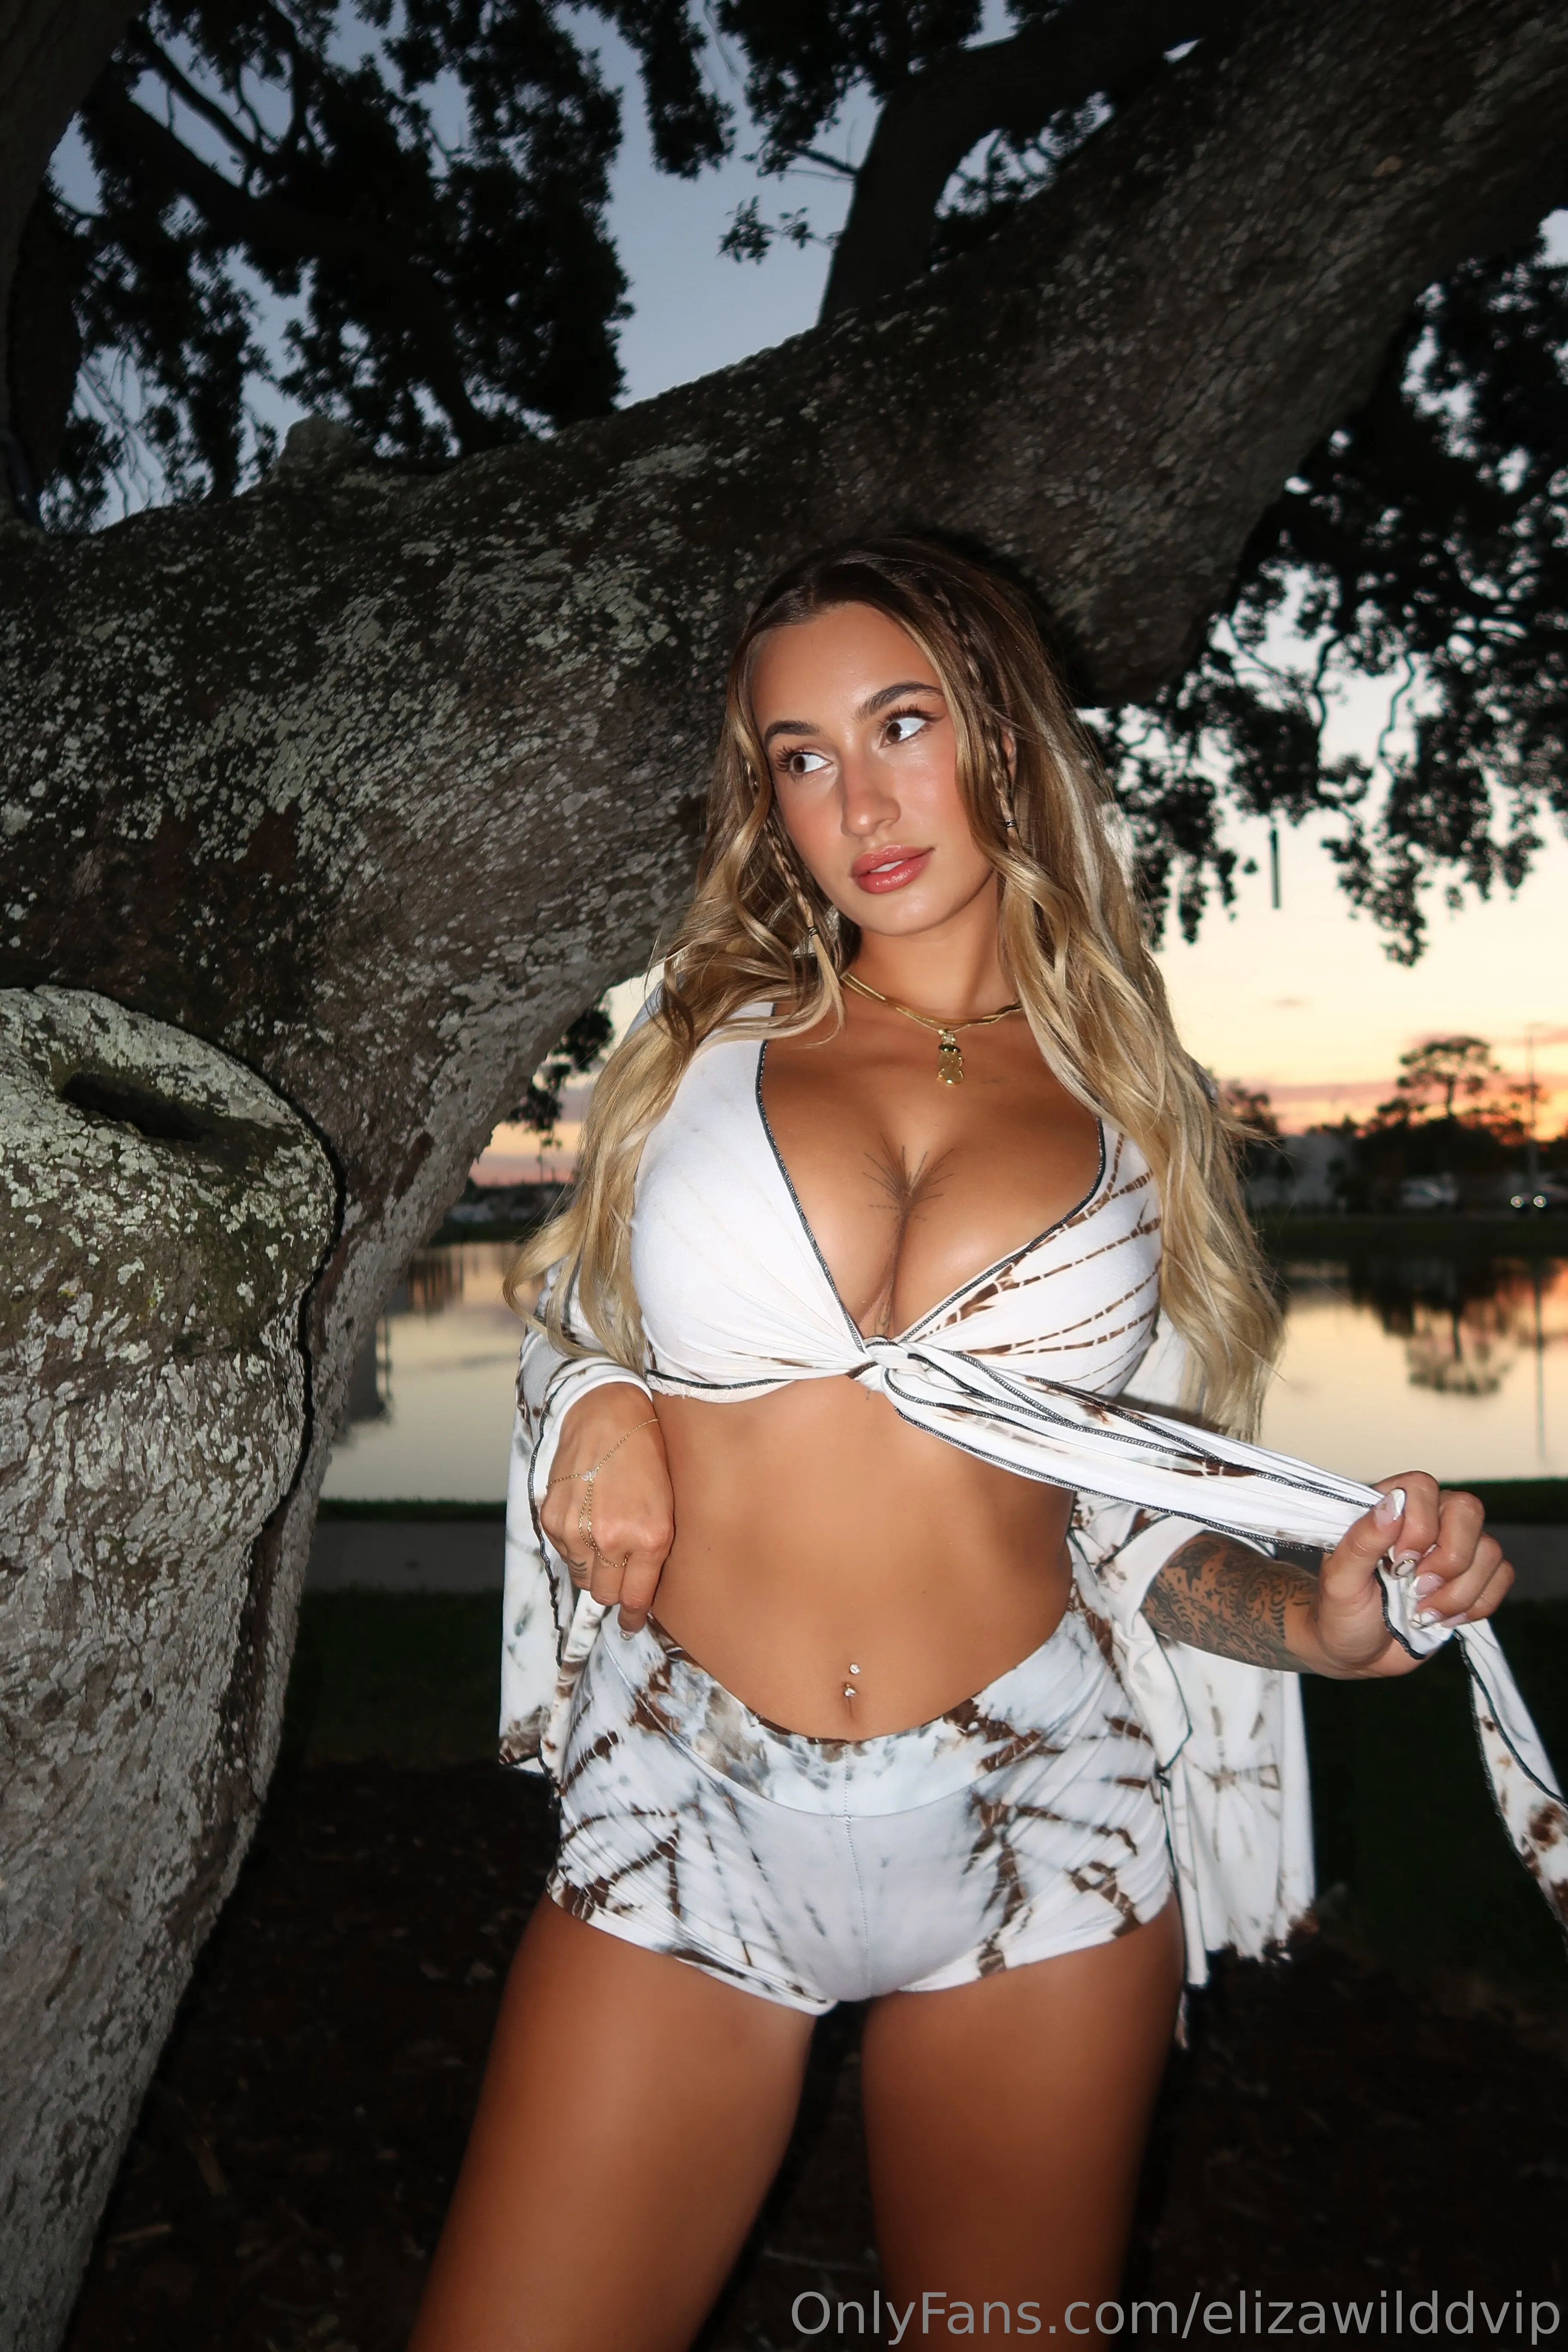
Eliza Wild nude Photo / Porn - Photo #9

⚠️Cô Giáo Thảo⚠️ nude Photo / Porn - Photo #6
ღ kat ღ nude Photo / Porn - Photo #3
Profiles