Immerse in Adrianna Eves podcast interview @adriannaevess nude's porn leaks with daily fresh videos, erotic naked poses, and exclusive OnlyFans content.
Enjoy Adrianna Eves podcast interview @adriannaevess's steamy leaked nudes shared on Discord servers, with porn galleries and exclusive drops.
Main profile
Adrianna Eves
@adriannaevess
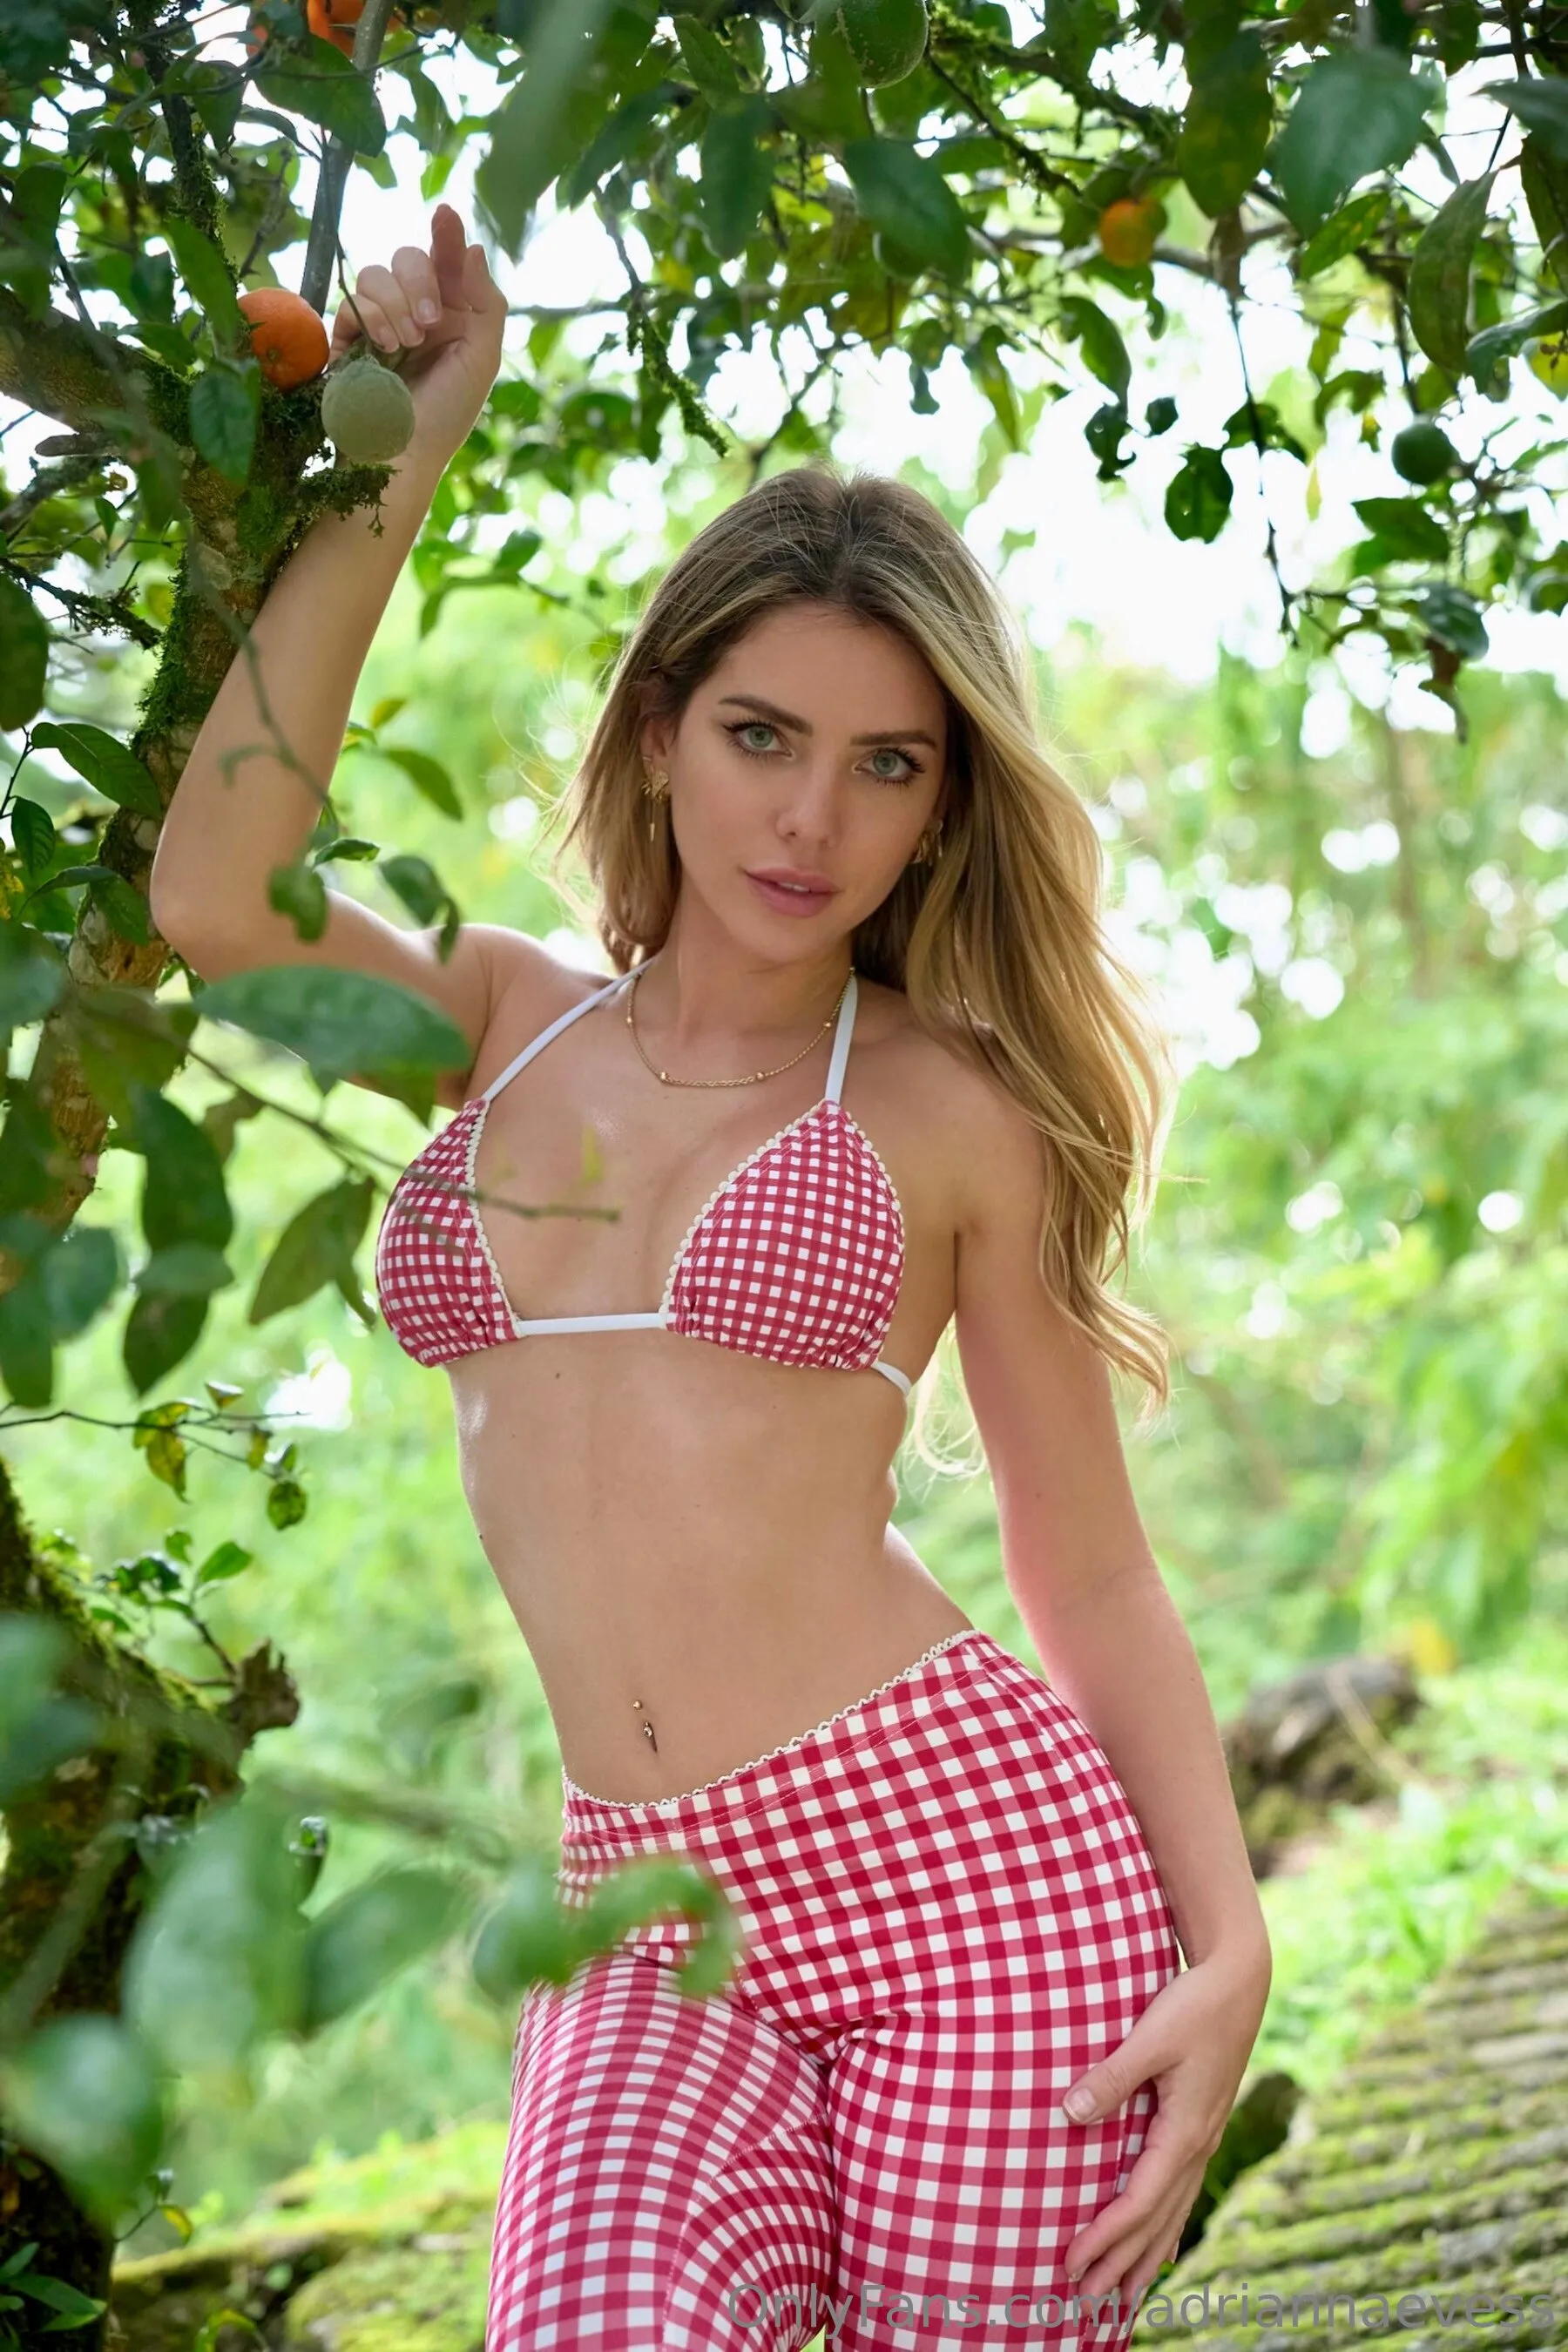
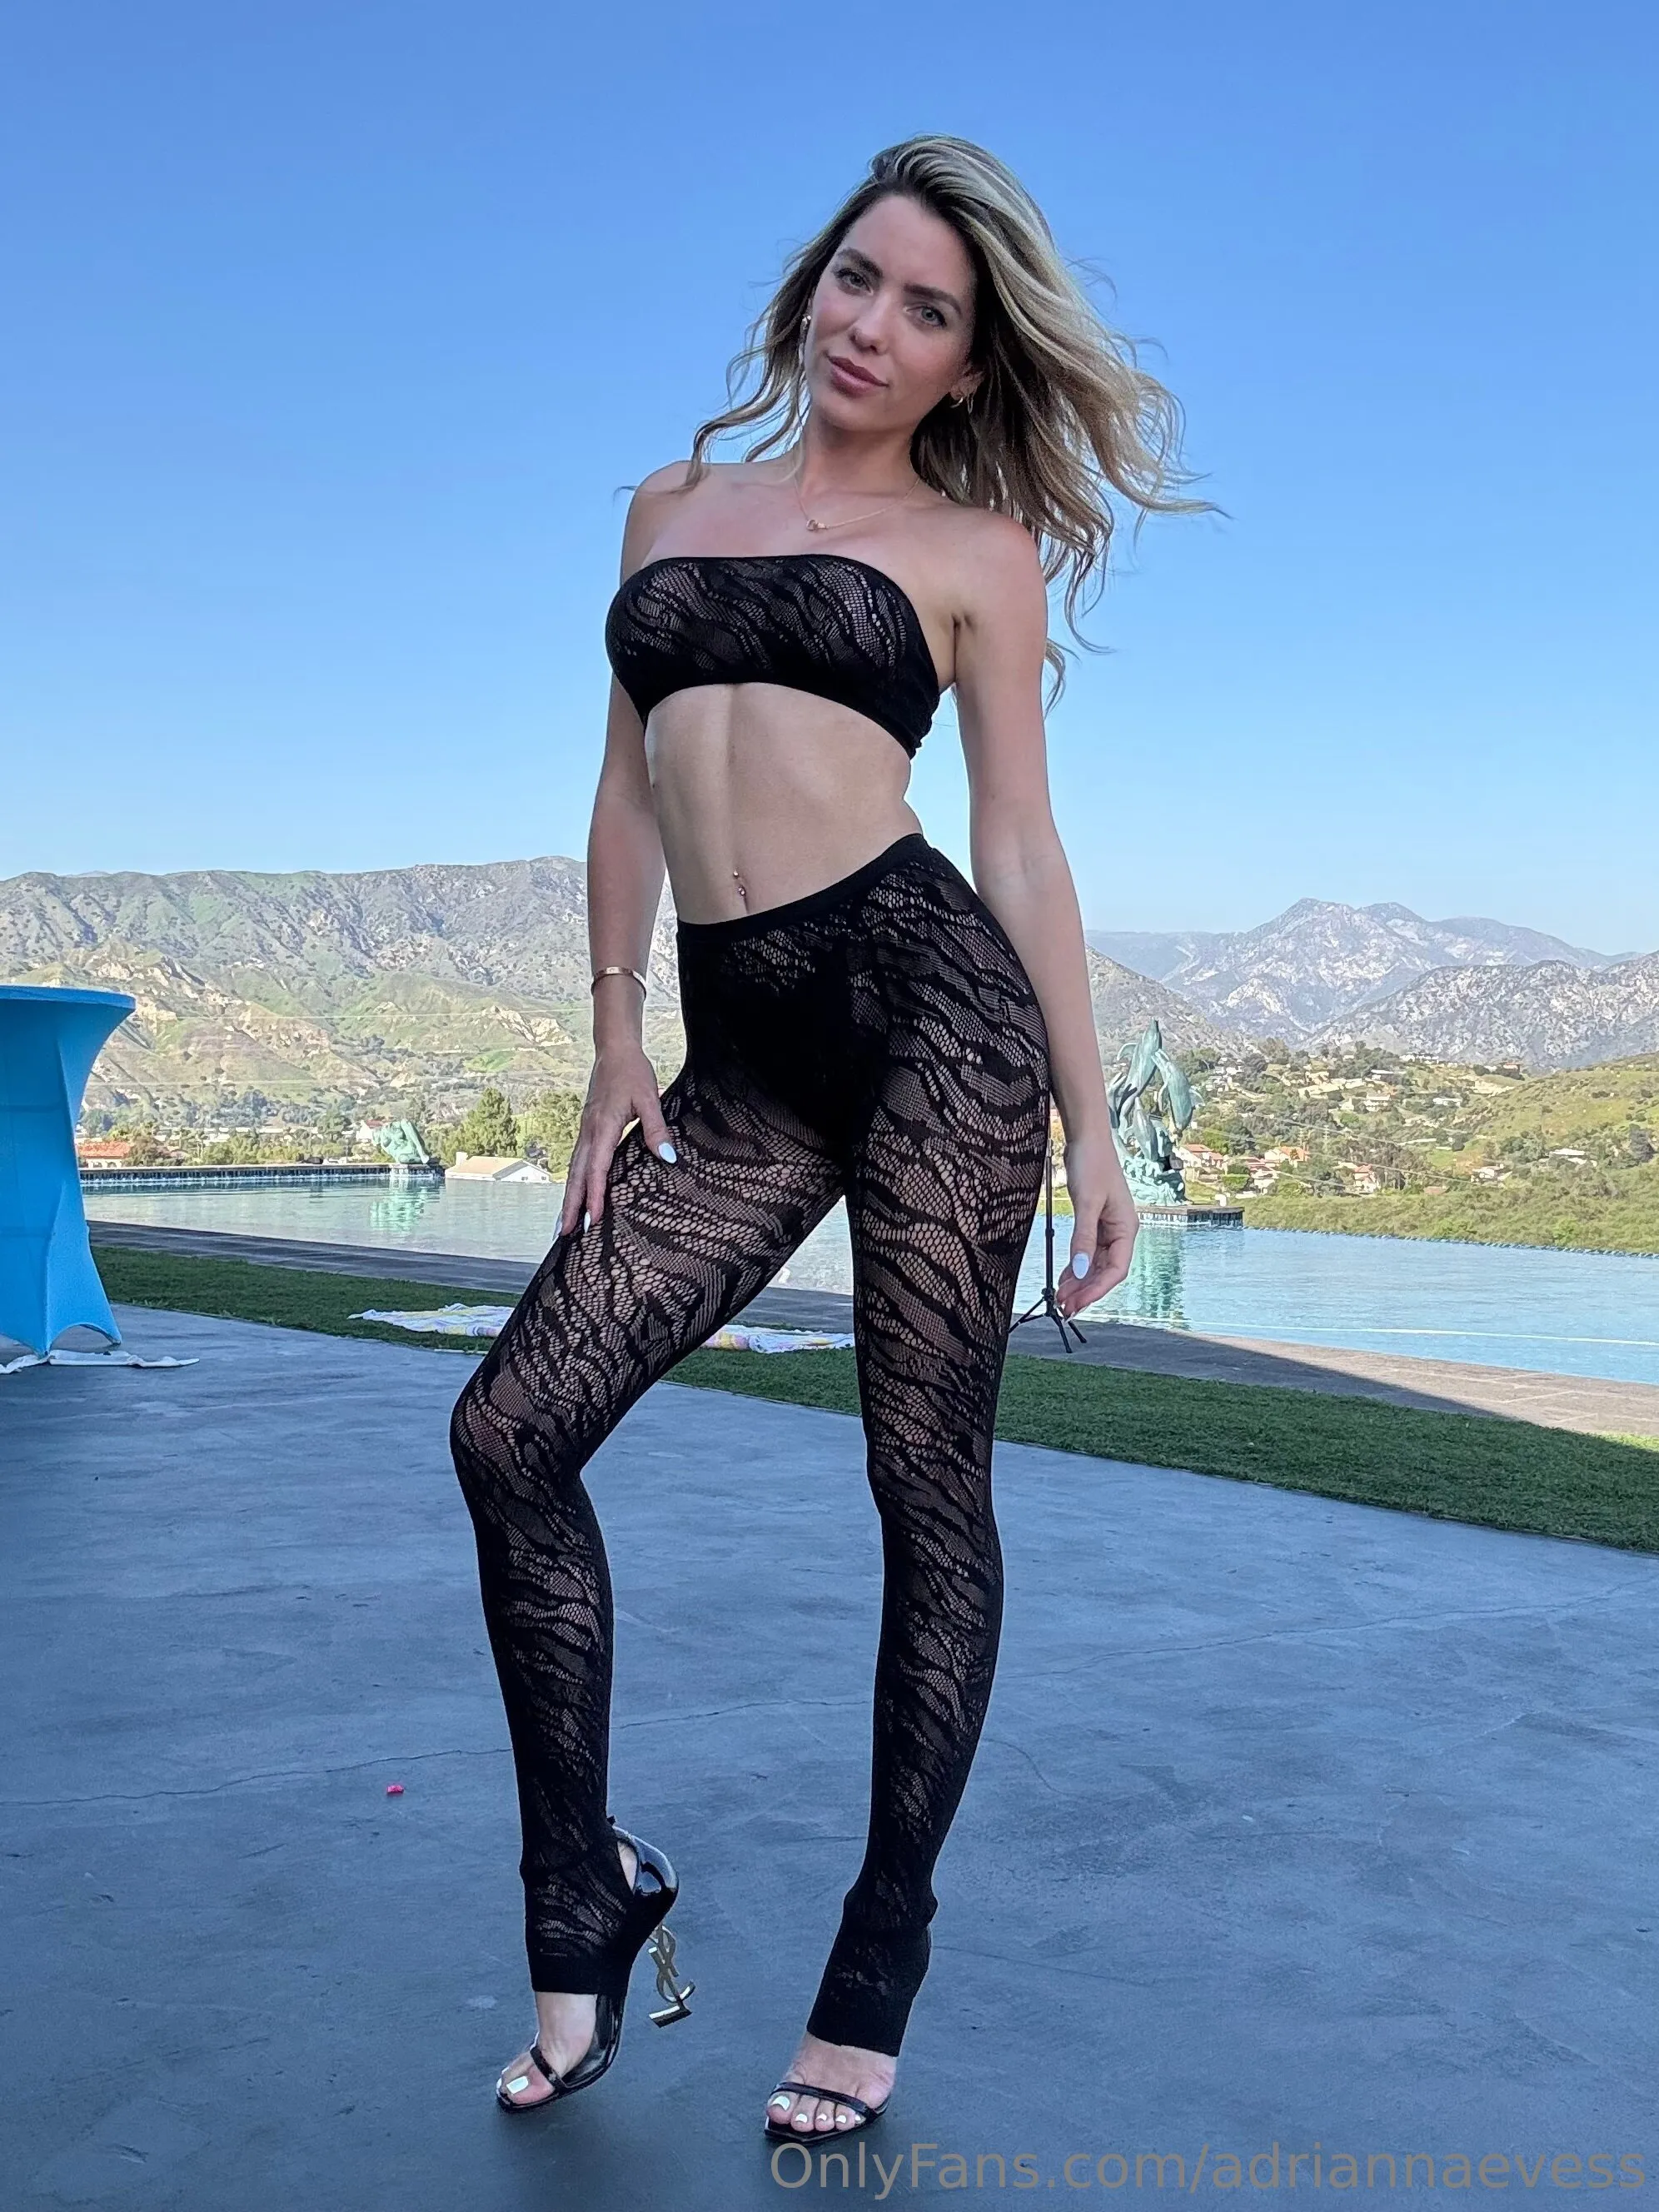
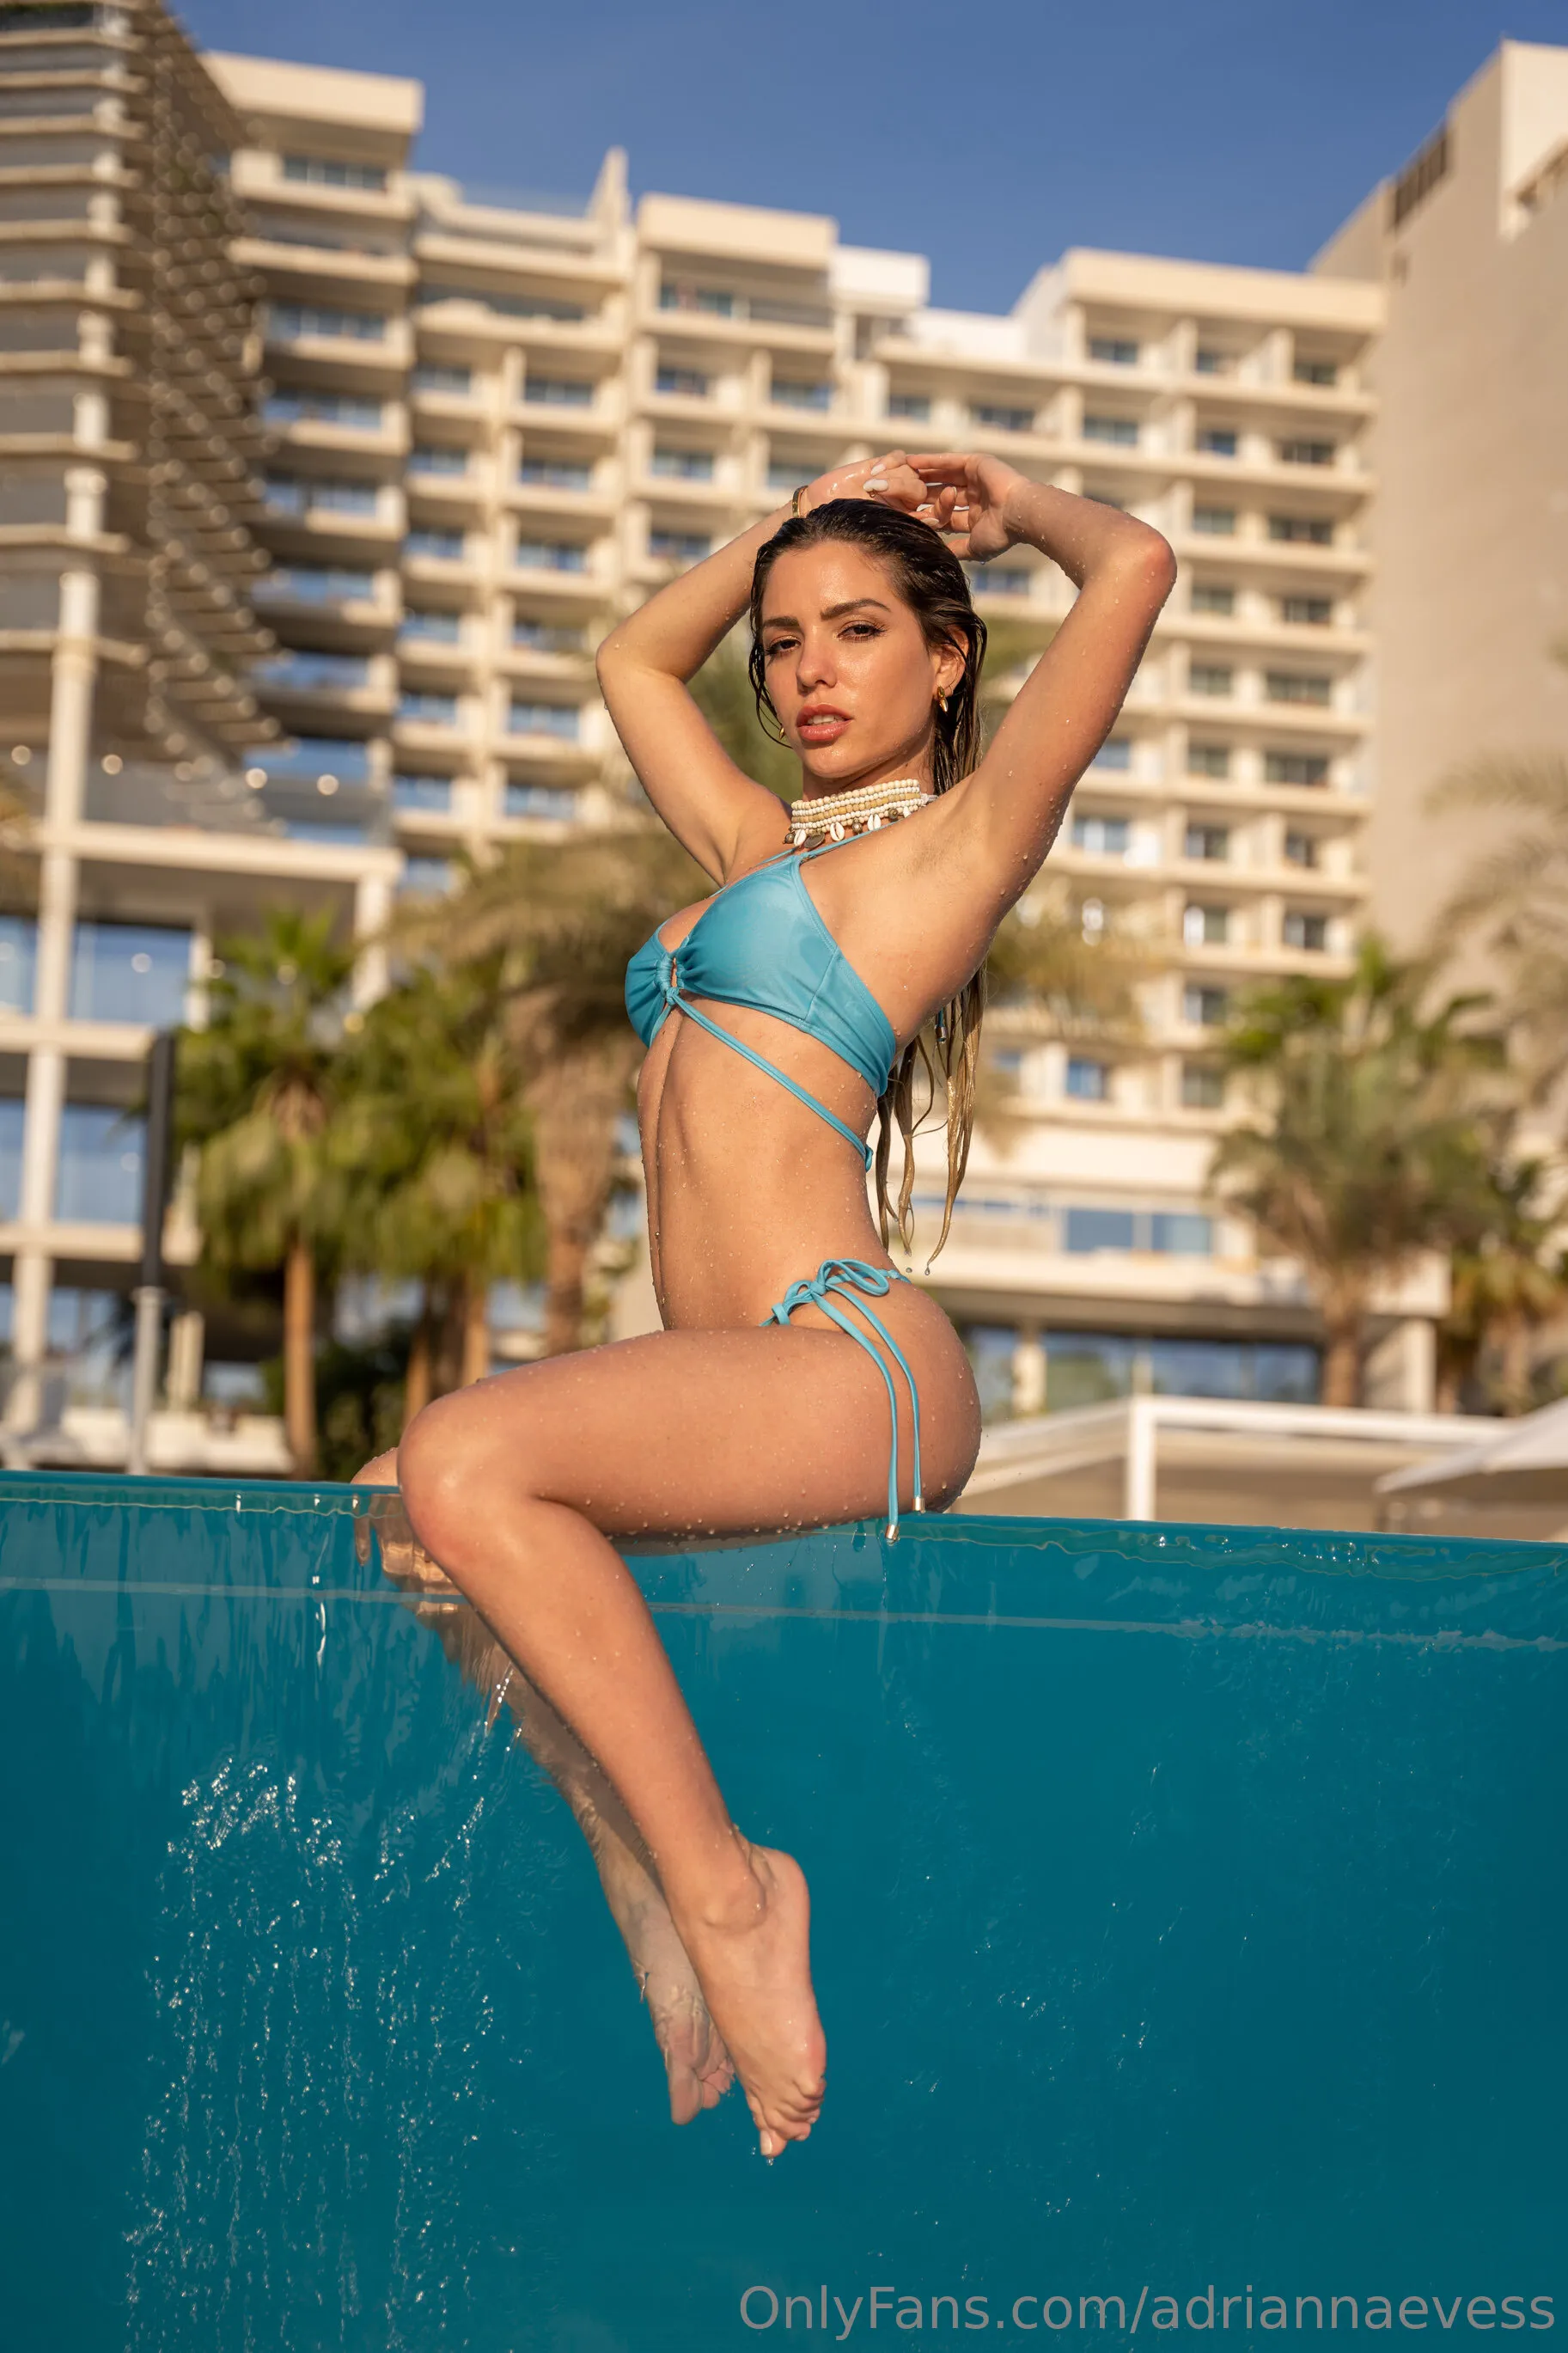
Adrianna Eves nude Photo / adriannaevess Porn - Photo #1
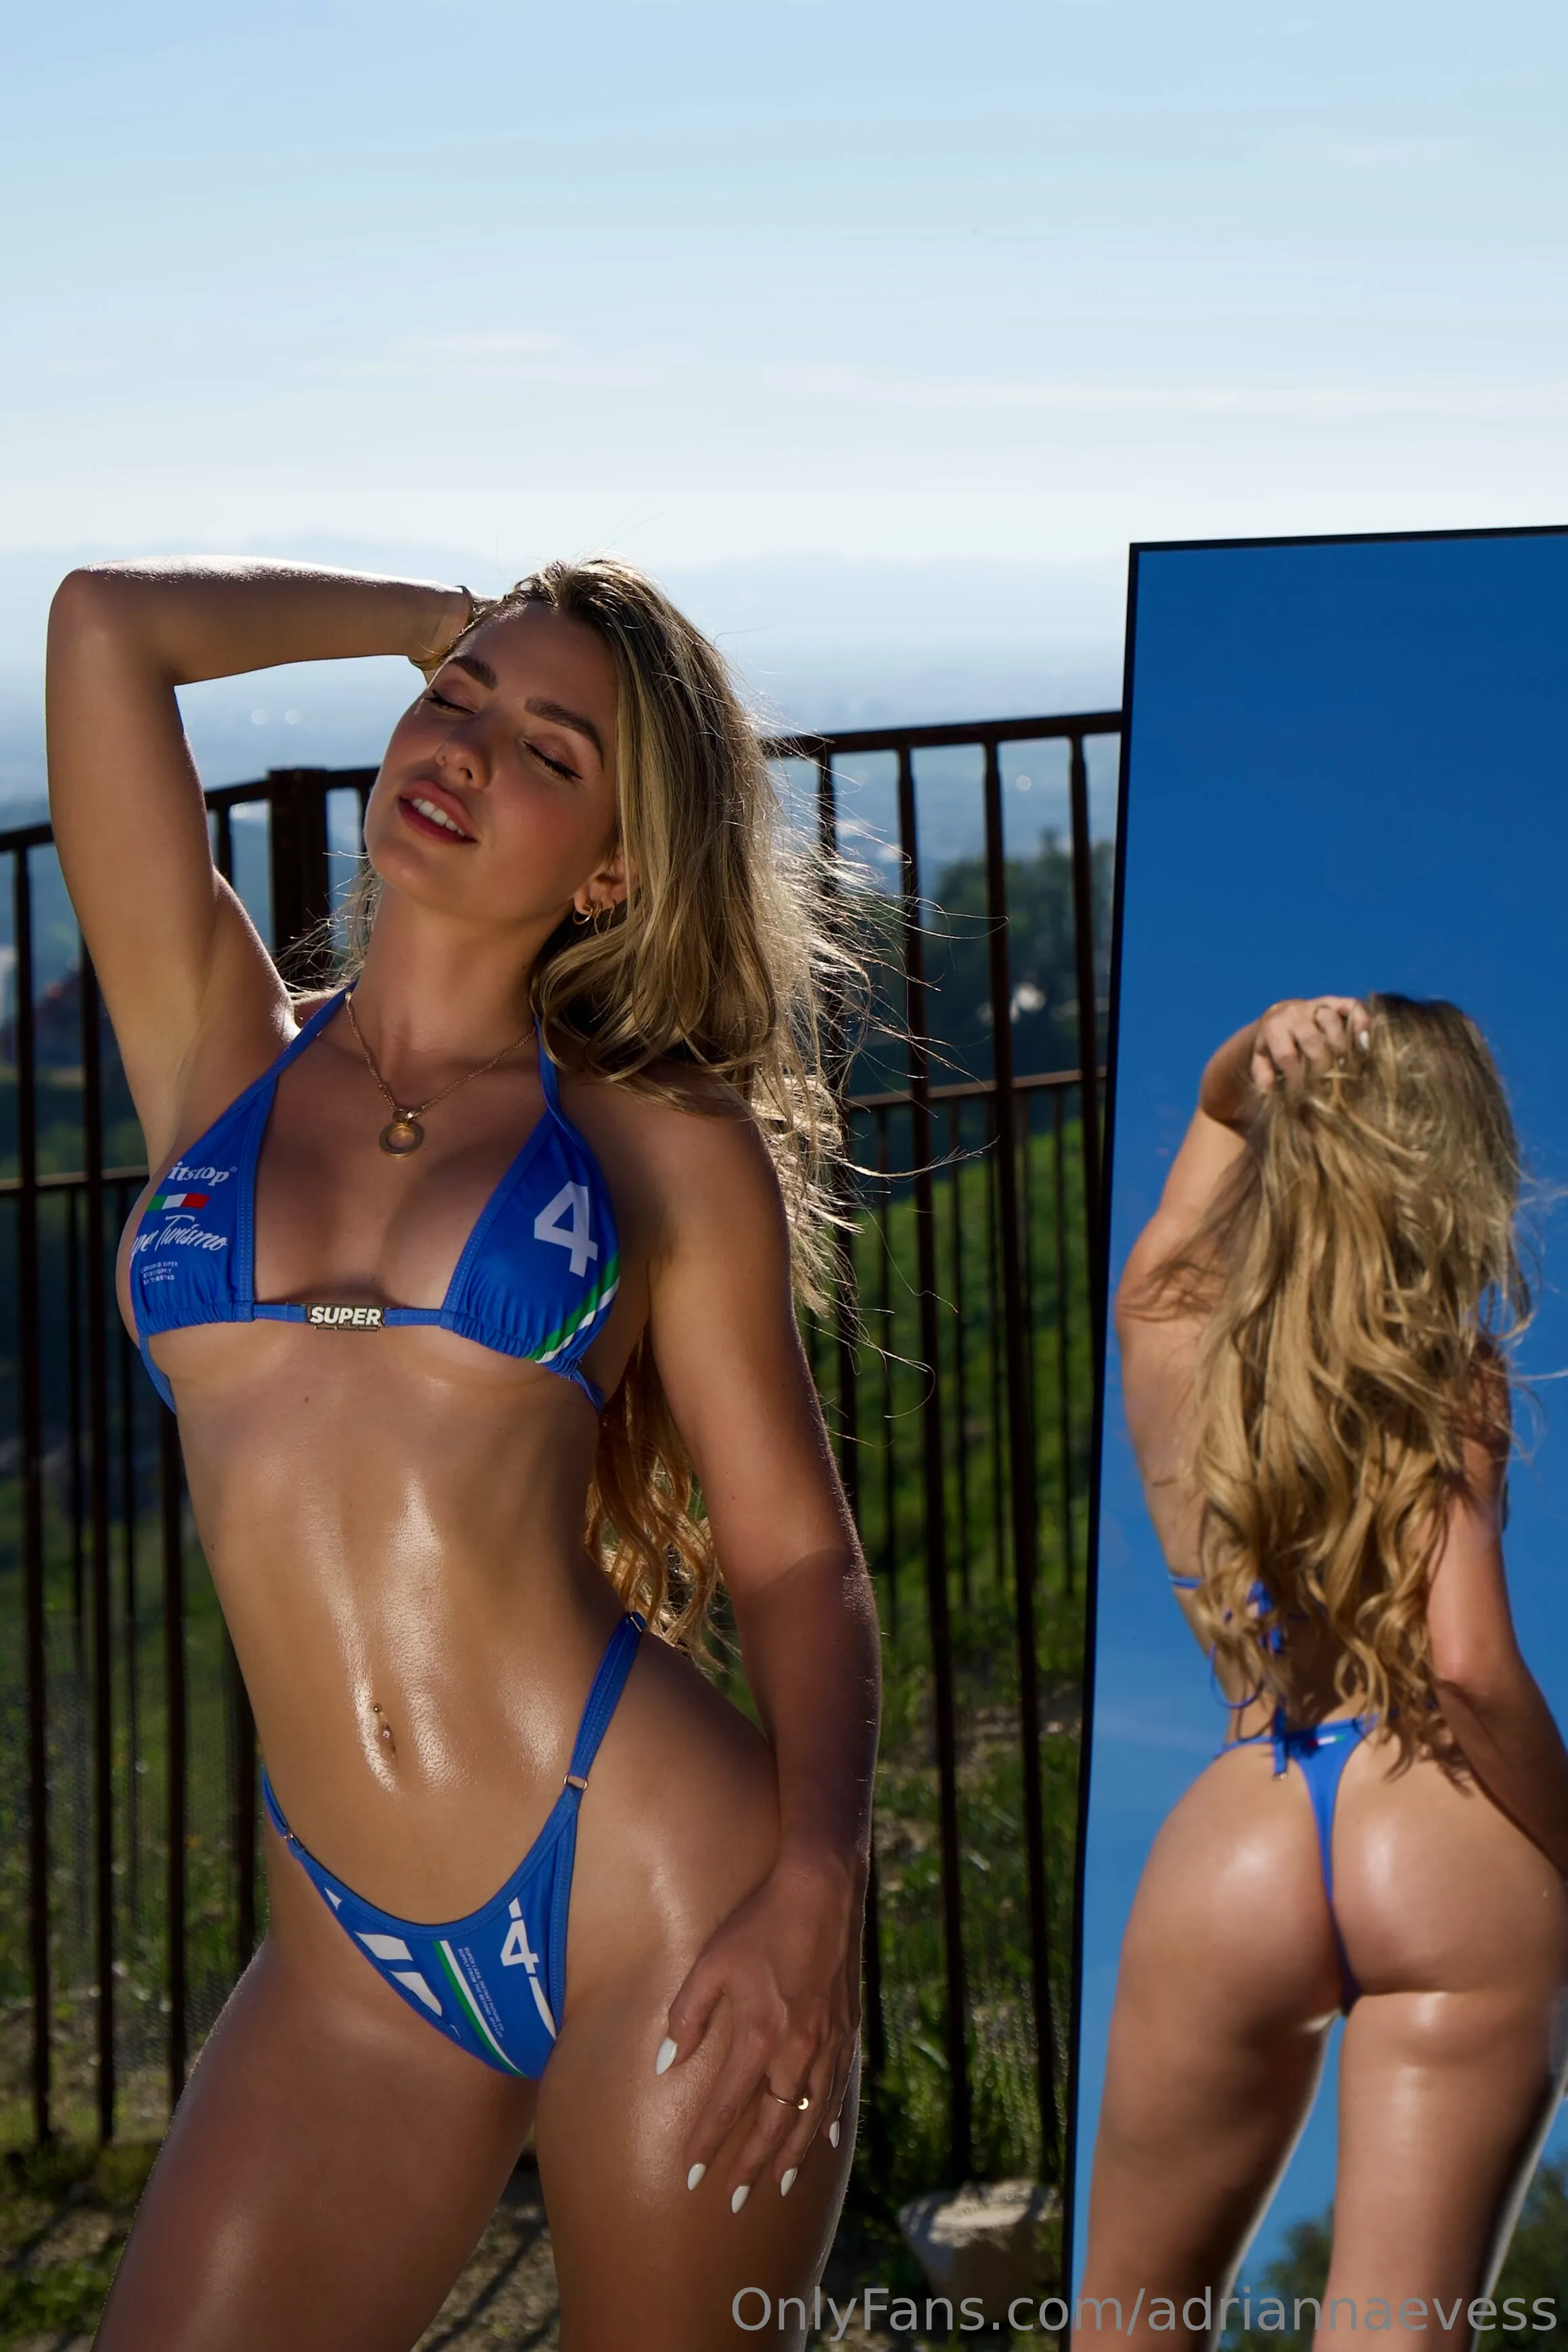
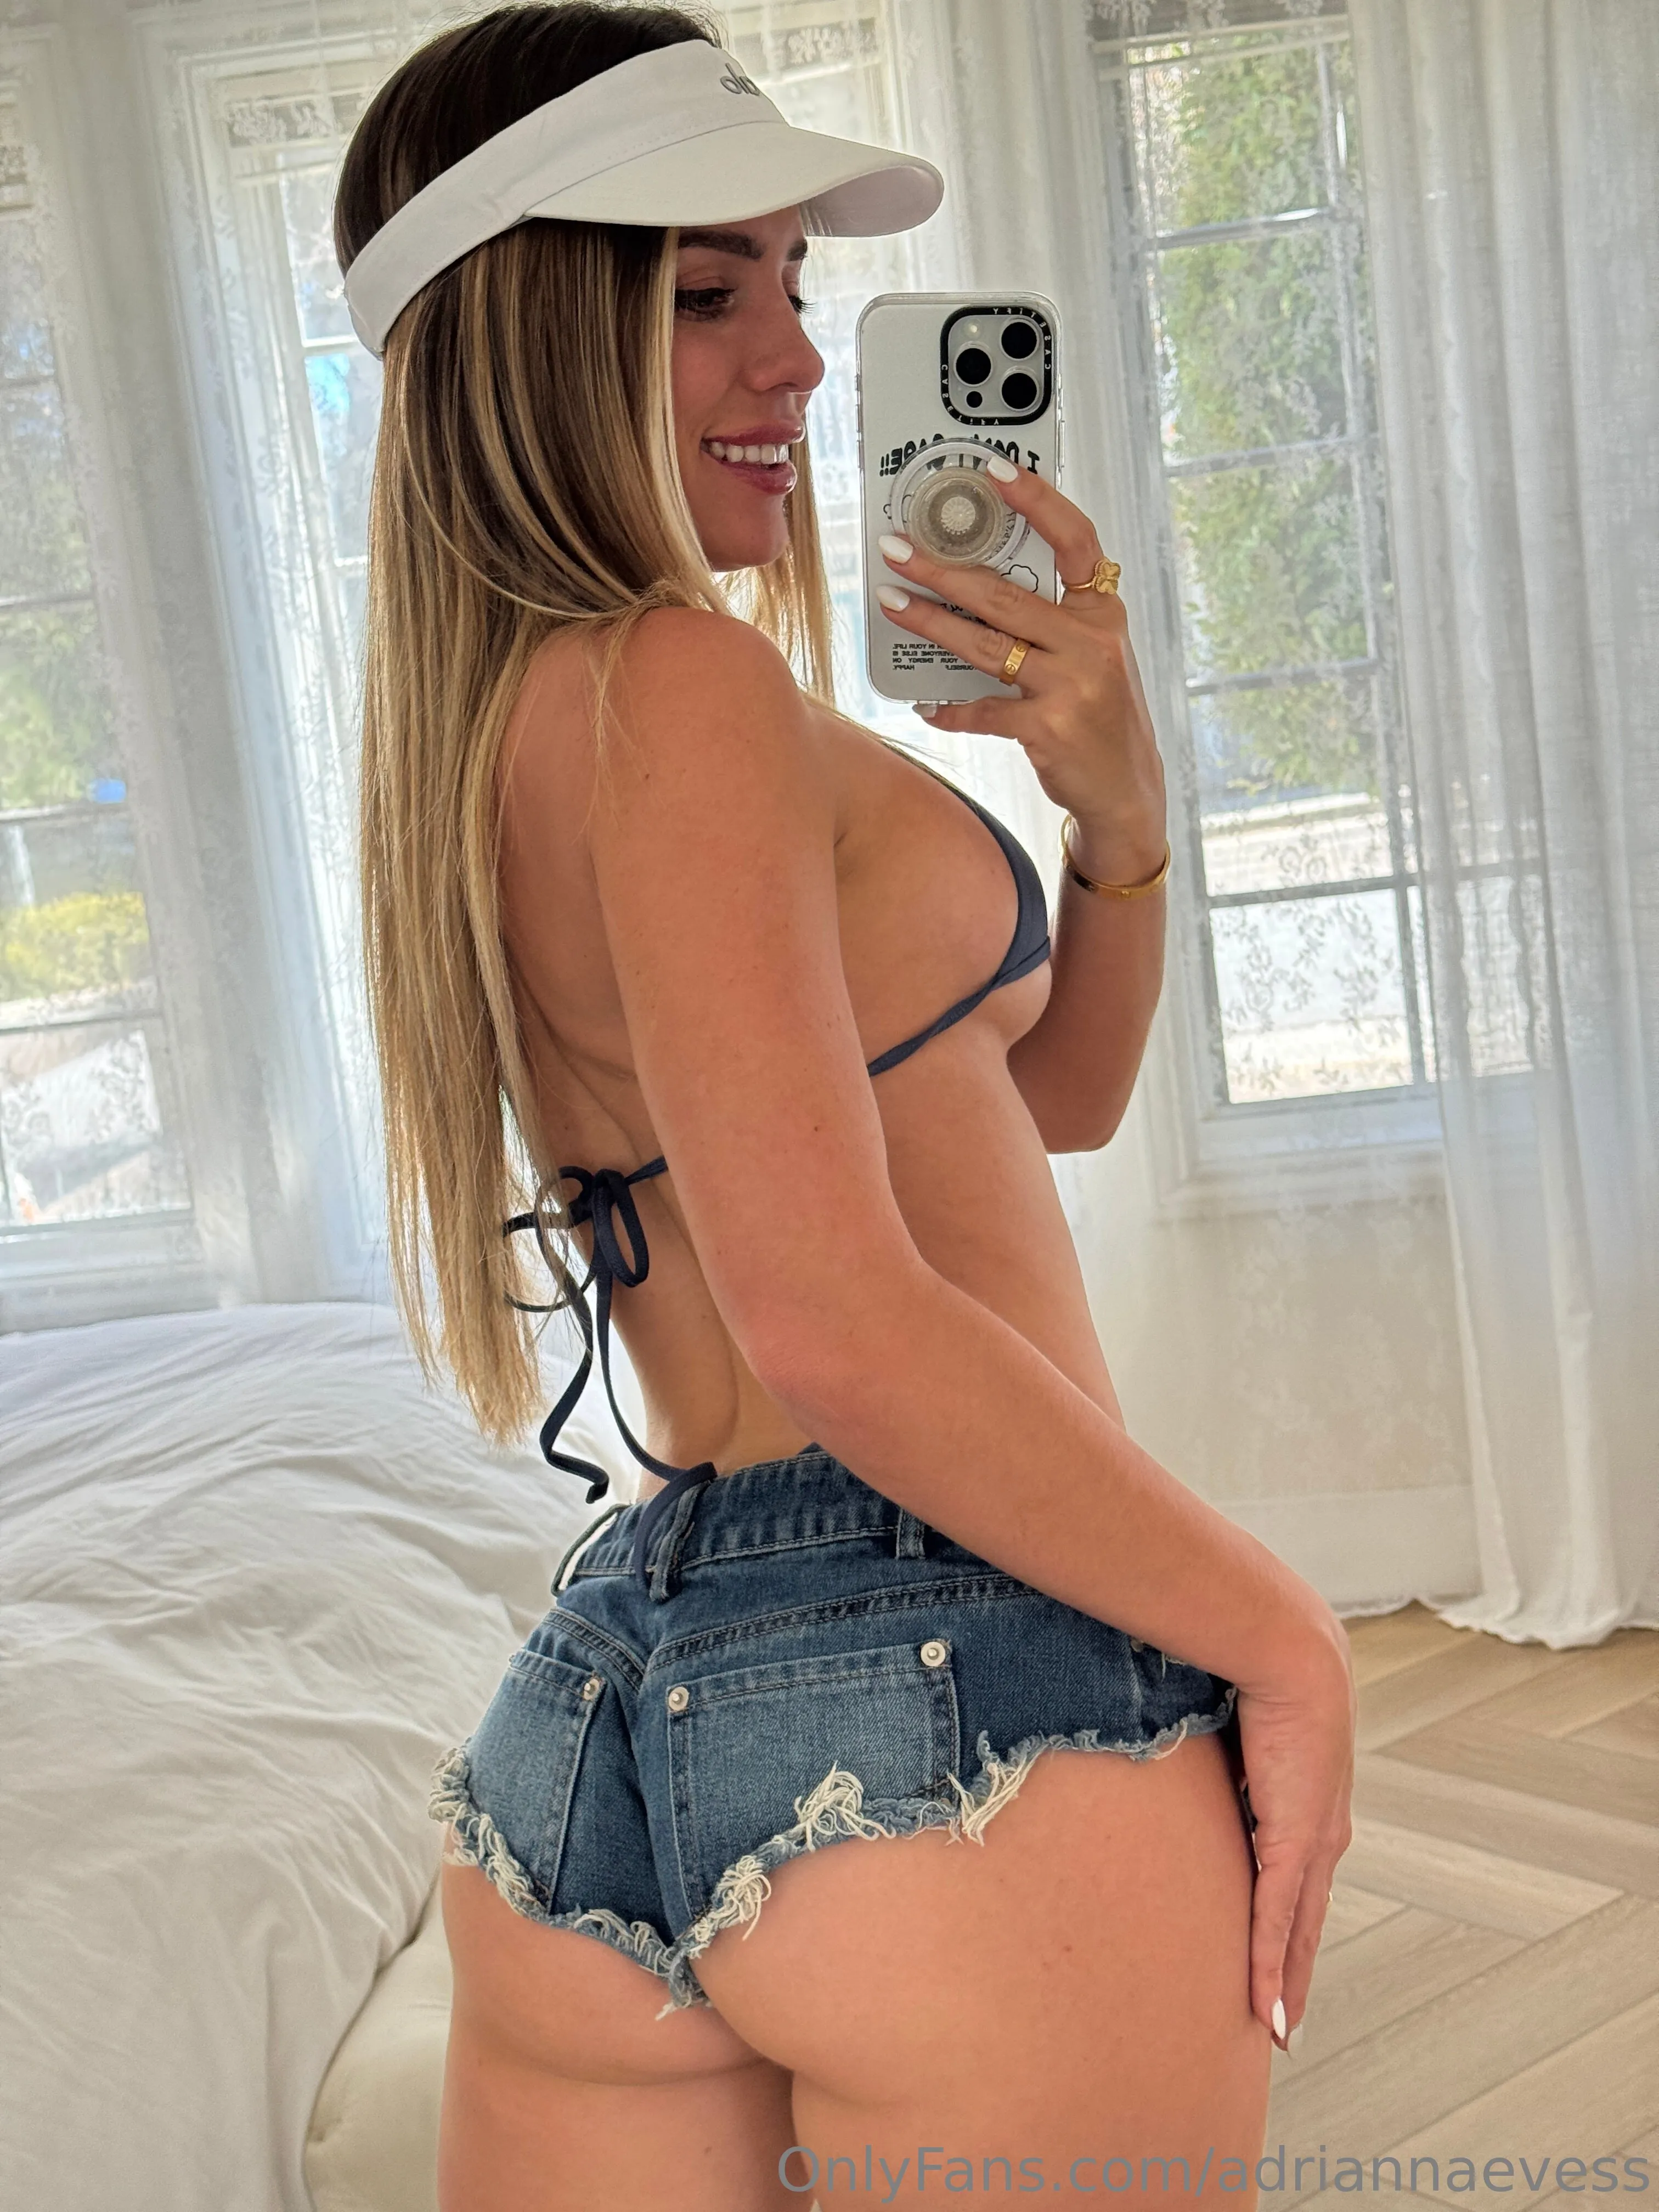
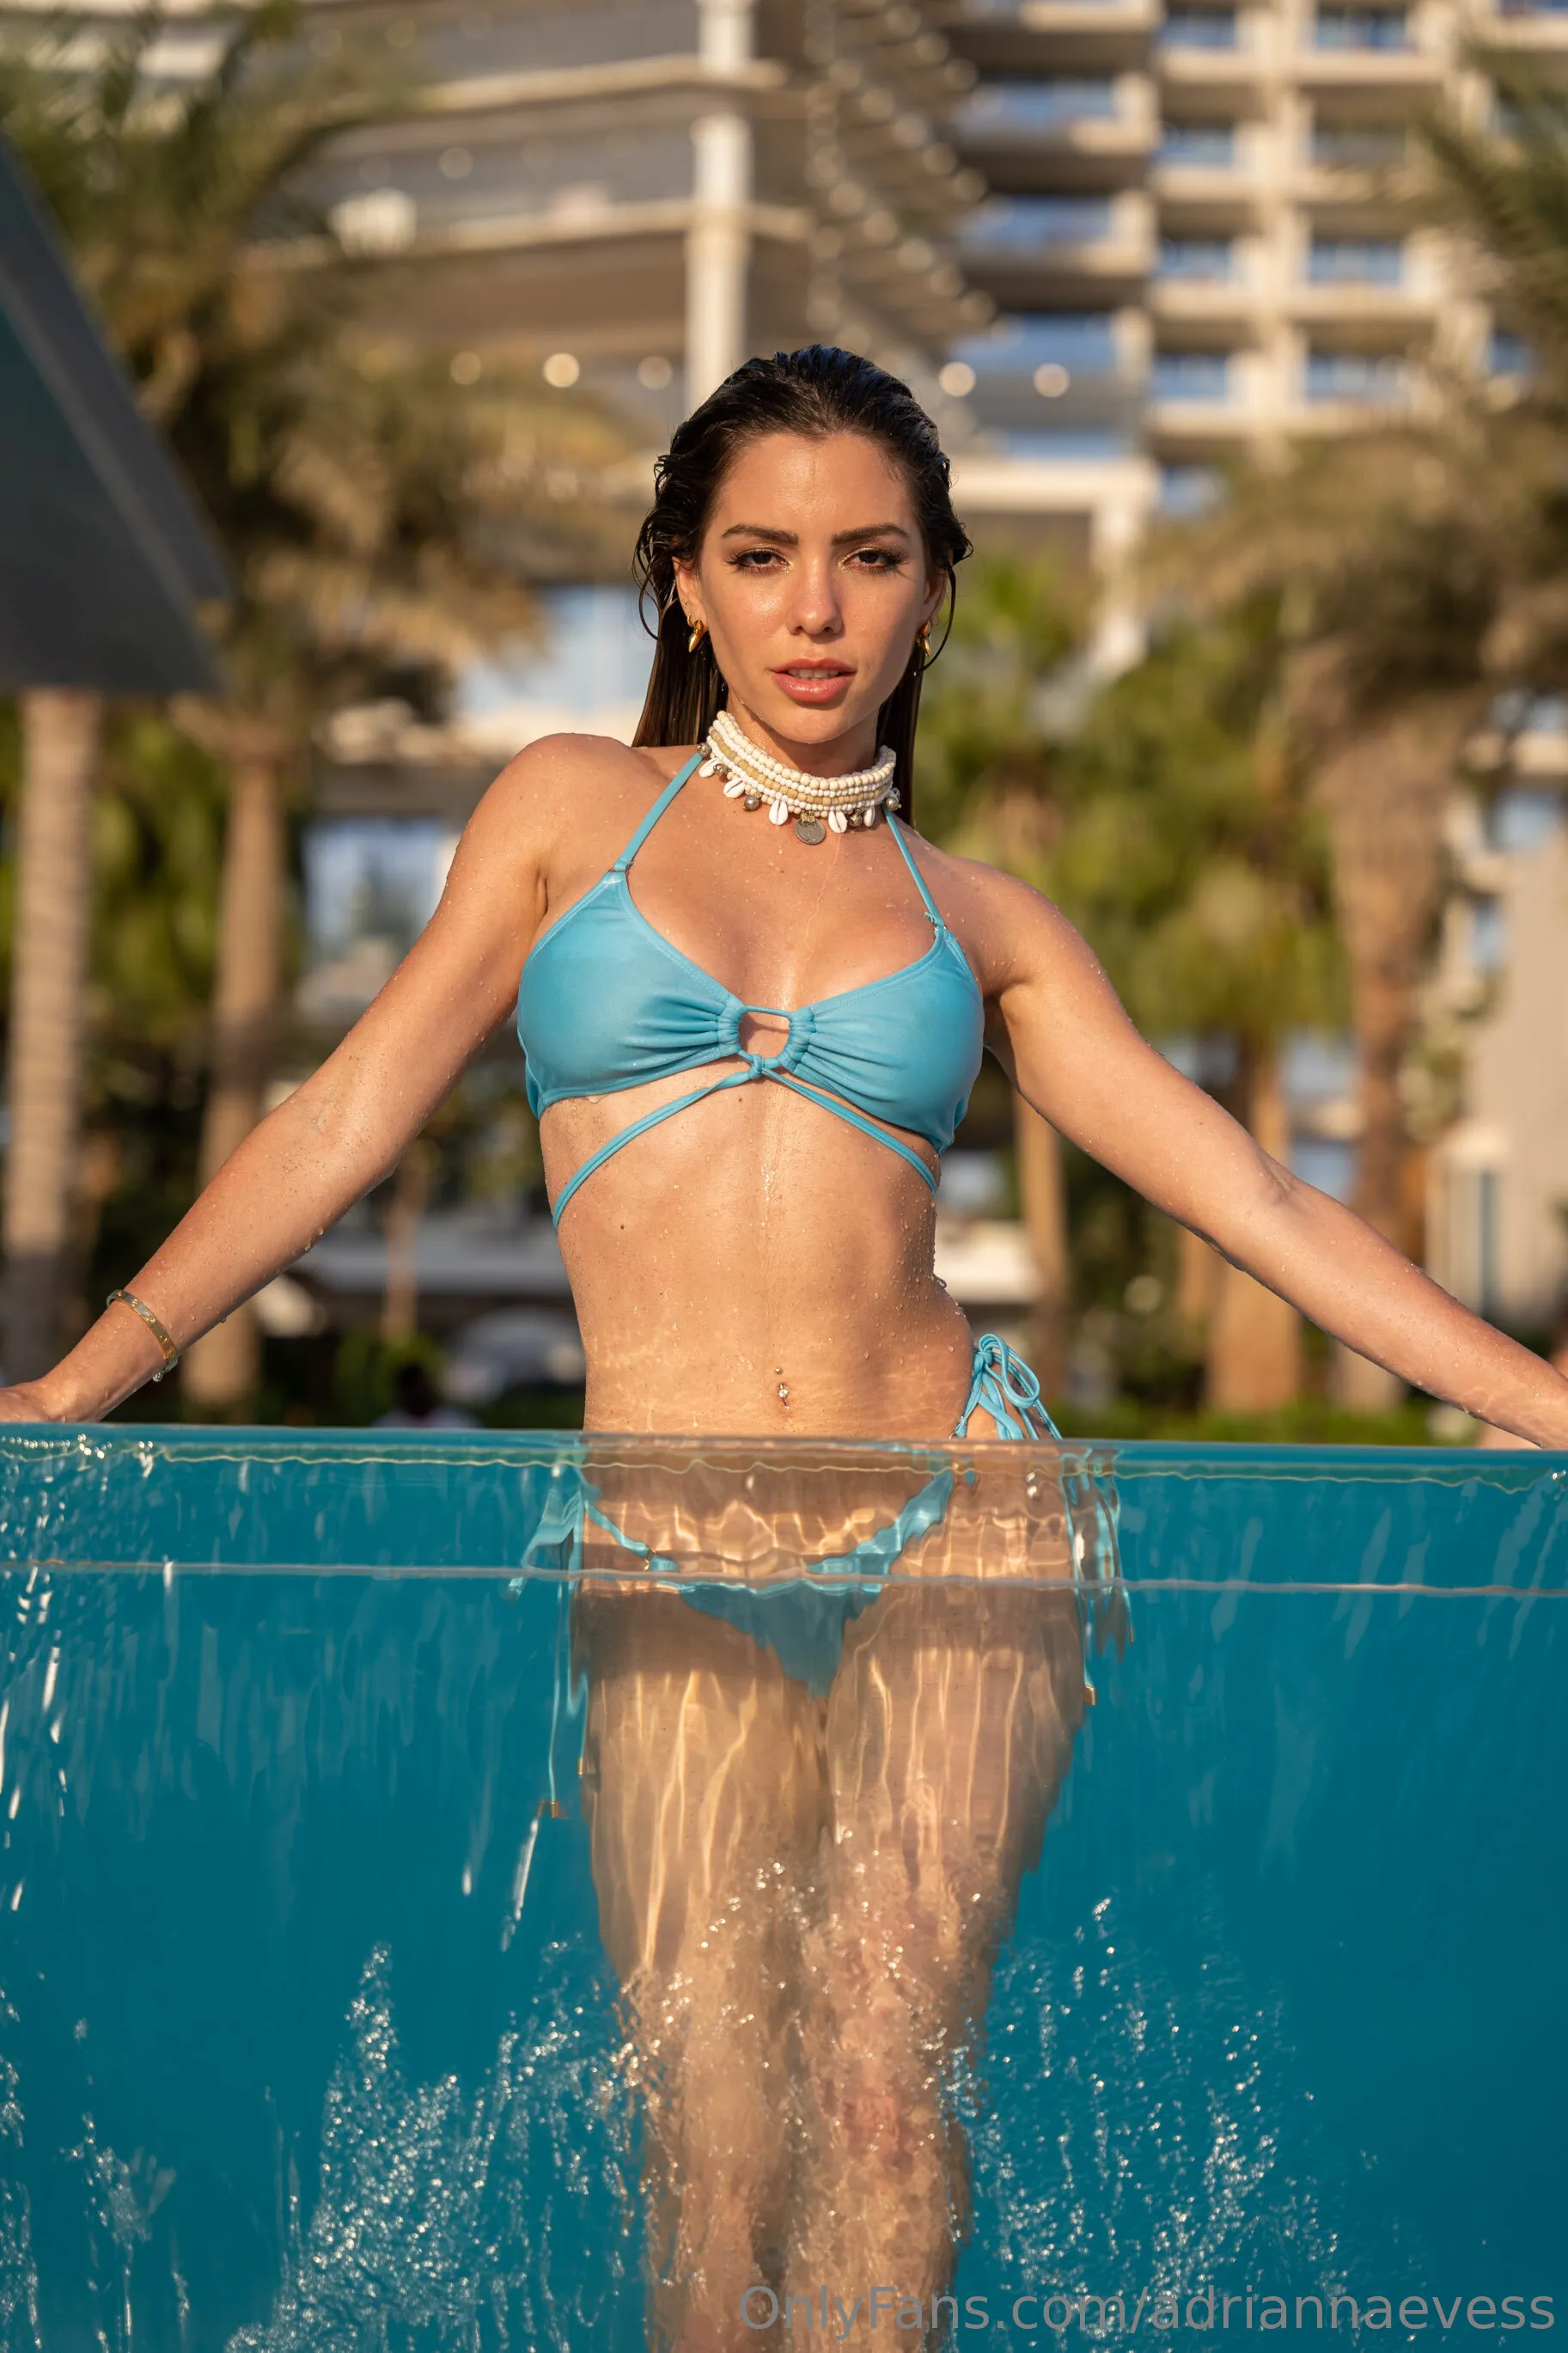
Adrianna Eves nude Photo / adriannaevess Porn - Photo #2
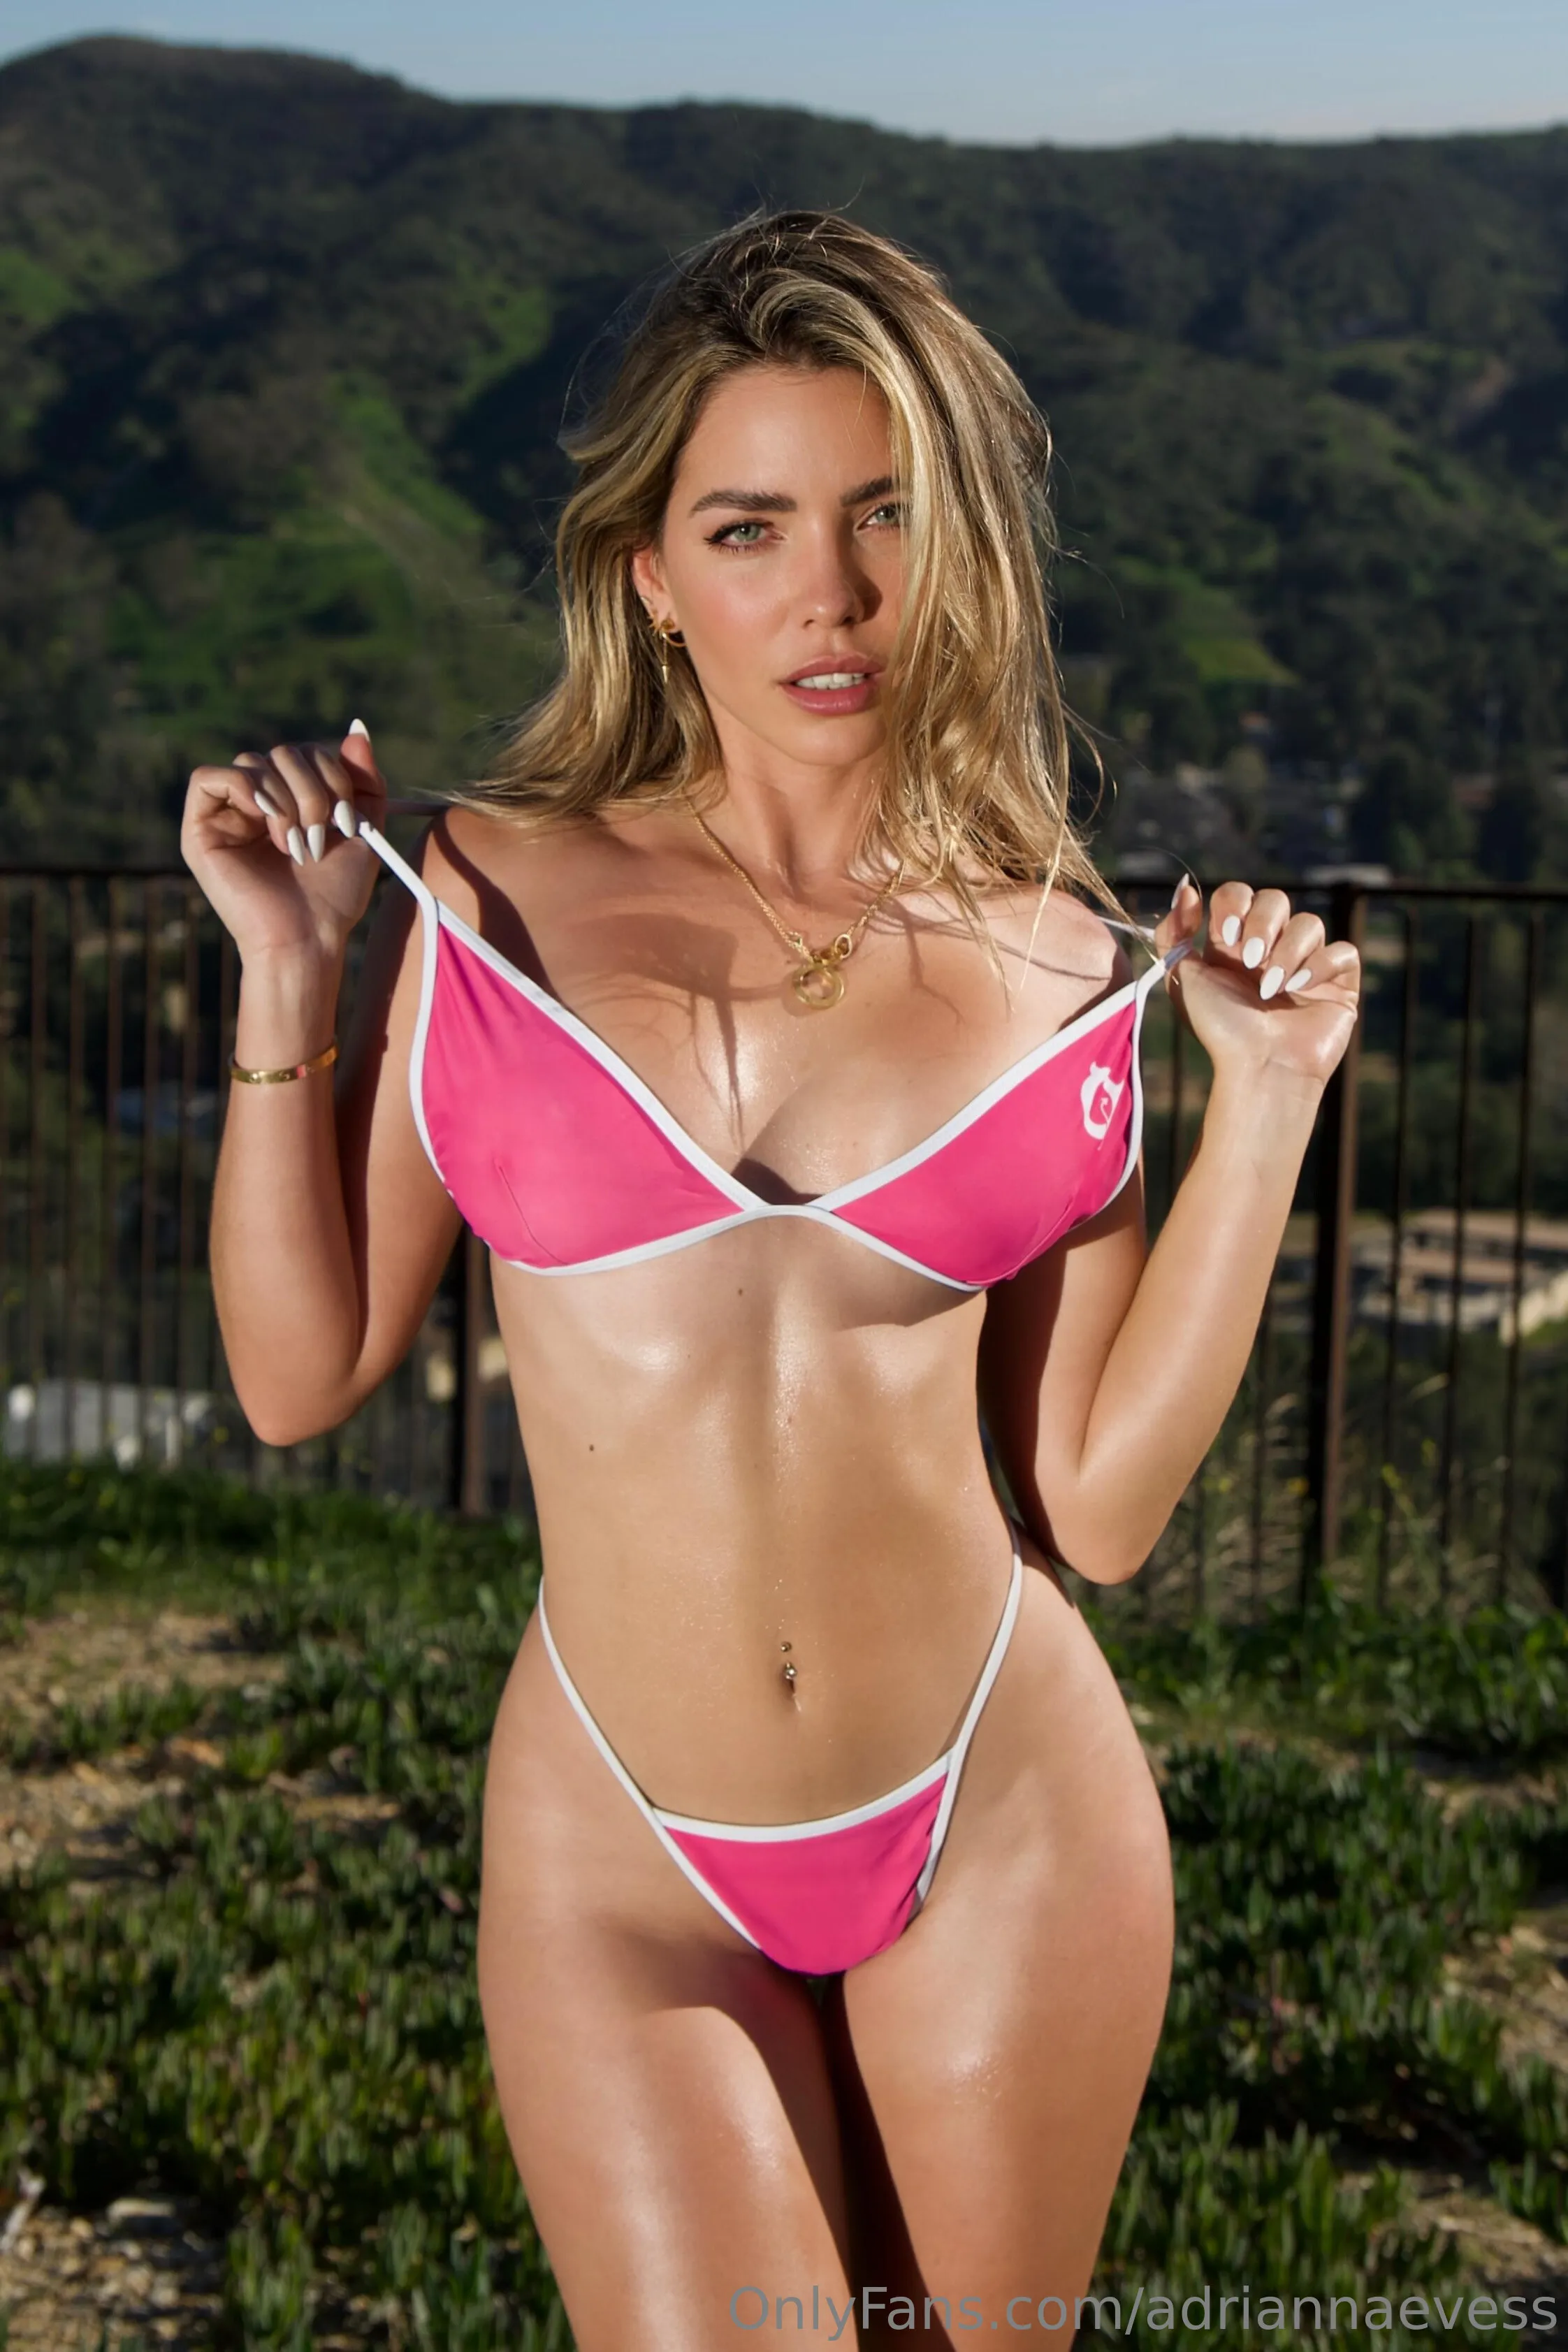
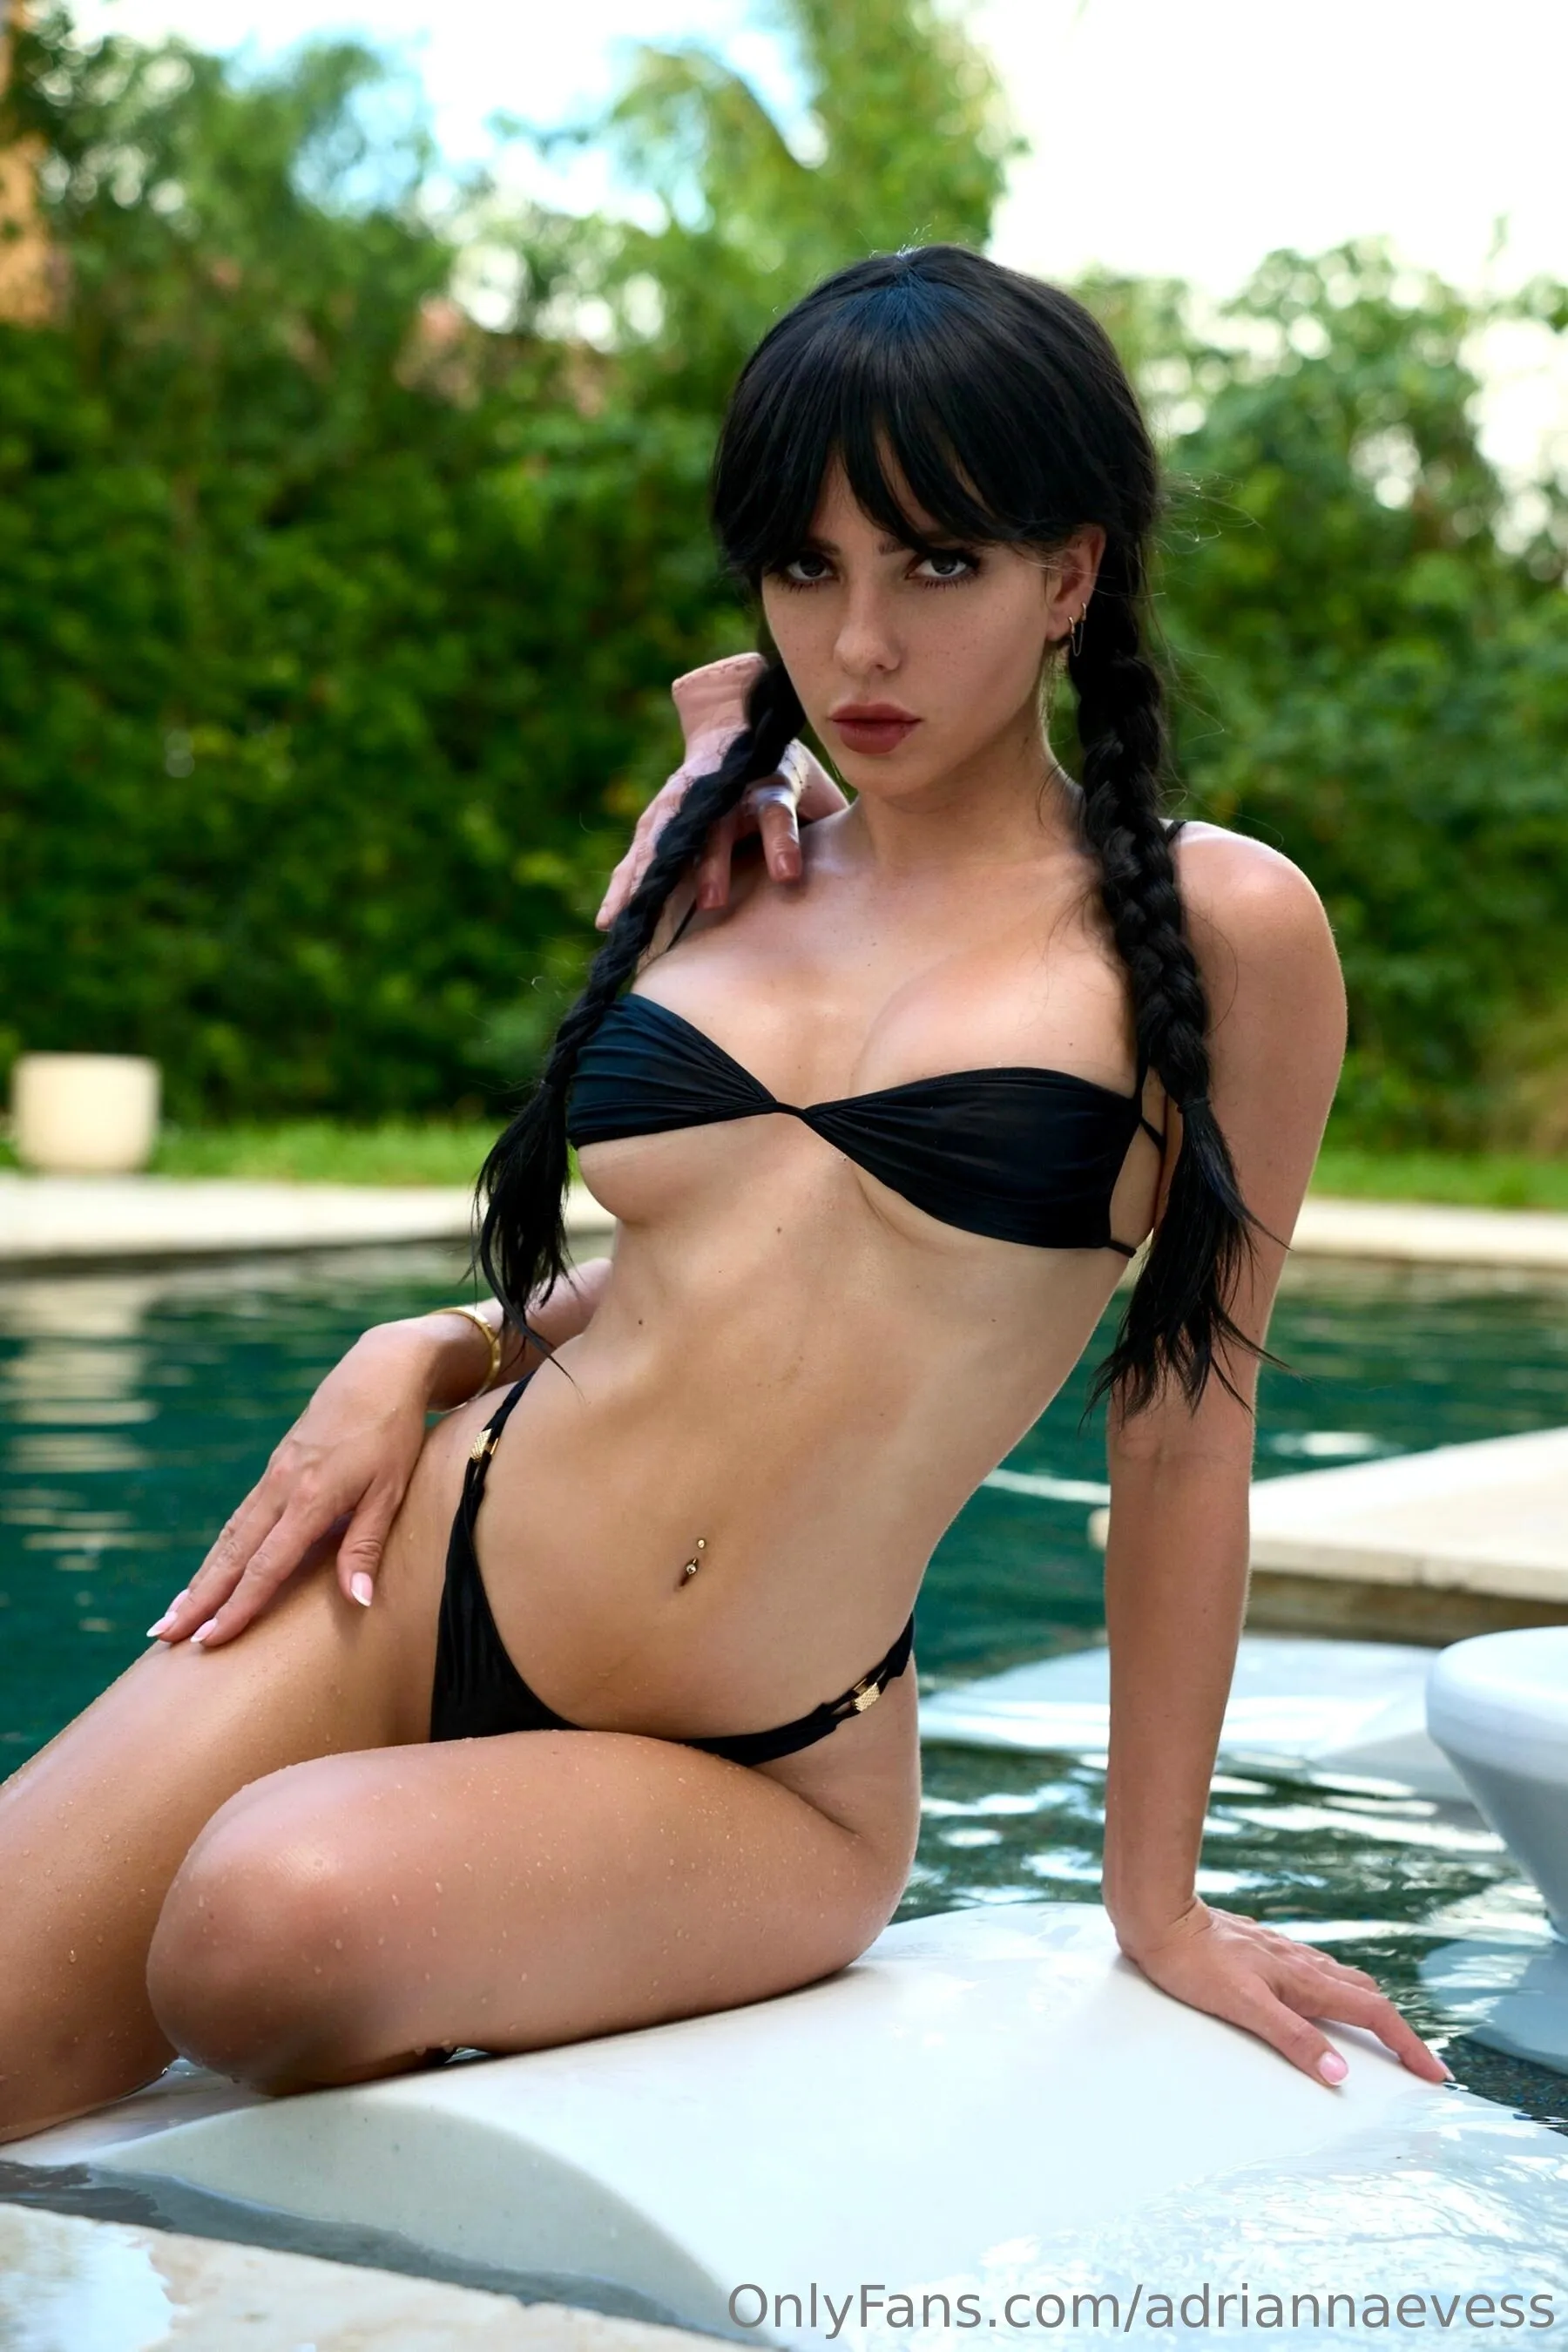
Adrianna Eves nude Photo / adriannaevess Porn - Photo #3

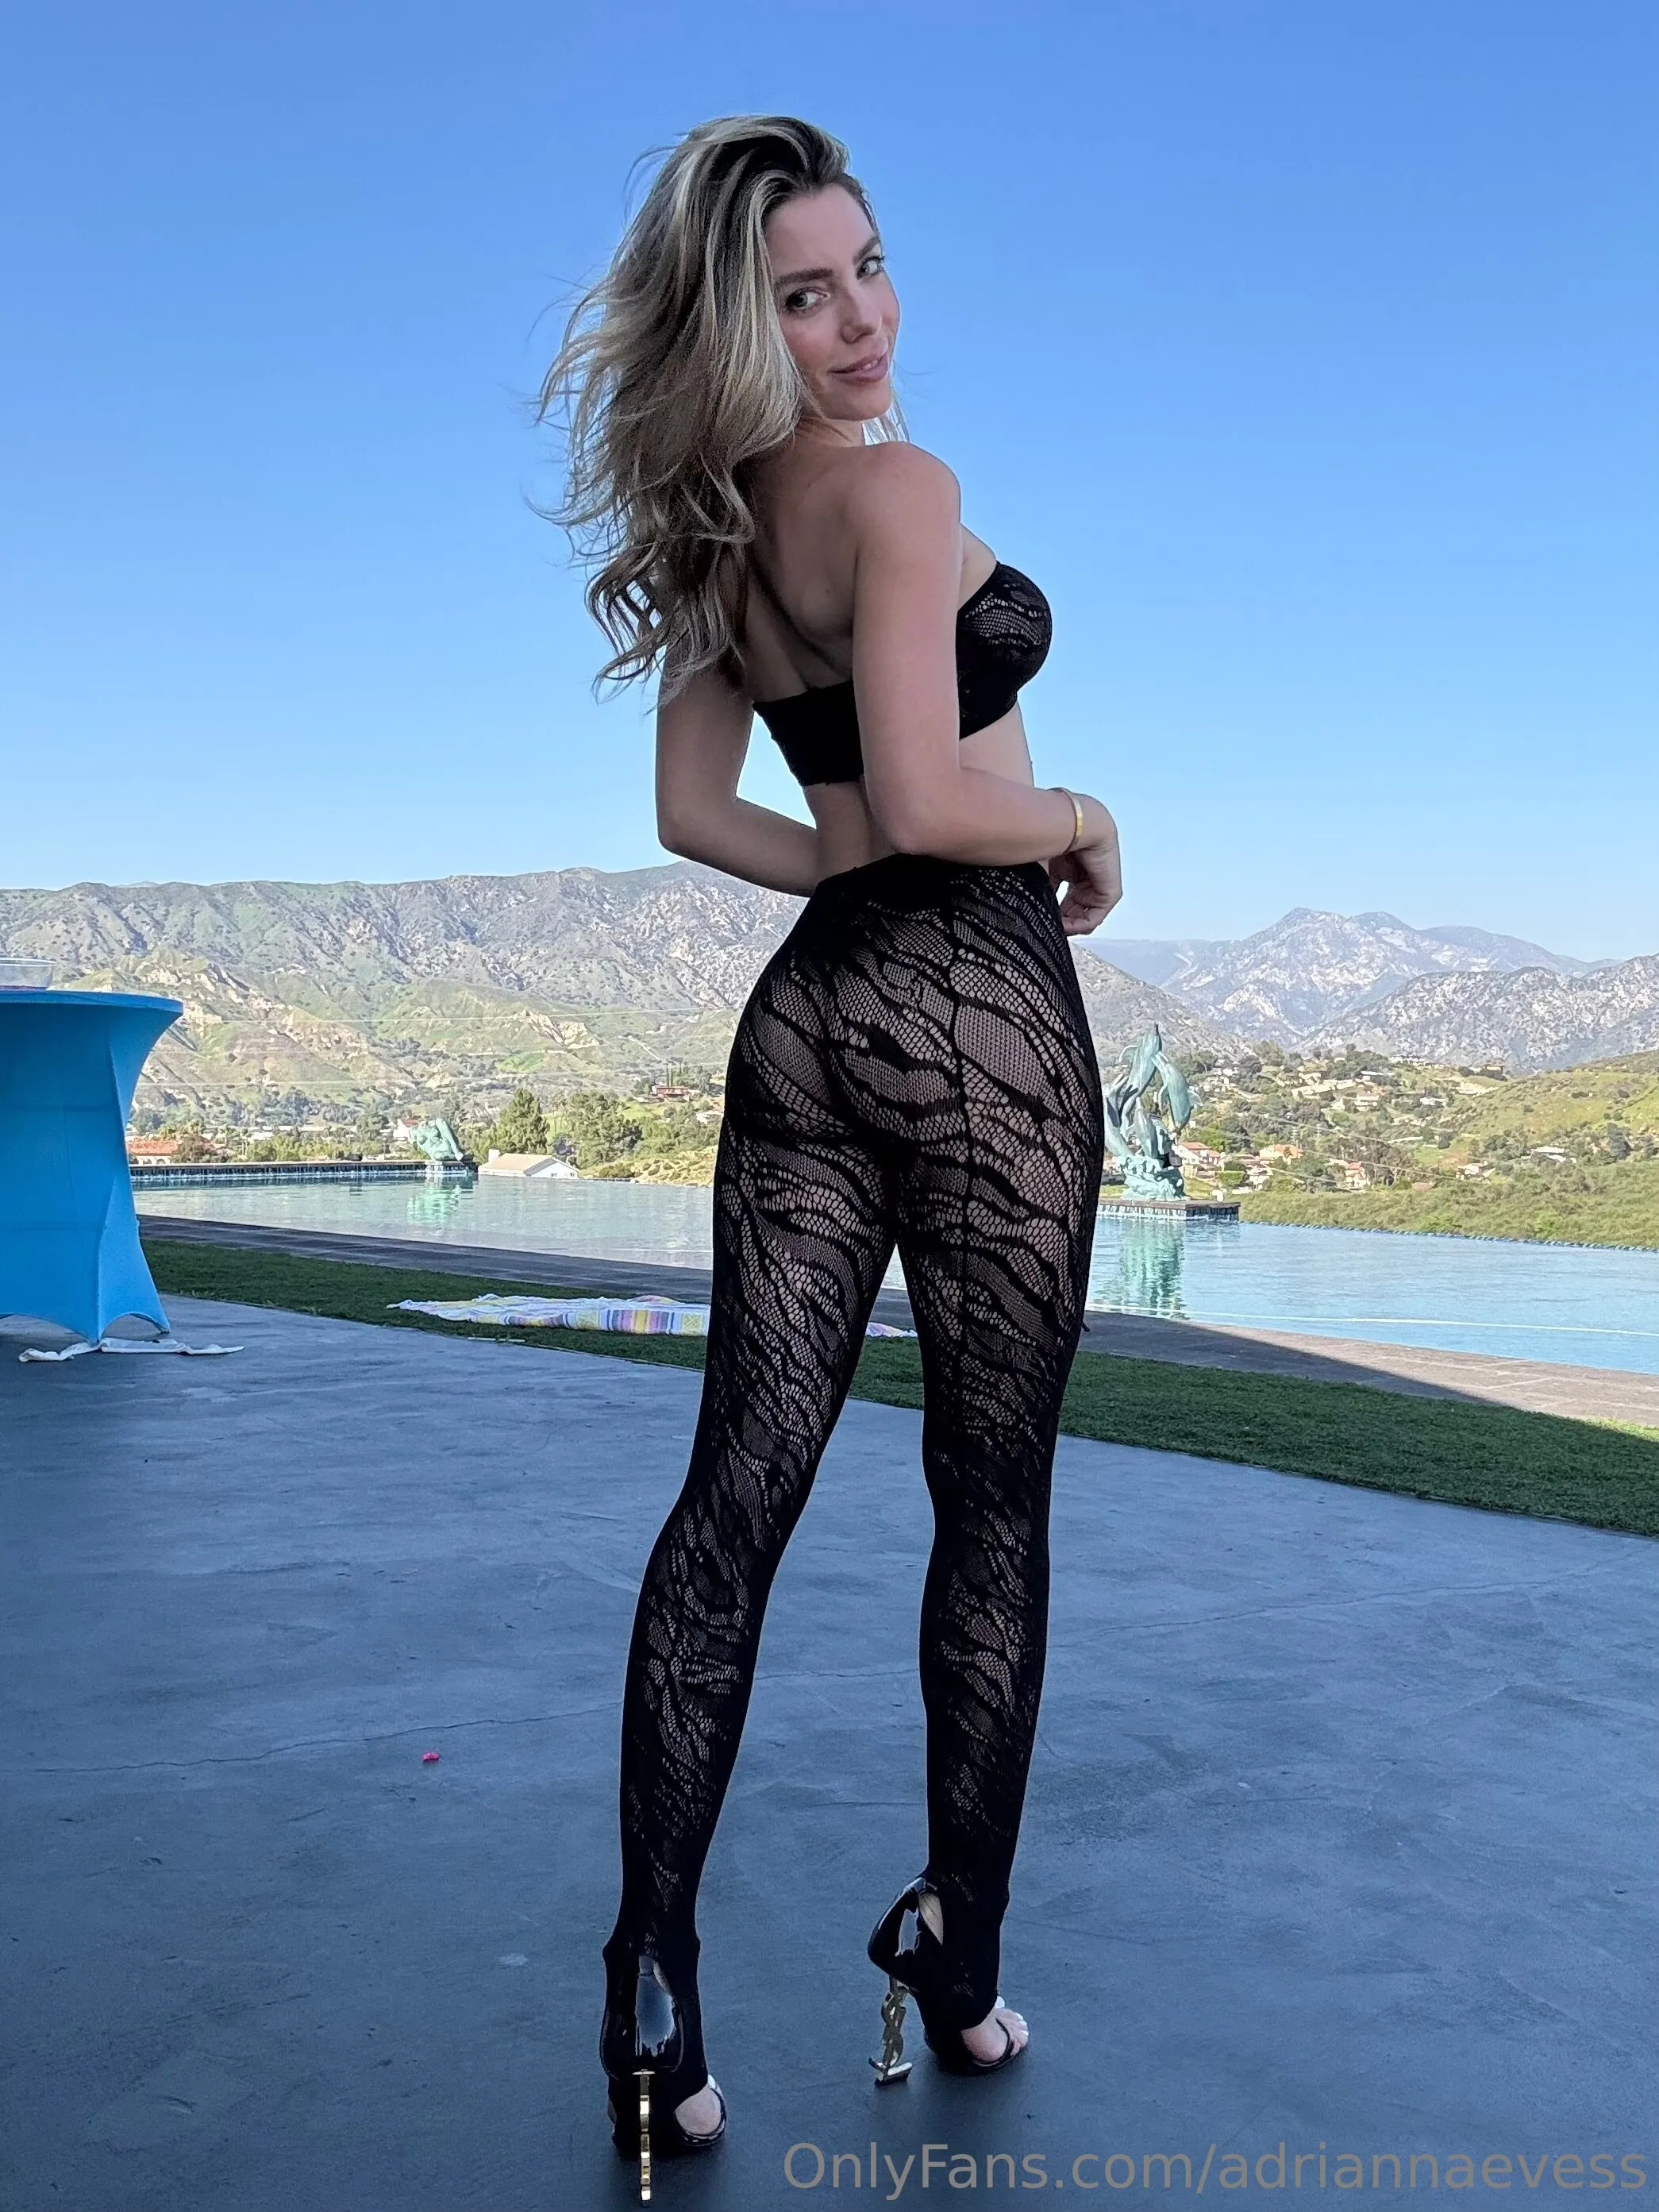
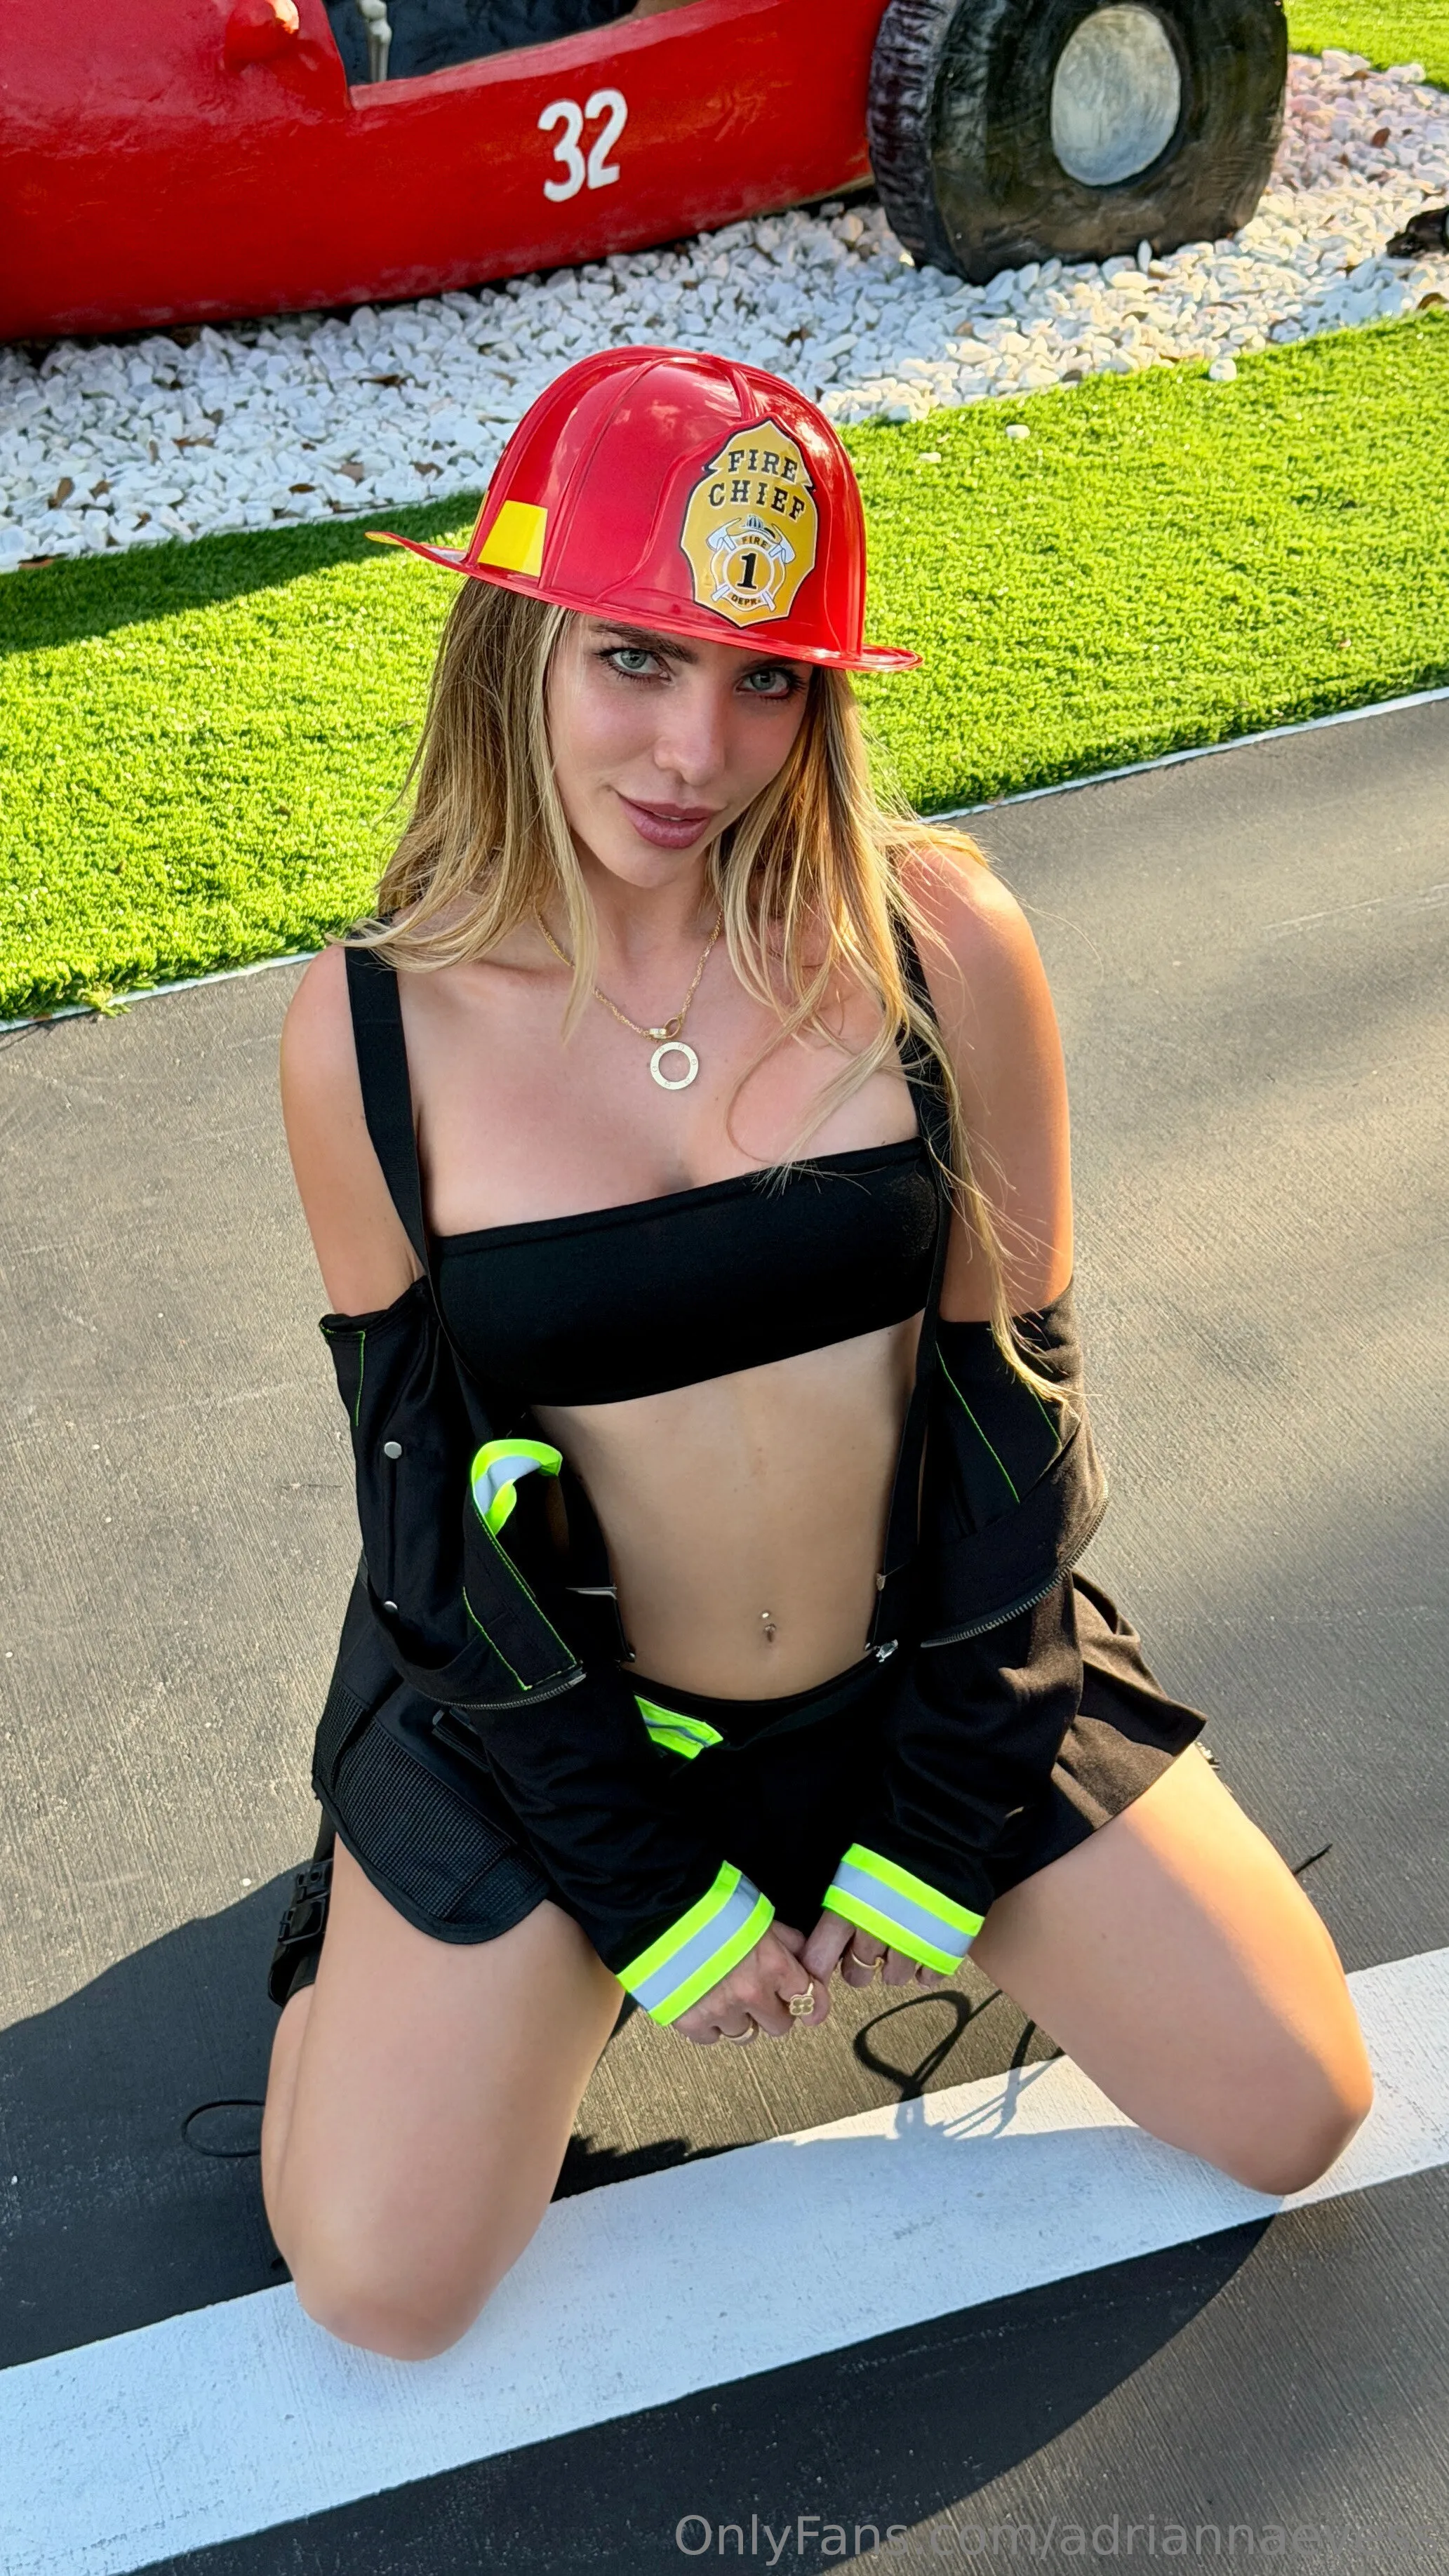
Adrianna Eves nude Photo / adriannaevess Porn - Photo #4
Adrianna Eves nude Photo / adriannaevess Porn - Photo #5
Adrianna Eves nude Photo / adriannaevess Porn - Photo #6

Adrianna Eves nude Photo / adriannaevess Porn - Photo #7
Adrianna Eves nude Photo / adriannaevess Porn - Photo #8
Adrianna Eves nude Photo / adriannaevess Porn - Photo #9
Adrianna Eves nude Photo / adriannaevess Porn - Photo #10
Adrianna Eves nude Photo / adriannaevess Porn - Photo #11
Adrianna Eves nude Photo / adriannaevess Porn - Photo #12
More leaked posts
Explore the drops

💓💓Stacy💓💓 nude Photo / Porn - Photo #15

💓💓Stacy💓💓 nude Photo / Porn - Photo #18

💓💓Stacy💓💓 nude Photo / Porn - Photo #14

💓💓Stacy💓💓 nude Photo / Porn - Photo #21

💓💓Stacy💓💓 nude Photo / Porn - Photo #13

💓💓Stacy💓💓 nude Photo / Porn - Photo #12

💓💓Stacy💓💓 nude Photo / Porn - Photo #17

💓💓Stacy💓💓 nude Photo / Porn - Photo #11

💓💓Stacy💓💓 nude Photo / Porn - Photo #19

💓💓Stacy💓💓 nude Photo / Porn - Photo #7
Syren De Mer VIP nude Photo / Porn - Photo #9

Syren De Mer VIP nude Photo / Porn - Photo #8
Syren De Mer VIP nude Photo / Porn - Photo #1

Syren De Mer VIP nude Photo / Porn - Photo #3

Syren De Mer VIP nude Photo / Porn - Photo #6
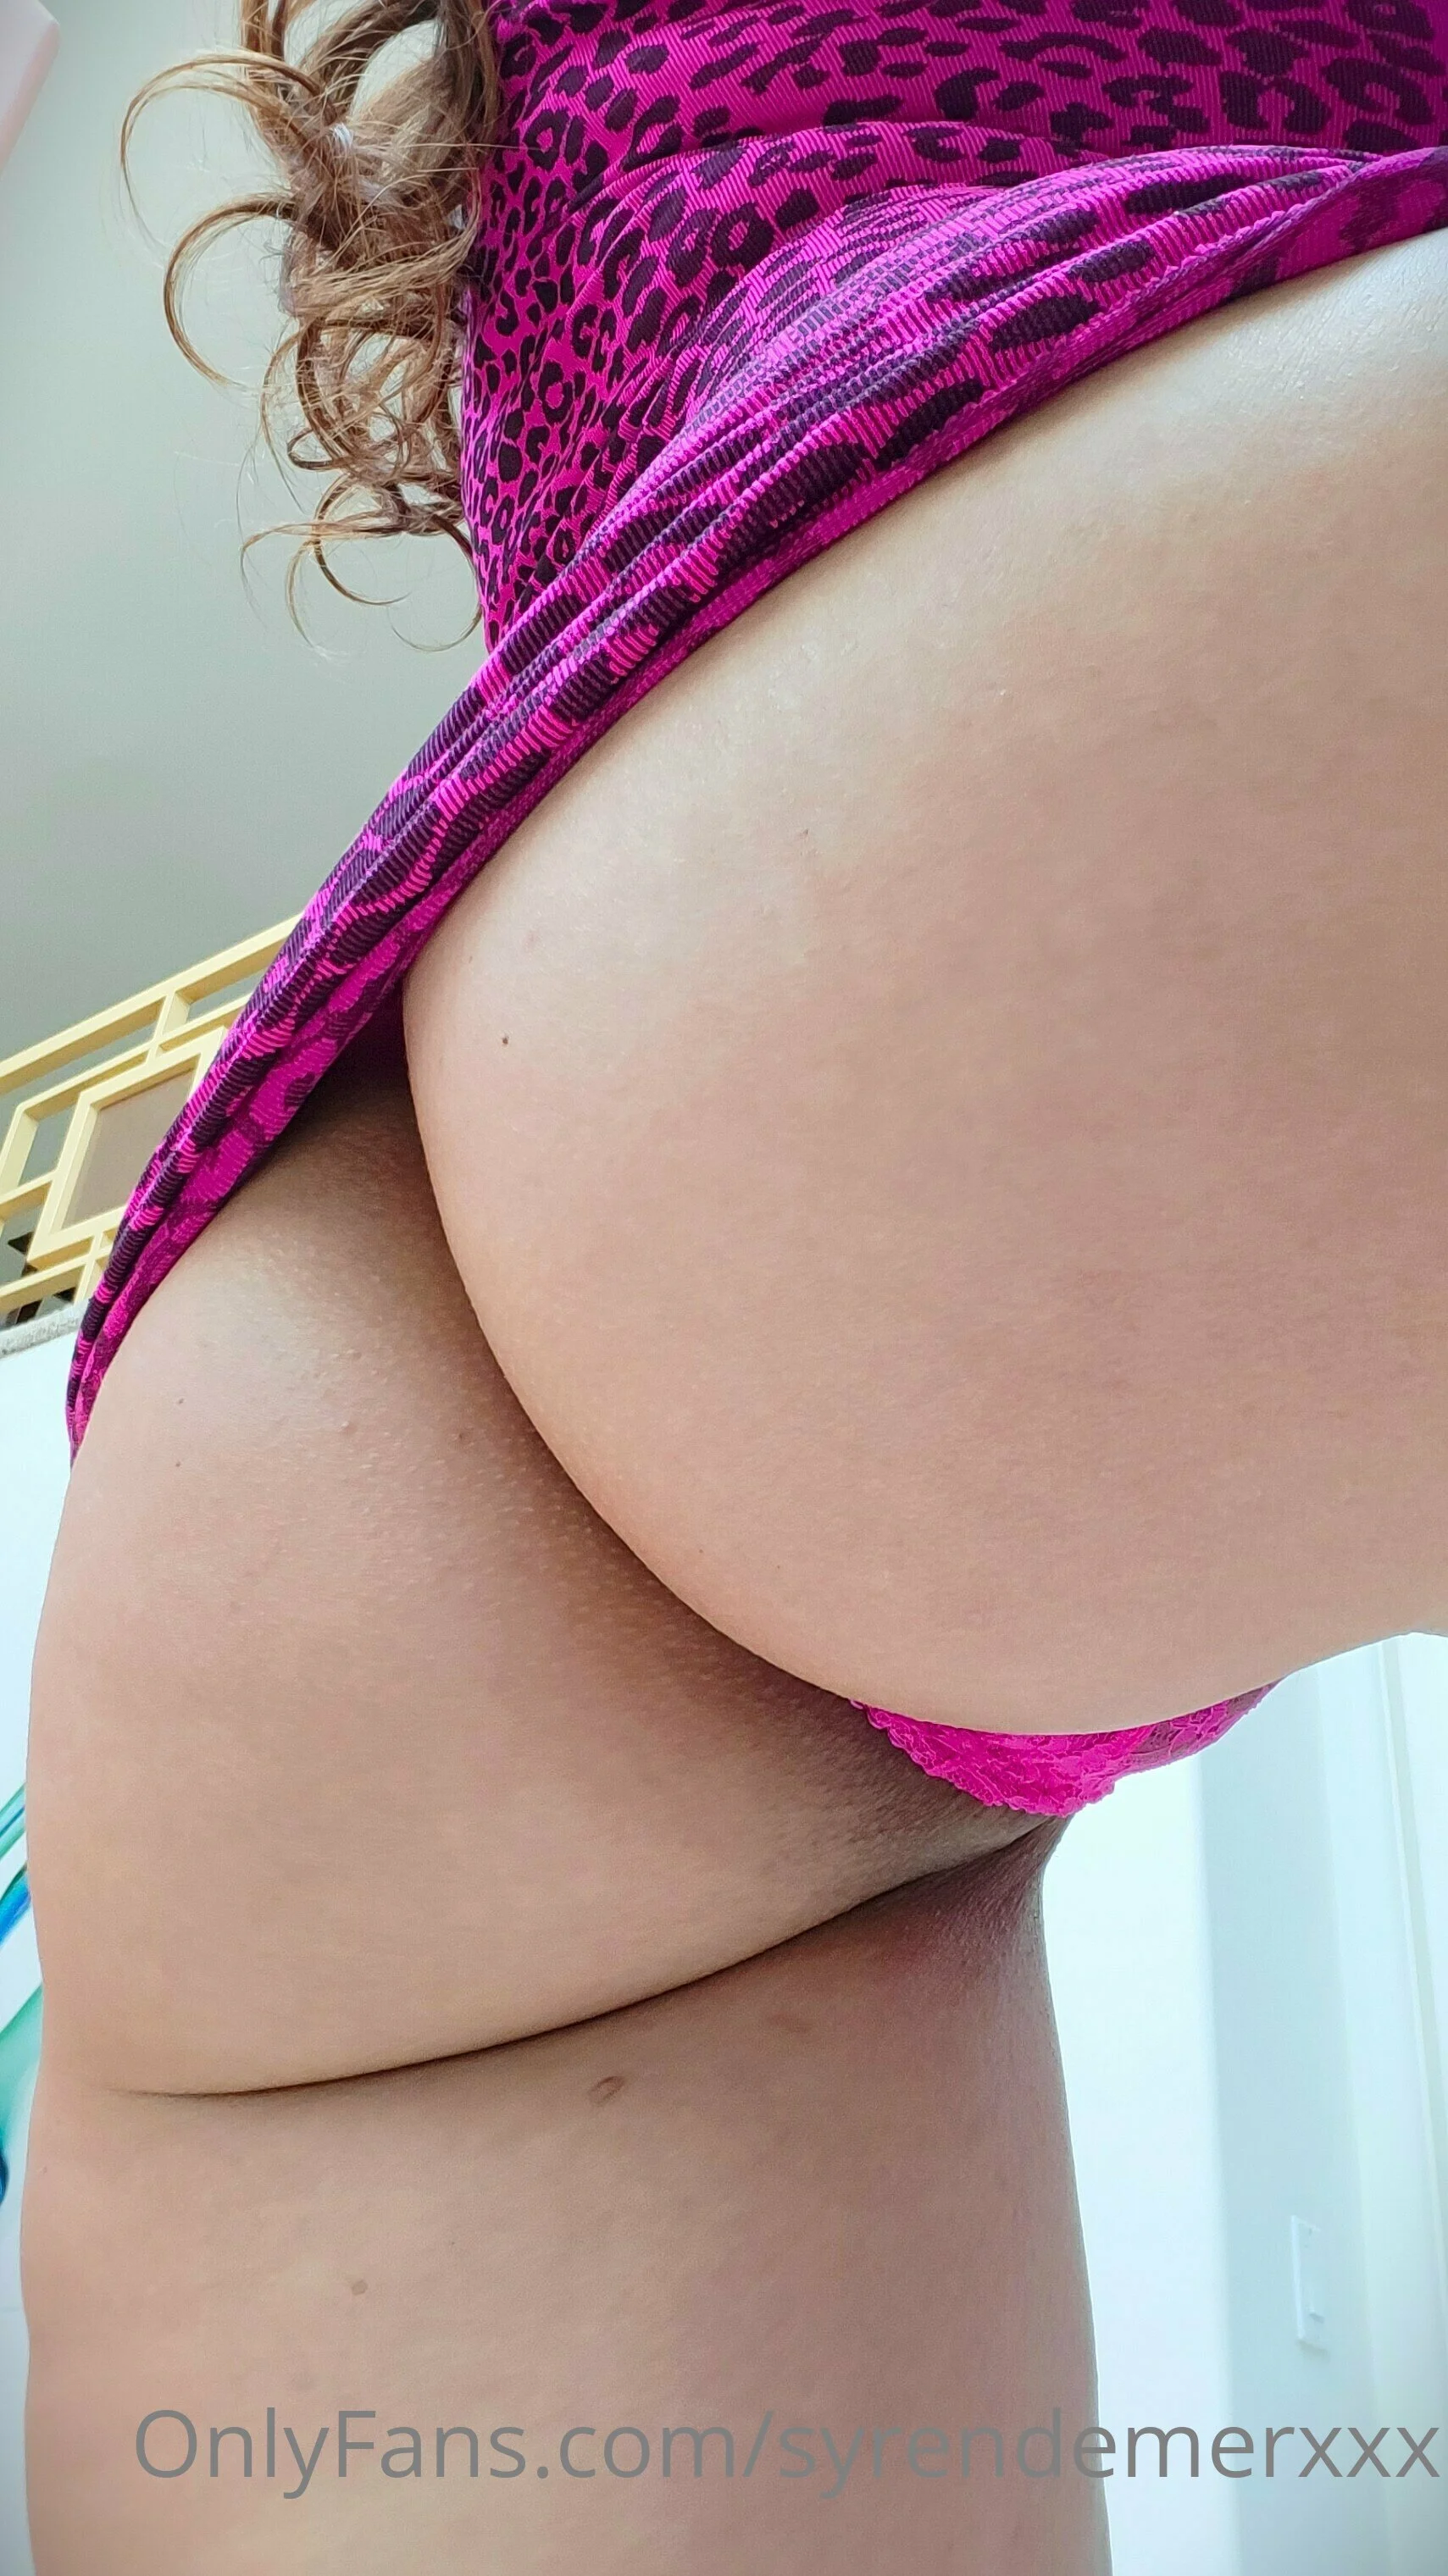
Syren De Mer VIP nude Photo / Porn - Photo #4

BuffnТight nude Photo / Porn - Photo #10
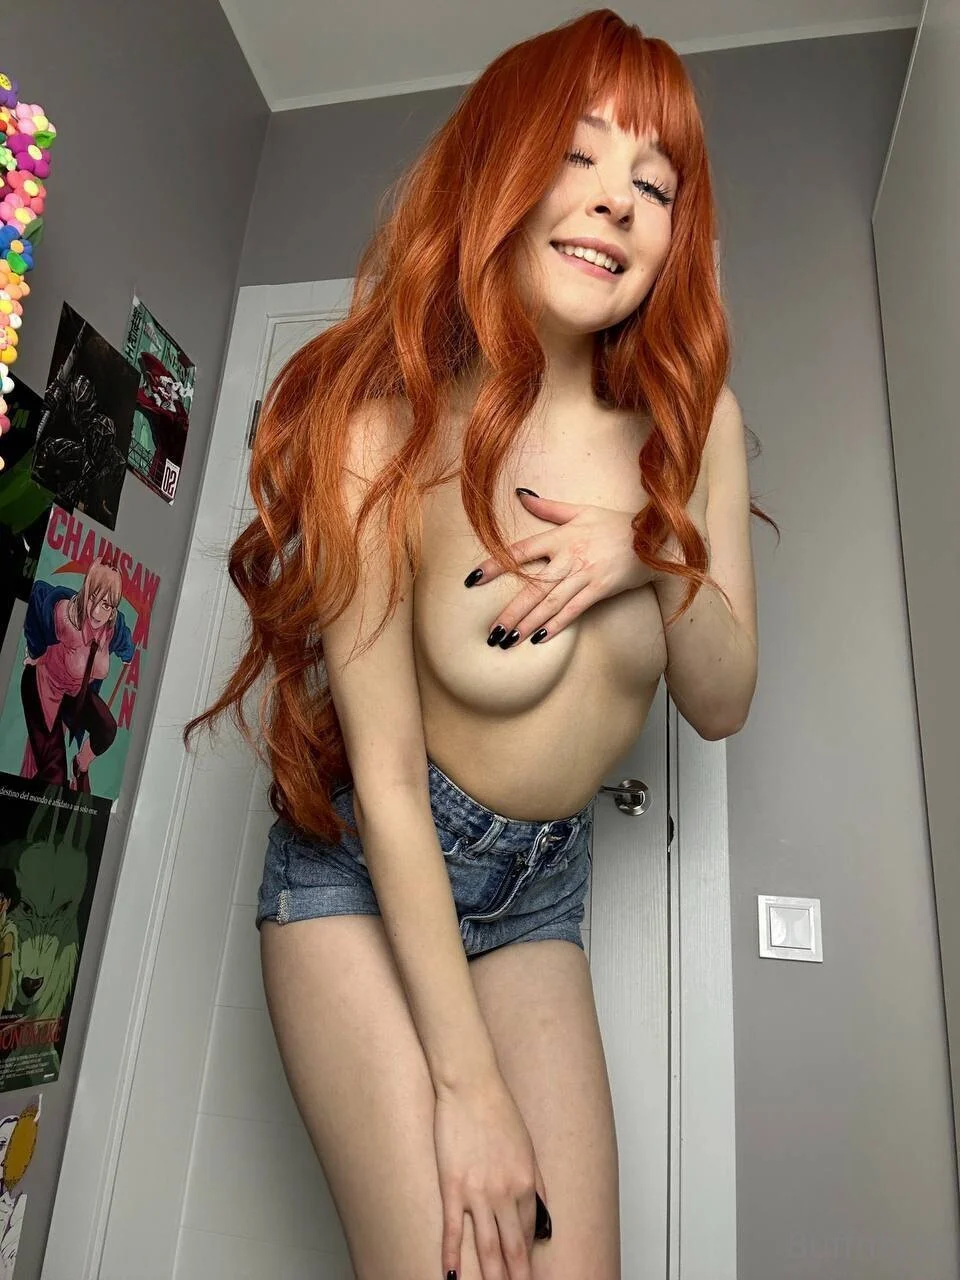
BuffnТight nude Photo / Porn - Photo #9

BuffnТight nude Photo / Porn - Photo #6

BuffnТight nude Photo / Porn - Photo #8

BuffnТight nude Photo / Porn - Photo #7
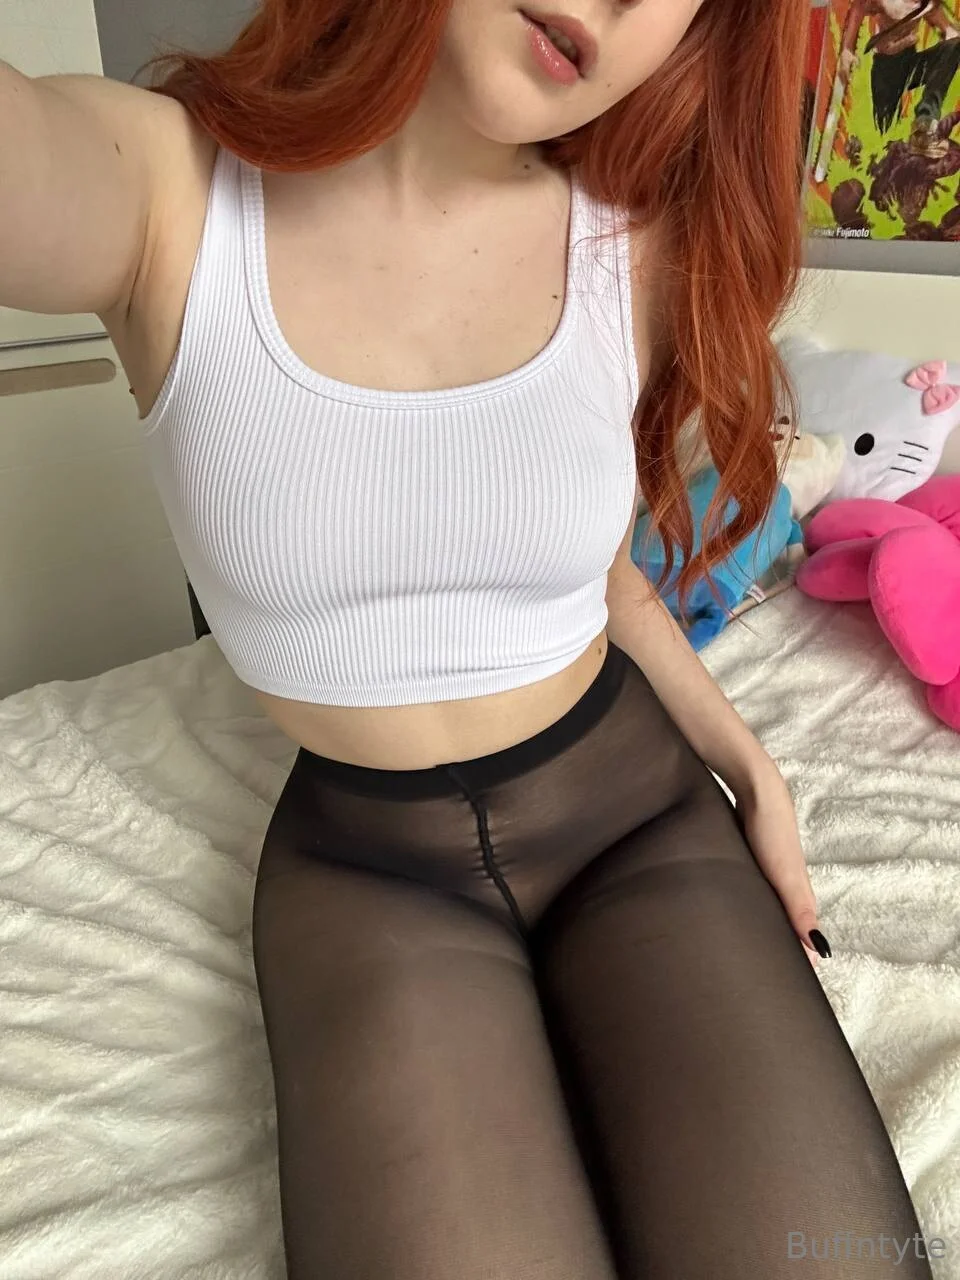
BuffnТight nude Photo / Porn - Photo #5
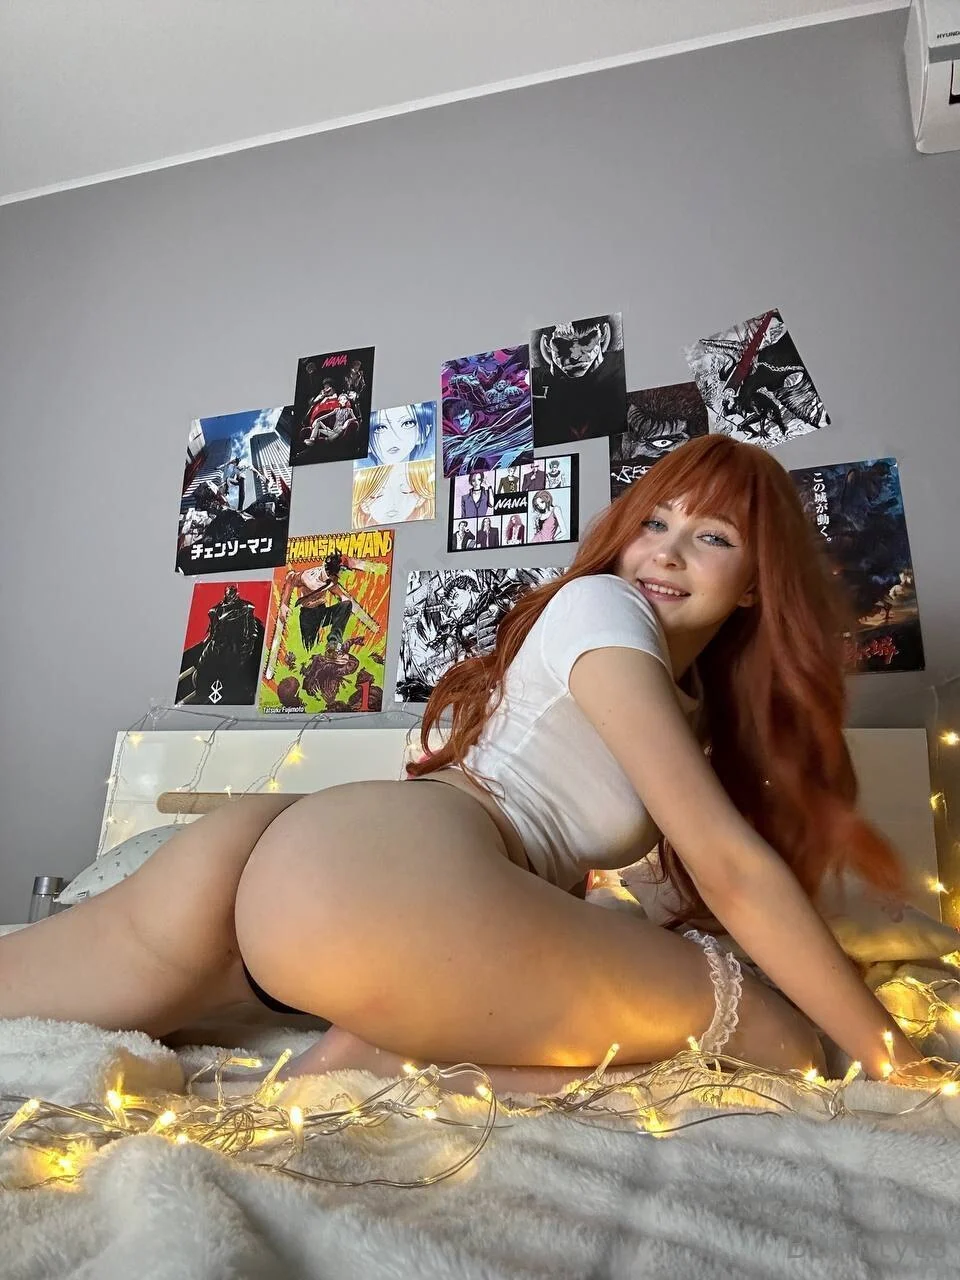
BuffnТight nude Photo / Porn - Photo #3
BuffnТight nude Photo / Porn - Photo #2
Profiles