Unlock Lela Star sequin underwear @lelastarfree naked's premium content leaks featuring hot sex photos and full-length OnlyFans videos.
Check out Lela Star sequin underwear @lelastarfree's hottest OnlyFans leaks featuring premium nude videos and exclusive sex photos from her private collection.
Main profile
Lela Star
@lelastarfree
Lela Star nude Photo / lelastarfree Porn - Photo #1

Lela Star nude Photo / lelastarfree Porn - Photo #2
Lela Star nude Photo / lelastarfree Porn - Photo #3

Lela Star nude Photo / lelastarfree Porn - Photo #4
Lela Star nude Photo / lelastarfree Porn - Photo #5
Lela Star nude Photo / lelastarfree Porn - Photo #6
Lela Star nude Photo / lelastarfree Porn - Photo #7

Lela Star nude Photo / lelastarfree Porn - Photo #8
Lela Star nude Photo / lelastarfree Porn - Photo #9

Lela Star nude Photo / lelastarfree Porn - Photo #10

Lela Star nude Photo / lelastarfree Porn - Photo #11
Lela Star nude Photo / lelastarfree Porn - Photo #12
More leaked posts
Explore the drops

🫨 𝖇𝖊𝖑𝖑𝖆 ⋆˙⟡♡ nude Photo / Porn - Photo #11
Vitto Lazzari 👸🏻 nude Photo / Porn - Photo #33
Lucky Anne ☆ FREE PAGE ☆ nude Photo / Porn - Photo #6

Fenix nude Photo / Porn - Photo #10

Gothic Barbie 🦇 nude Photo / Porn - Photo #14

Wynter Love nude Photo / Porn - Photo #6

Lilith39 nude Photo / Porn - Photo #6
Madz nude Photo / Porn - Photo #5
Lisa Jordan nude Photo / Porn - Photo #32

dukethedude nude Photo / Porn - Photo #6

yasmin zbari 🩷 nude Photo / Porn - Photo #6

dukethedude nude Photo / Porn - Photo #14

Jessica nude Photo / Porn - Photo #13

Chelsea Charms nude Photo / Porn - Photo #14
Oriana nude Photo / Porn - Photo #1
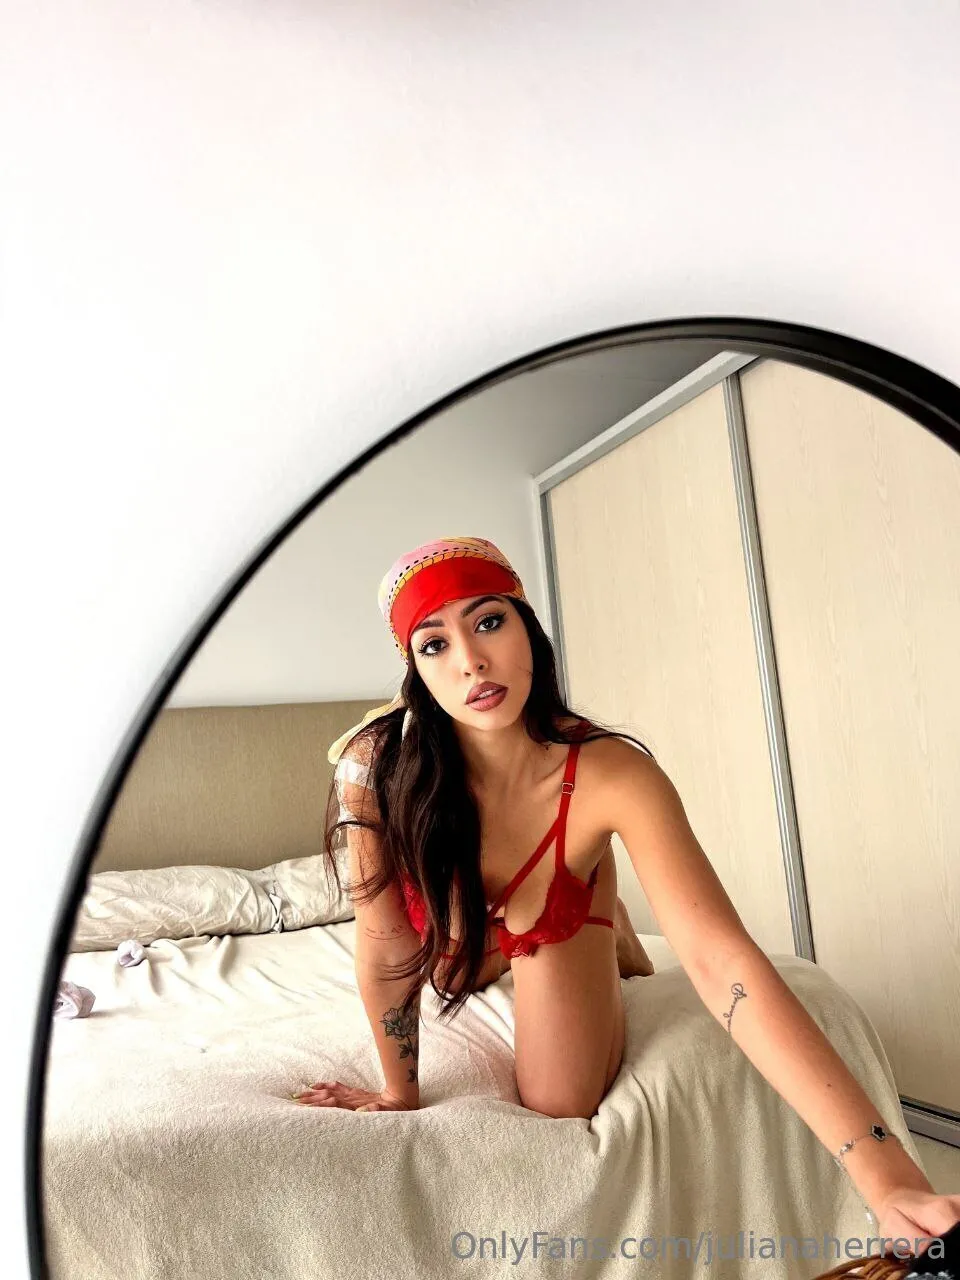
Juliana Herrera❤️ nude Photo / Porn - Photo #5
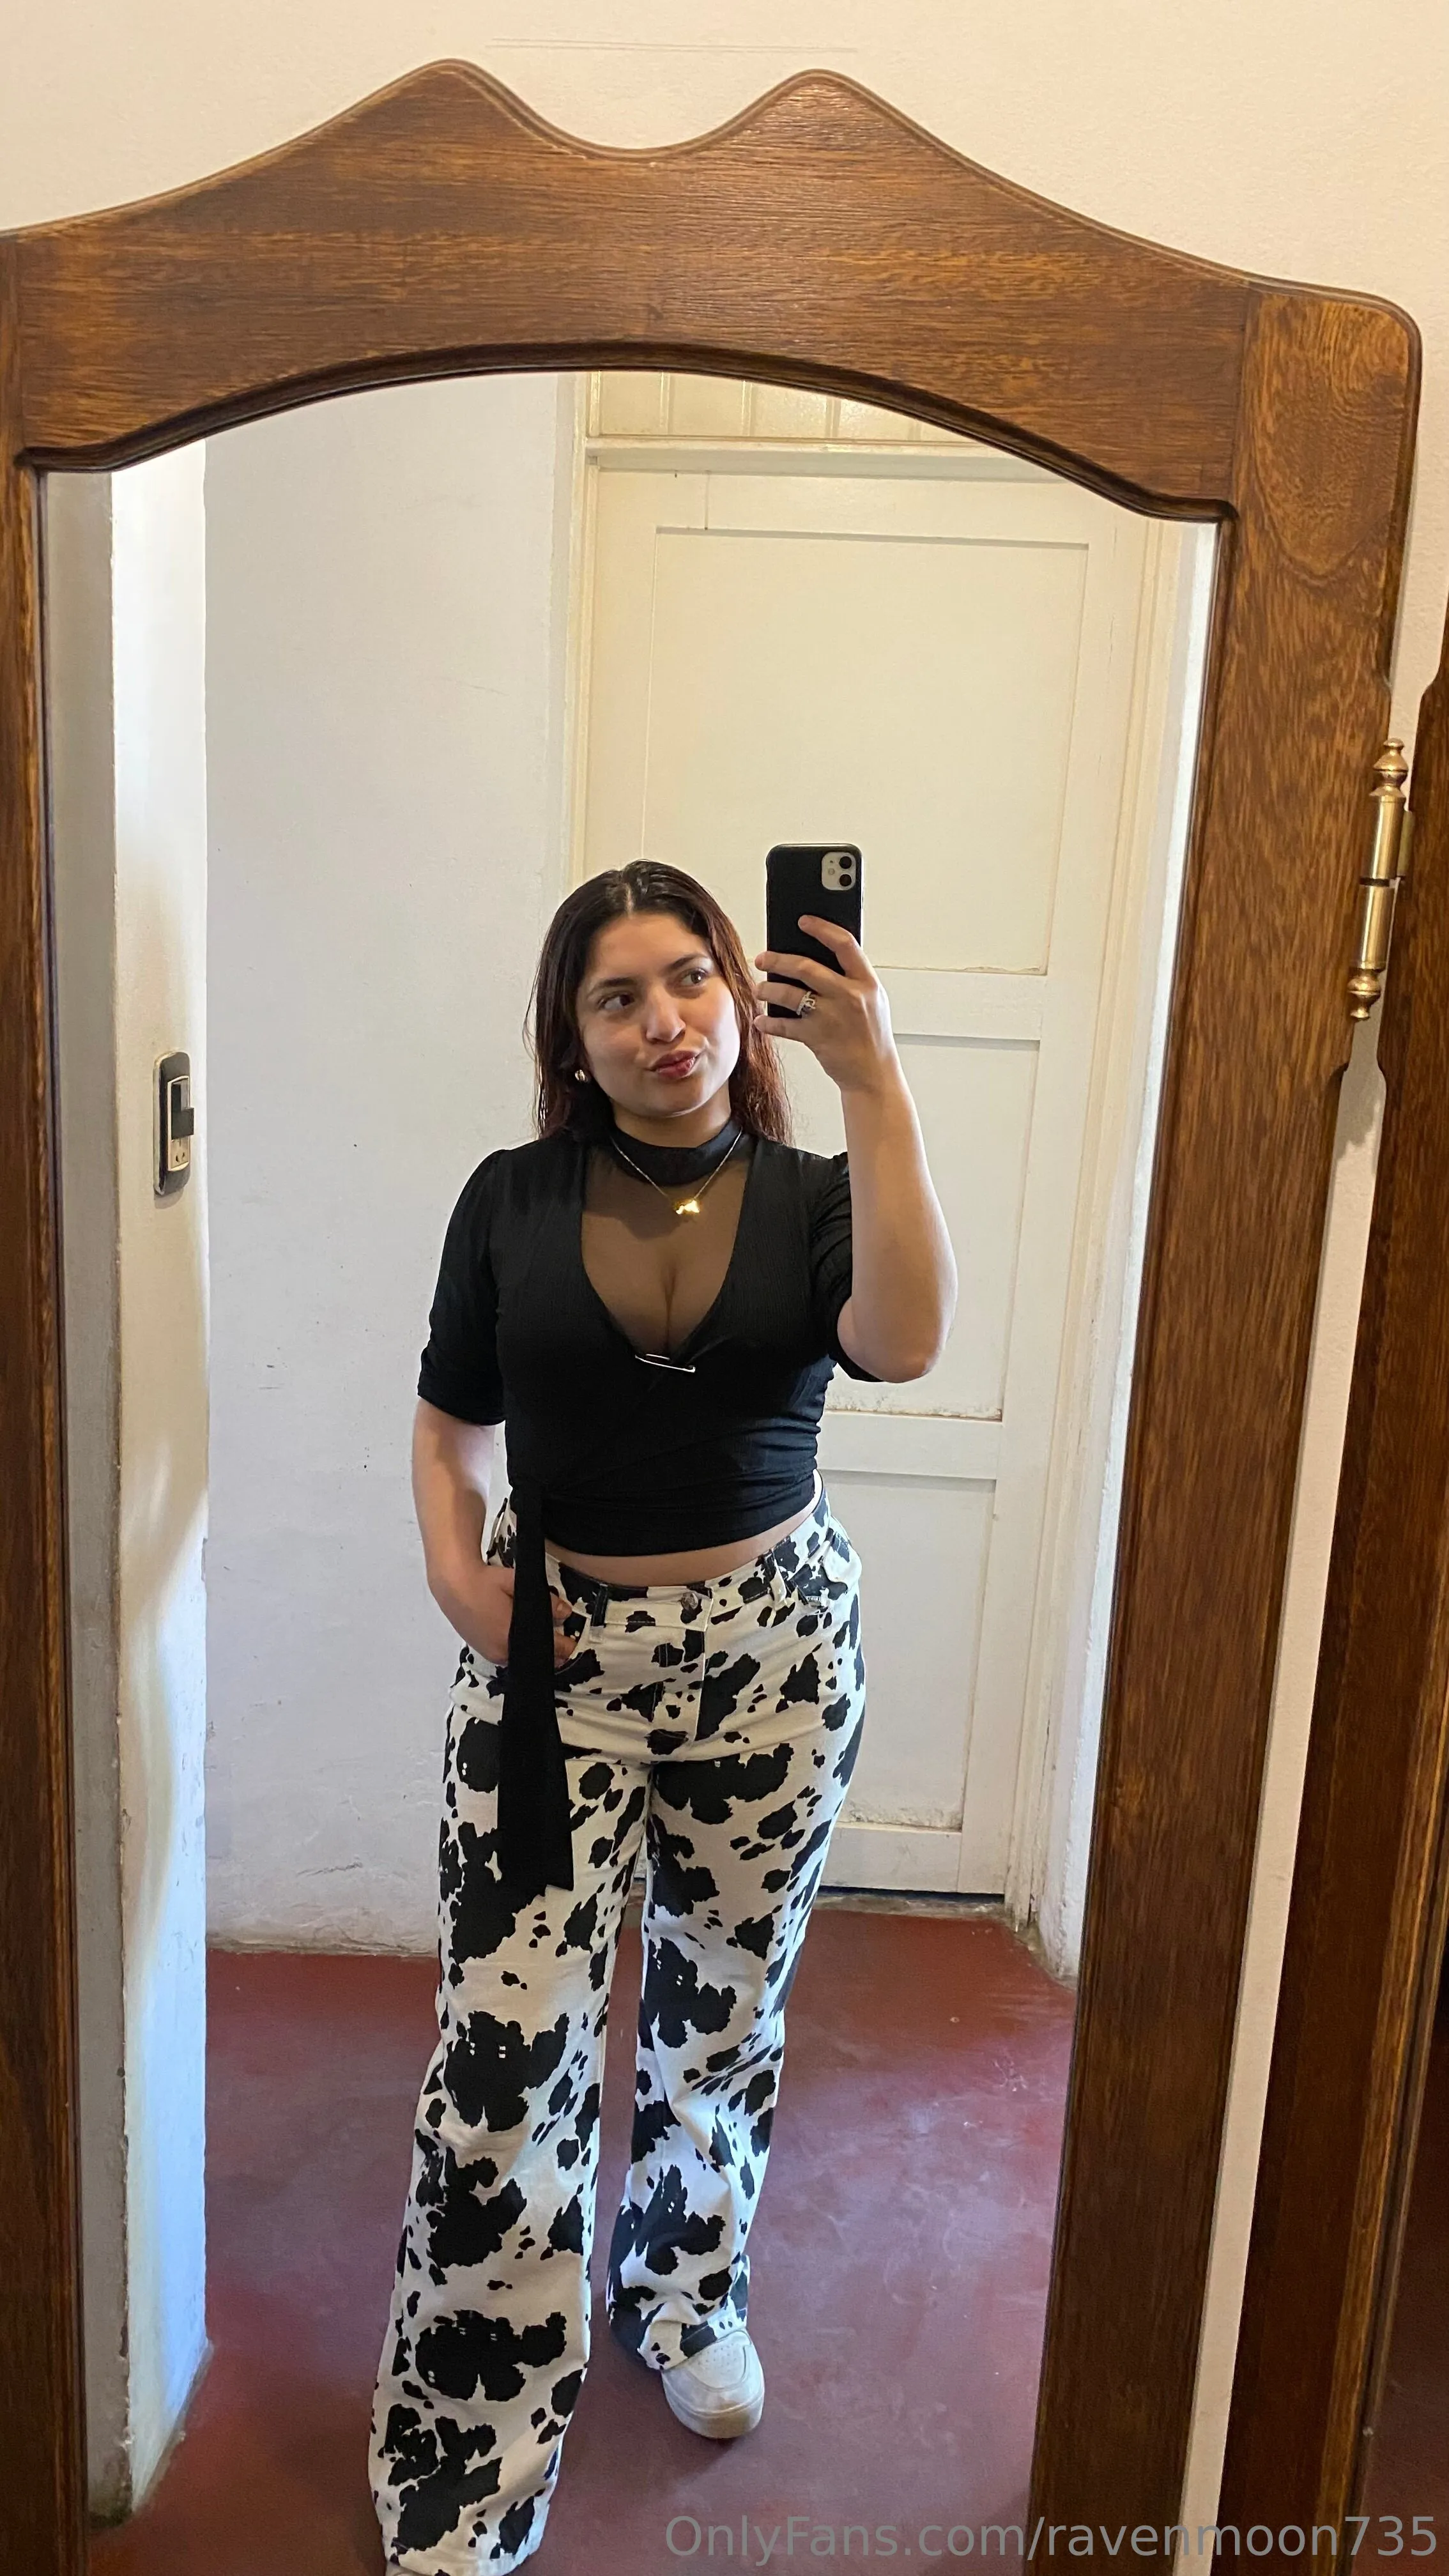
🔥RAVEN VIDEO CALLS nude Photo / Porn - Photo #5

Lolwarlock nude Photo / Porn - Photo #19
🖤 Luna Aoki – Your Busty Goth GF🖤 nude Photo / Porn - Photo #18
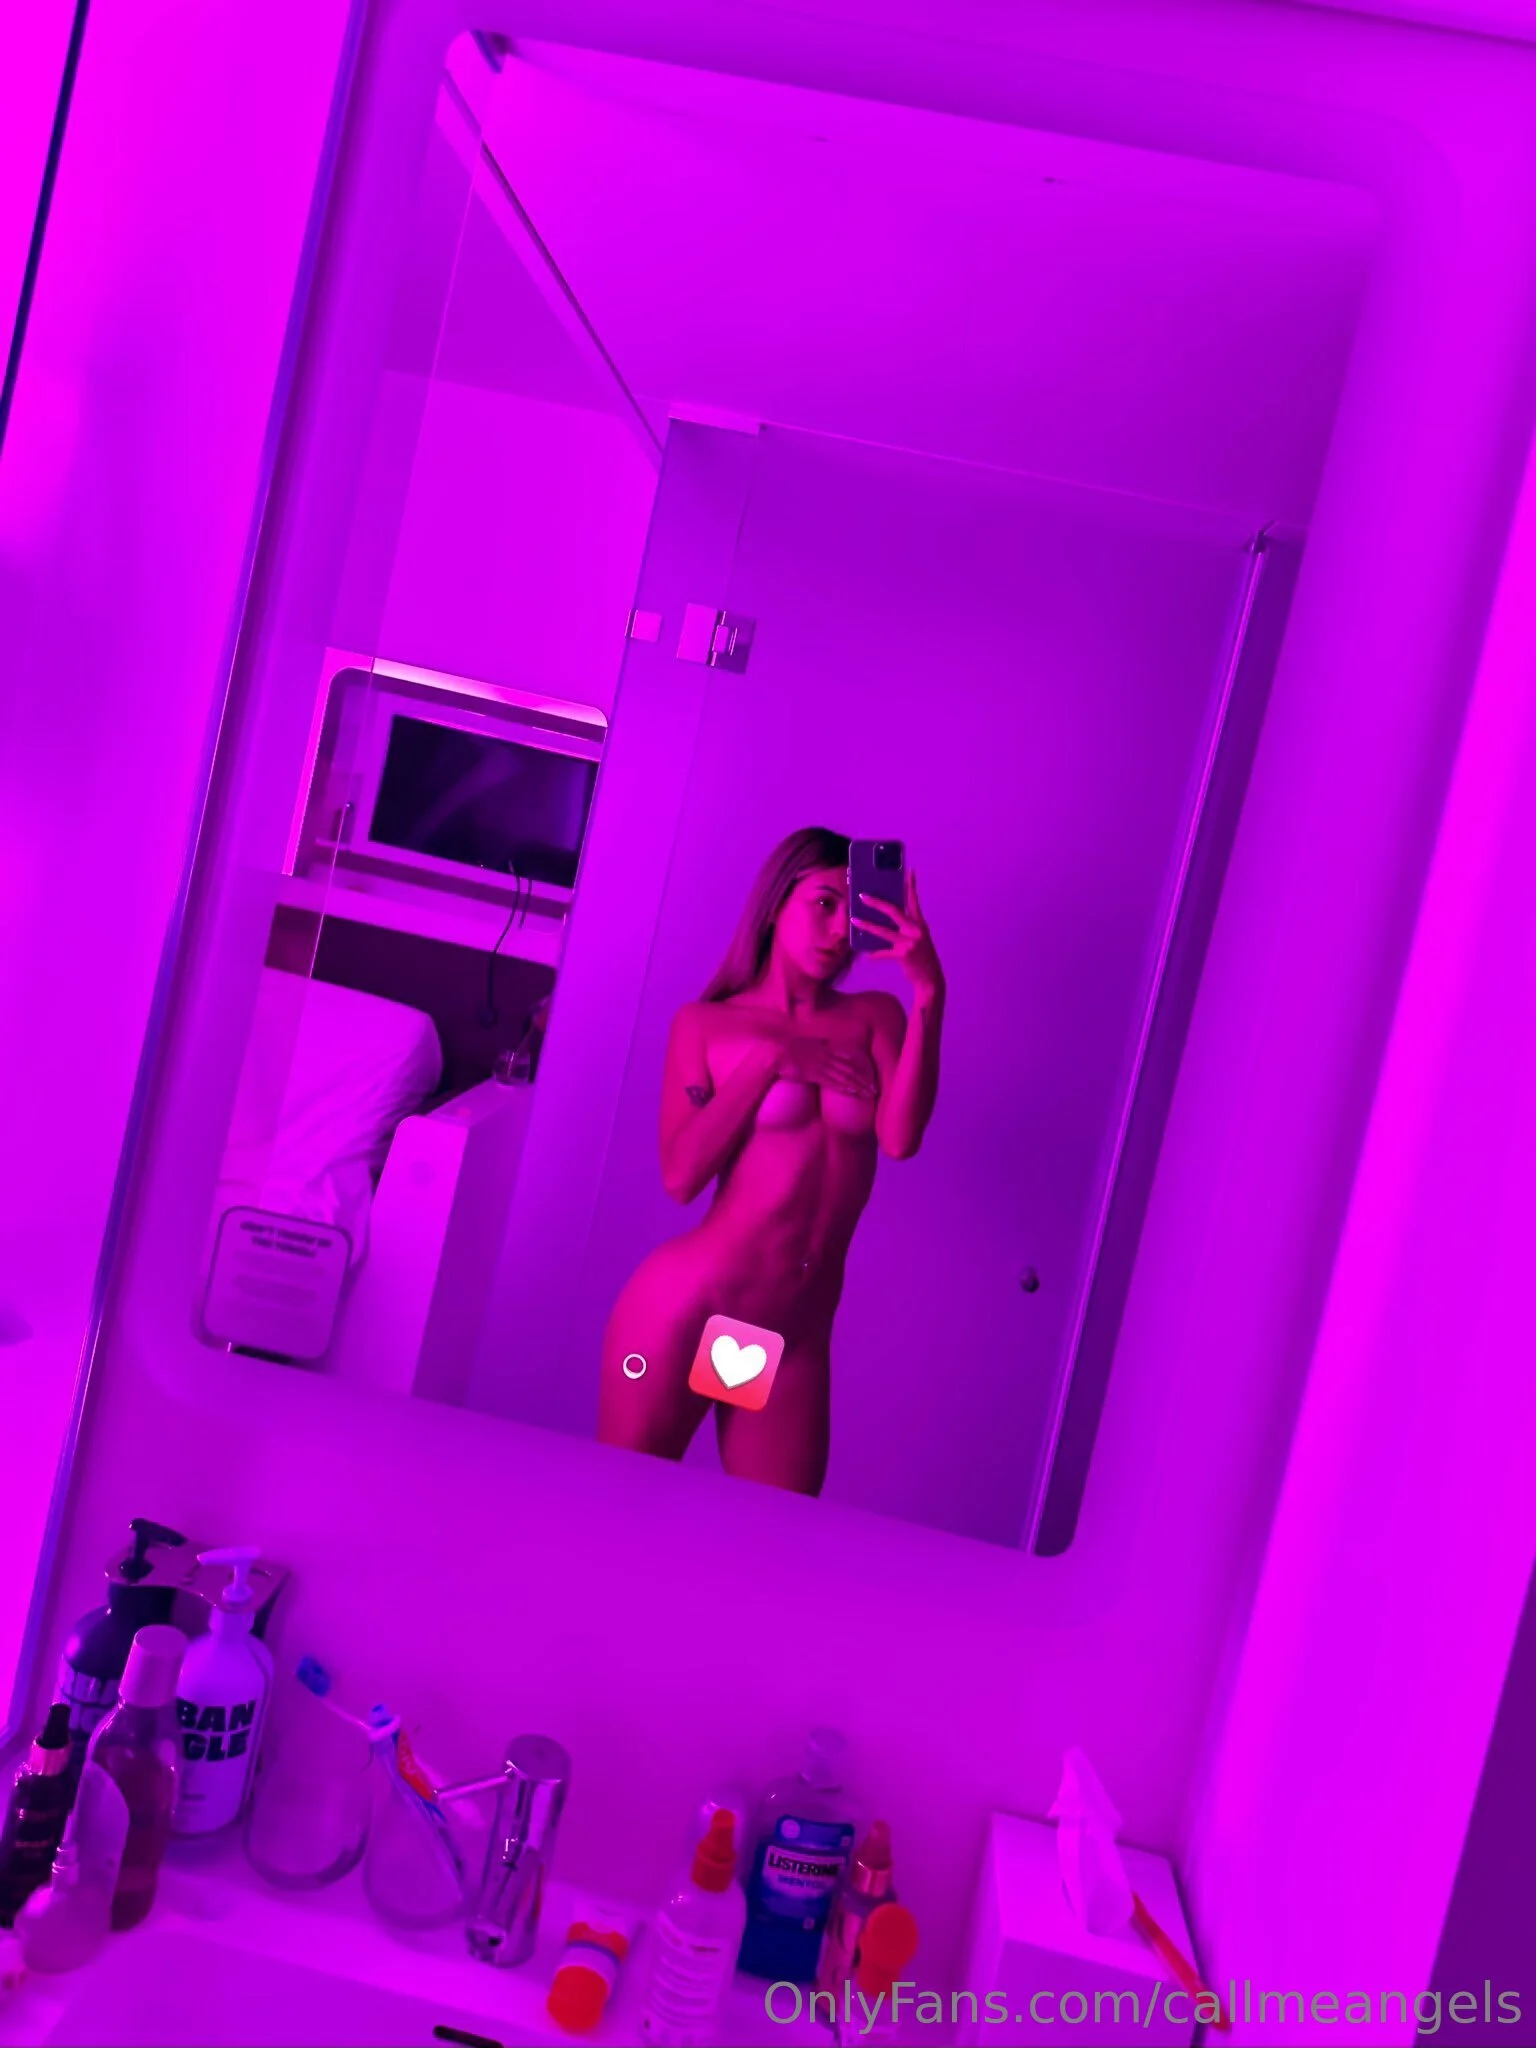
Call Me Angels nude Photo / Porn - Photo #15
Hanny nude Photo / Porn - Photo #11

Sha Rizel nude Photo / Porn - Photo #24

Its_stella.ackerman nude Photo / Porn - Photo #10
Vanessa Rae Adams Free nude Photo / Porn - Photo #3
Profiles