Explore balerina Stella Mori 🌸 @stellamori naked's fresh porn content: leaked videos, sex photos, and endless OnlyFans nude updates.
Enjoy balerina Stella Mori 🌸 @stellamori's erotic OnlyFans leaks: crystal-clear porn scenes, naked galleries, and private sextape collections.
Main profile
Stella Mori 🌸
@stellamori
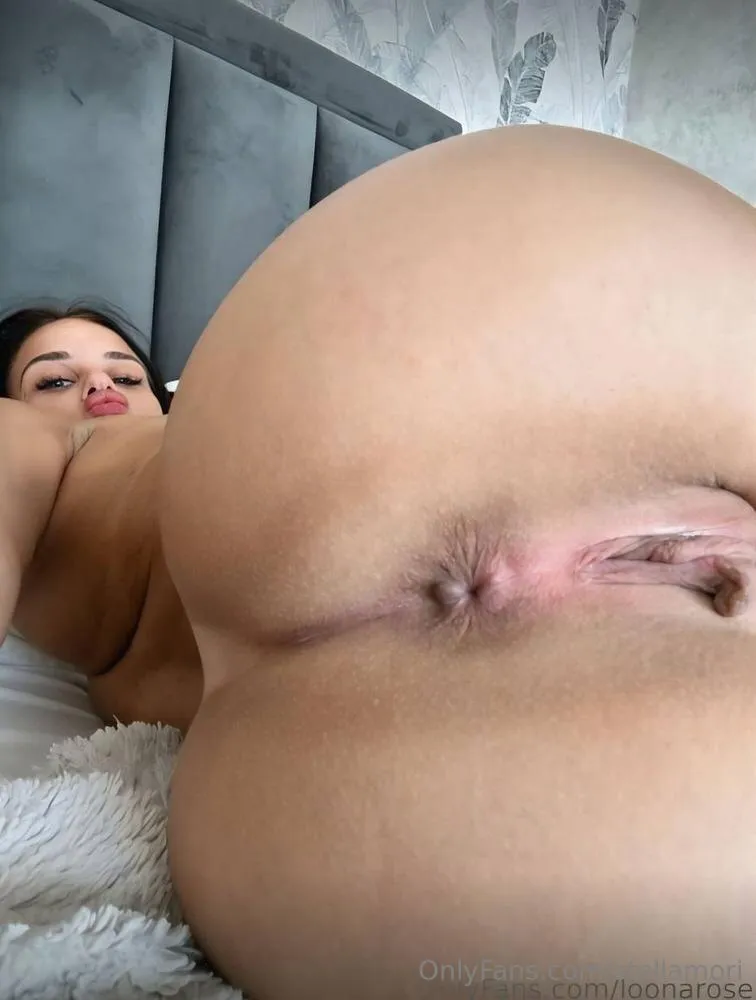
Stella Mori 🌸 nude Photo / stellamori Porn - Photo #1
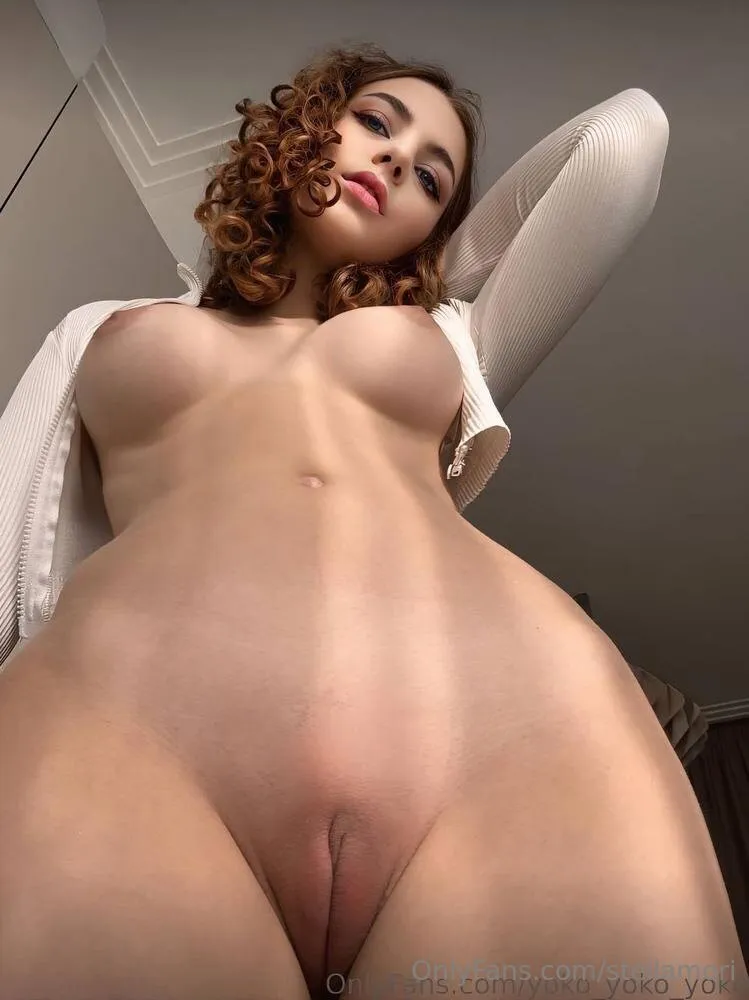
Stella Mori 🌸 nude Photo / stellamori Porn - Photo #2

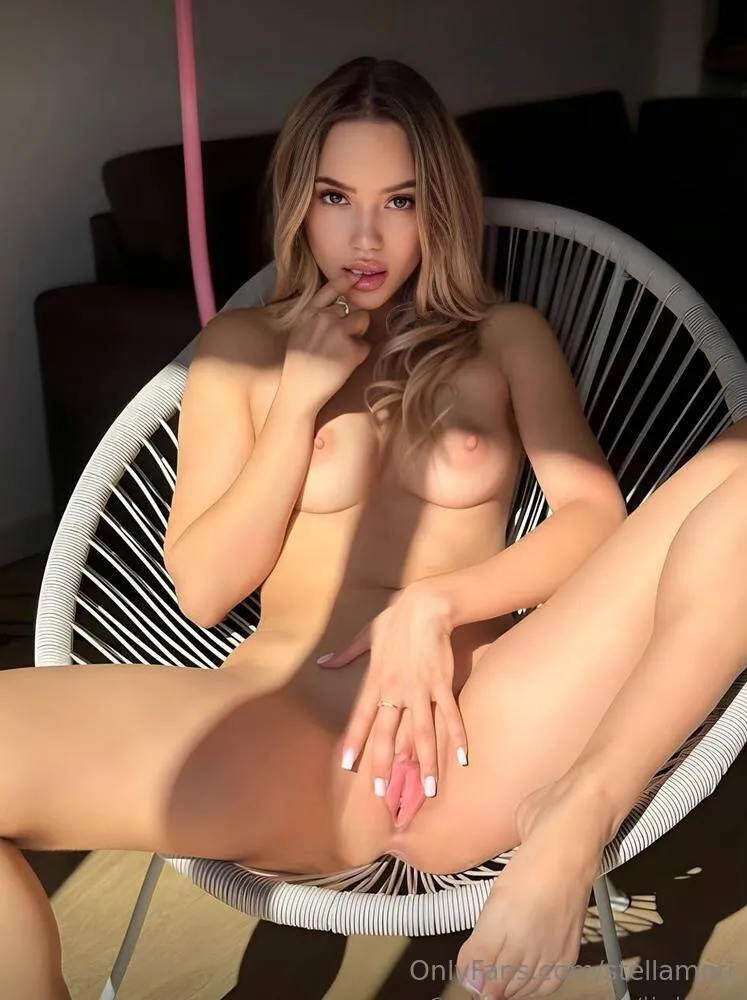
Stella Mori 🌸 nude Photo / stellamori Porn - Photo #3

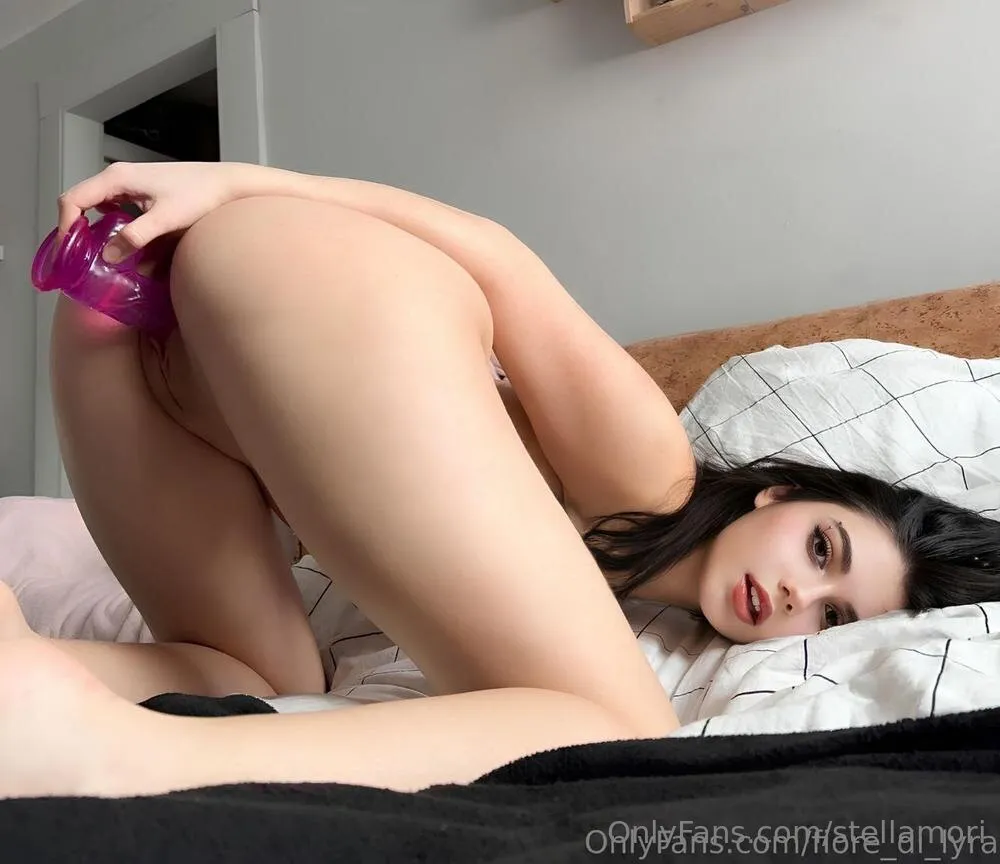
Stella Mori 🌸 nude Photo / stellamori Porn - Photo #4

Stella Mori 🌸 nude Photo / stellamori Porn - Photo #5

Stella Mori 🌸 nude Photo / stellamori Porn - Photo #6

Stella Mori 🌸 nude Photo / stellamori Porn - Photo #7

Stella Mori 🌸 nude Photo / stellamori Porn - Photo #8

Stella Mori 🌸 nude Photo / stellamori Porn - Photo #9
Stella Mori 🌸 nude Photo / stellamori Porn - Photo #10

Stella Mori 🌸 nude Photo / stellamori Porn - Photo #11
Stella Mori 🌸 nude Photo / stellamori Porn - Photo #12
More leaked posts
Explore the drops
The Golden Gilf!! nude Photo / Porn - Photo #5

Shannon 🧸 nude Photo / Porn - Photo #18

Ella Ralu✨ nude Photo / Porn - Photo #2

bon nude Photo / Porn - Photo #16

Lexi 🐰 nude Photo / Porn - Photo #2

Stella Rey nude Photo / Porn - Photo #9
Violet Cherry 🖤🥀 nude Photo / Porn - Photo #16
Mariah nude Photo / Porn - Photo #11
💞Anya💞 nude Photo / Porn - Photo #50

Bella Mkay nude Photo / Porn - Photo #1

ivy_vi nude Photo / Porn - Photo #15

BlackLeder nude Photo / Porn - Photo #12

Ivy Cooper nude Photo / Porn - Photo #21

Shannon 🧸 nude Photo / Porn - Photo #19
🎀 𝒞𝓁🌤️𝓊𝒹𝓎𝒱𝒾 🎀 nude Photo / Porn - Photo #3

Wazgod121 nude Photo / Porn - Photo #10

Rina nude Photo / Porn - Photo #4
Little Disnay VIP nude Photo / Porn - Photo #1
![Mature Experienced Creators Promo [12K+] nude Photo / Porn - Photo #5](/media/ma/mature-promo/posts/2088903891/4145229439_full.webp)
Mature Experienced Creators Promo [12K+] nude Photo / Porn - Photo #5

mslauderdale nude Photo / Porn - Photo #1

clawdrax nude Photo / Porn - Photo #11

😈🔥 VIDEOCALL 24/7 🔥😈 BABYGIRL ❤️🔥 nude Photo / Porn - Photo #8

Stella Rey nude Photo / Porn - Photo #16

Allie Rae 🌶🌶 nude Photo / Porn - Photo #3
Profiles