Explore height @onlysimonafans Only Simona's erotic OnlyFans leaks: high-definition naked clips, XXX videos, and sex photo archives.
Access height @onlysimonafans Only Simona's premium naked leaks from Snapchat archives, featuring porn clips and intimate OnlyFans drops.
Main profile
Only Simona
@onlysimonafans

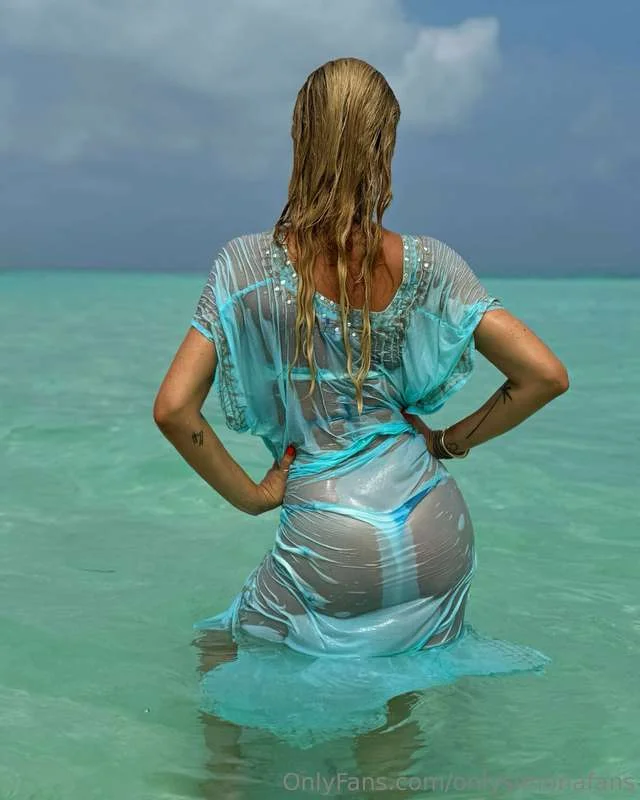
Only Simona nude Photo / onlysimonafans Porn - Photo #1

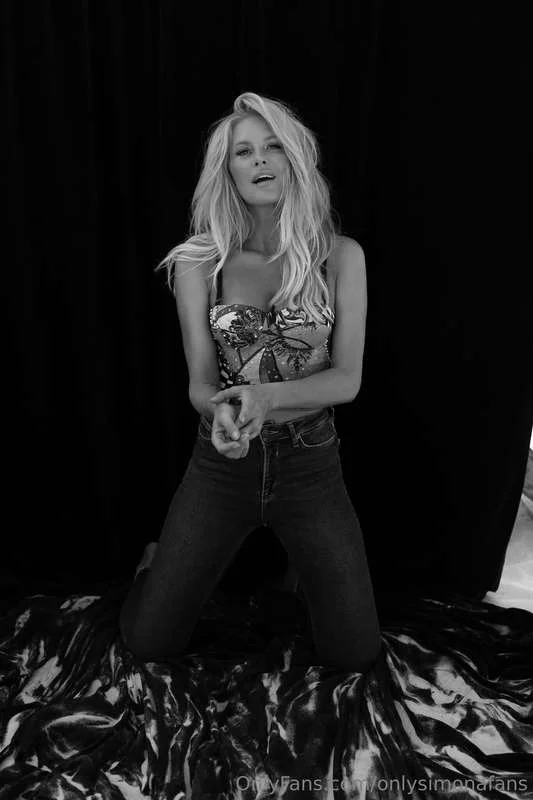
Only Simona nude Photo / onlysimonafans Porn - Photo #2
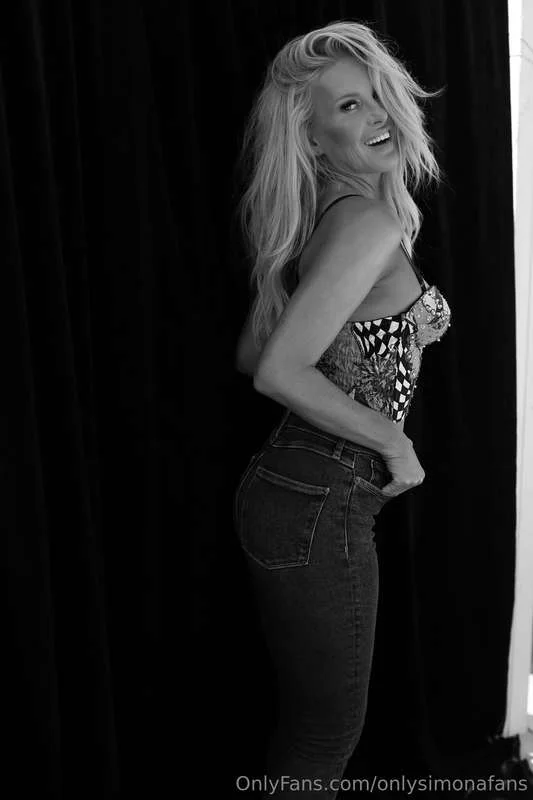
Only Simona nude Photo / onlysimonafans Porn - Photo #3

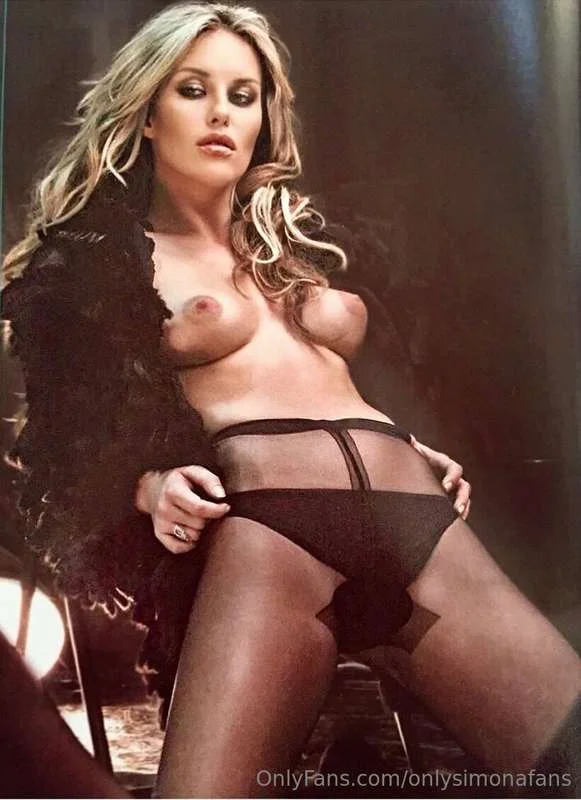
Only Simona nude Photo / onlysimonafans Porn - Photo #4
Only Simona nude Photo / onlysimonafans Porn - Photo #5
Only Simona nude Photo / onlysimonafans Porn - Photo #6

Only Simona nude Photo / onlysimonafans Porn - Photo #7

Only Simona nude Photo / onlysimonafans Porn - Photo #8

Only Simona nude Photo / onlysimonafans Porn - Photo #9

Only Simona nude Photo / onlysimonafans Porn - Photo #10
Only Simona nude Photo / onlysimonafans Porn - Photo #11

Only Simona nude Photo / onlysimonafans Porn - Photo #12
More leaked posts
Explore the drops
Alicia nude Photo / Porn - Photo #9
FETISH GODDESS MALENA🖤 nude Photo / Porn - Photo #2

Rachel Jade nude Photo / Porn - Photo #4

sage 💖 nude Photo / Porn - Photo #10

KRISTIINA🌸 nude Photo / Porn - Photo #8

Blake nude Photo / Porn - Photo #4
Troy Williams nude Photo / Porn - Photo #5

Lauren Burch 🎀 nude Photo / Porn - Photo #9
Skella Borealis nude Photo / Porn - Photo #61

Ally cat nude Photo / Porn - Photo #14
🟢𝐌𝐄𝐍𝐂𝐑𝐔𝐒𝐇𝐄𝐑🟢 nude Photo / Porn - Photo #6
Weird Gal Yank-a-dick nude Photo / Porn - Photo #22

Jessica Jax nude Photo / Porn - Photo #19

Rina Ray nude Photo / Porn - Photo #8

JOI & CUSTOM QUEEN 👸 nude Photo / Porn - Photo #24
Jade 💋 free page/promo page nude Photo / Porn - Photo #6
Tori nude Photo / Porn - Photo #6
KRYO KAKES BABY! nude Photo / Porn - Photo #8

Grace nude Photo / Porn - Photo #9
Miley Boo 😱 nude Photo / Porn - Photo #37

Avrora of Rivia nude Photo / Porn - Photo #16

🇨🇭Sexylady🇨🇭 nude Photo / Porn - Photo #1
Its_stella.ackerman nude Photo / Porn - Photo #2

Sonya nude Photo / Porn - Photo #3
Profiles