Explore nude video CONNIE BUTTISREAL @cbuttisreal's erotic OnlyFans leaks: high-definition naked clips, XXX videos, and sex photo archives.
Get hooked on nude video CONNIE BUTTISREAL @cbuttisreal's OnlyFans leaks with high-res XXX material, naked selfies, and erotic video collections.
Main profile
CONNIE BUTTISREAL
@cbuttisreal
CONNIE BUTTISREAL nude Photo / cbuttisreal Porn - Photo #1

CONNIE BUTTISREAL nude Photo / cbuttisreal Porn - Photo #2

CONNIE BUTTISREAL nude Photo / cbuttisreal Porn - Photo #3
CONNIE BUTTISREAL nude Photo / cbuttisreal Porn - Photo #4

CONNIE BUTTISREAL nude Photo / cbuttisreal Porn - Photo #5

CONNIE BUTTISREAL nude Photo / cbuttisreal Porn - Photo #6

CONNIE BUTTISREAL nude Photo / cbuttisreal Porn - Photo #7

CONNIE BUTTISREAL nude Photo / cbuttisreal Porn - Photo #8

CONNIE BUTTISREAL nude Photo / cbuttisreal Porn - Photo #9
CONNIE BUTTISREAL nude Photo / cbuttisreal Porn - Photo #10

CONNIE BUTTISREAL nude Photo / cbuttisreal Porn - Photo #11

CONNIE BUTTISREAL nude Photo / cbuttisreal Porn - Photo #12
More leaked posts
Explore the drops

lo100toirupe nude Photo / Porn - Photo #5

La otra Pam nude Photo / Porn - Photo #2

Natalie (link in bio) ❤️🔥 nude Photo / Porn - Photo #1

British Rose 💕 nude Photo / Porn - Photo #11
Miss Carramello nude Photo / Porn - Photo #5

alejandra quiroz f nude Photo / Porn - Photo #6

HotBabe nude Photo / Porn - Photo #23
Luna🔥😈 nude Photo / Porn - Photo #13
Cheerleader Kait nude Photo / Porn - Photo #3
Jamie Synn 🥵Hot Cougar🥵 nude Photo / Porn - Photo #15
C-Boy-Dino nude Photo / Porn - Photo #7
martini nude Photo / Porn - Photo #14
Cherry Pie nude Photo / Porn - Photo #12
Cassie nude Photo / Porn - Photo #27
Kay nude Photo / Porn - Photo #11

AvaAfterDark 🌙 nude Photo / Porn - Photo #21
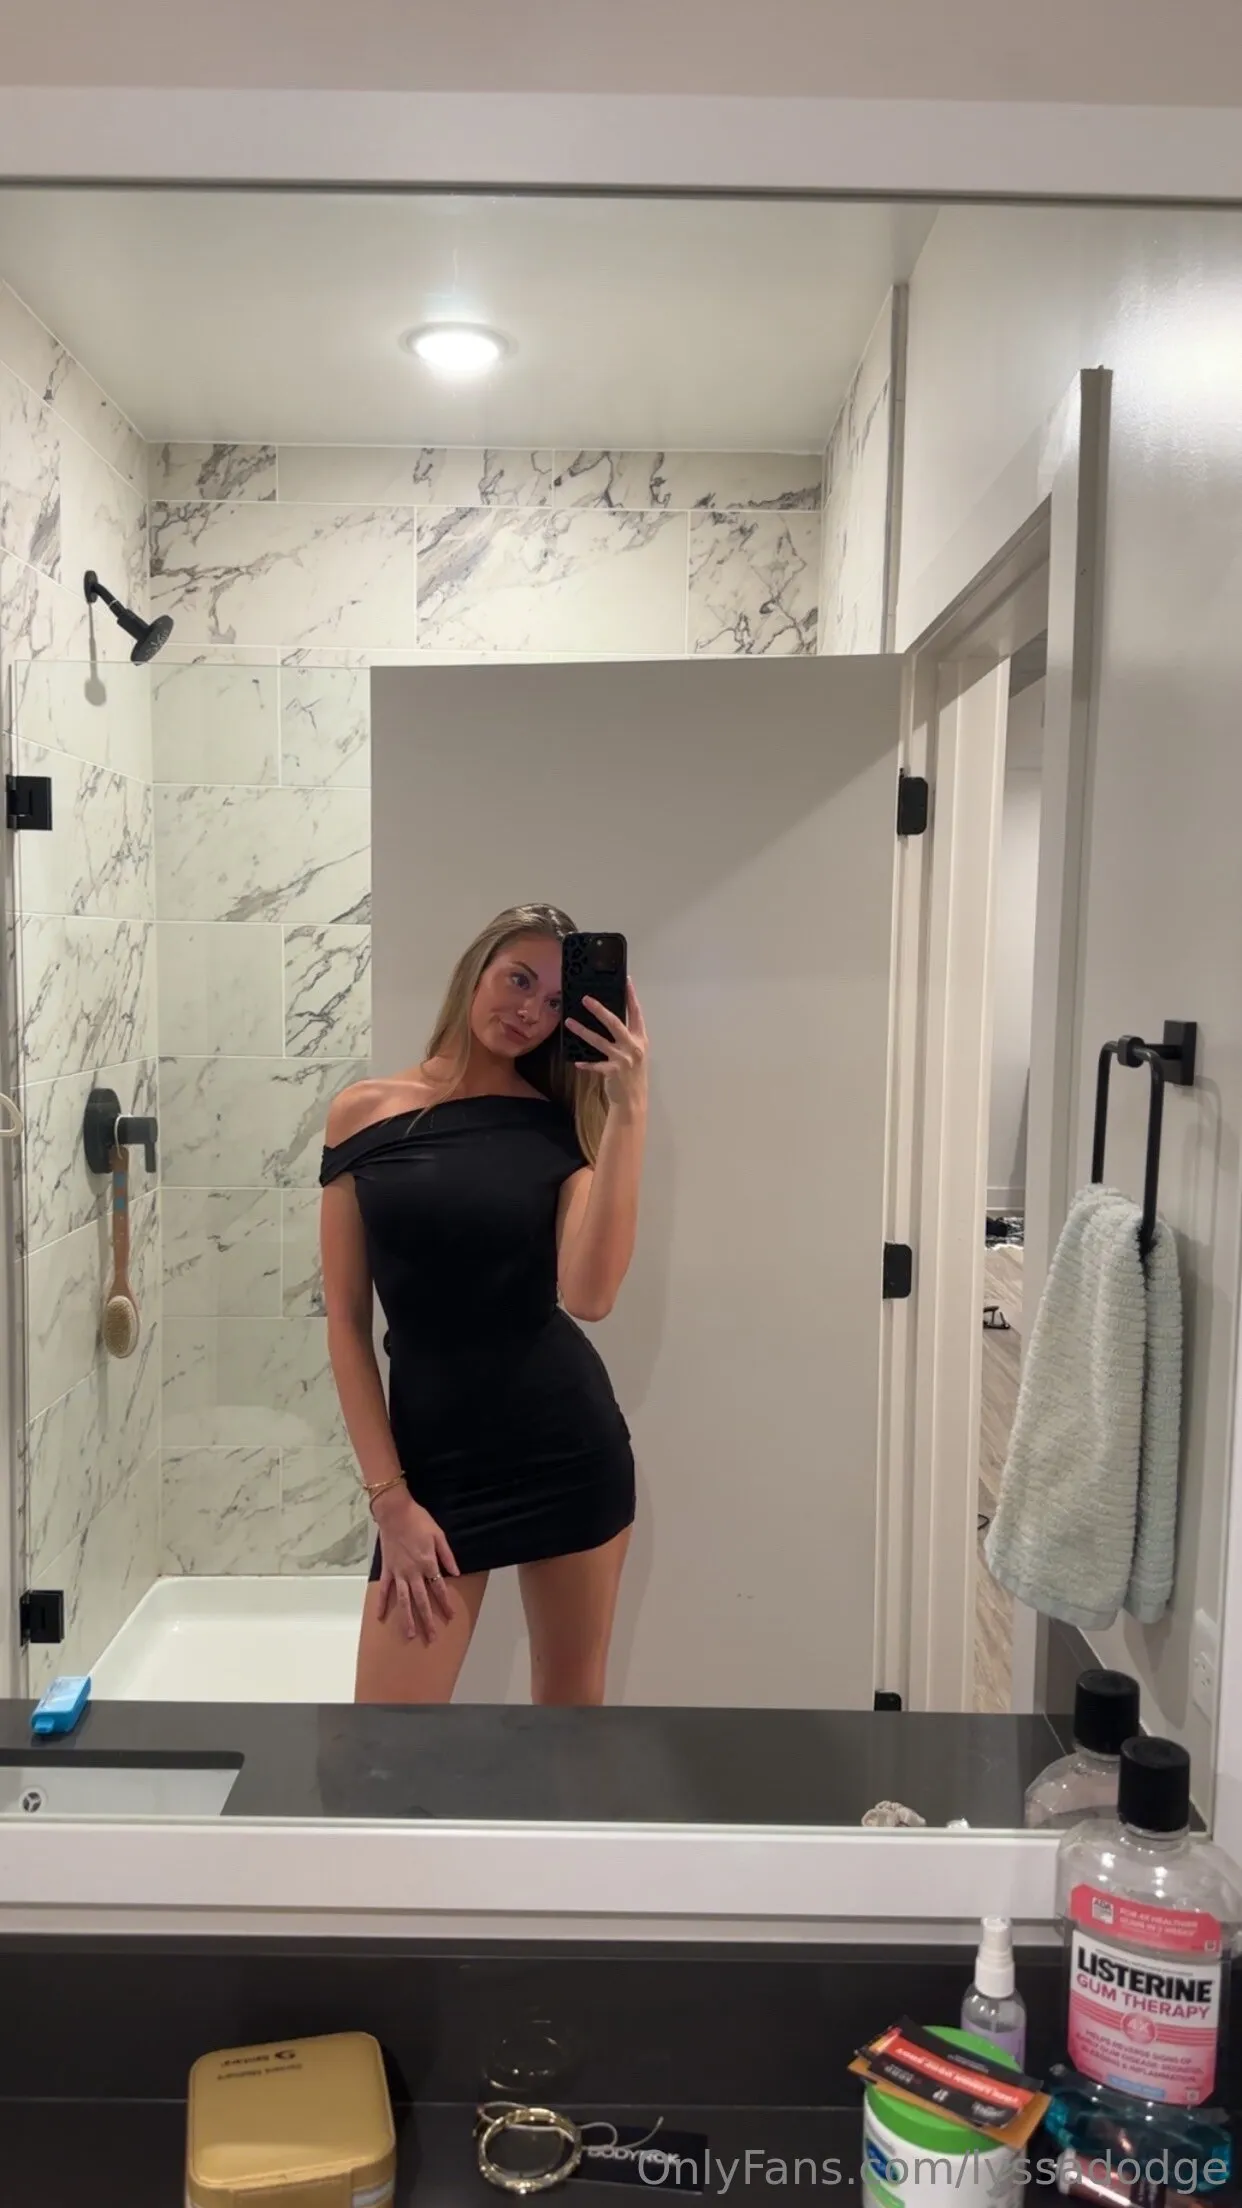
Alyssa nude Photo / Porn - Photo #5

Anna nude Photo / Porn - Photo #13
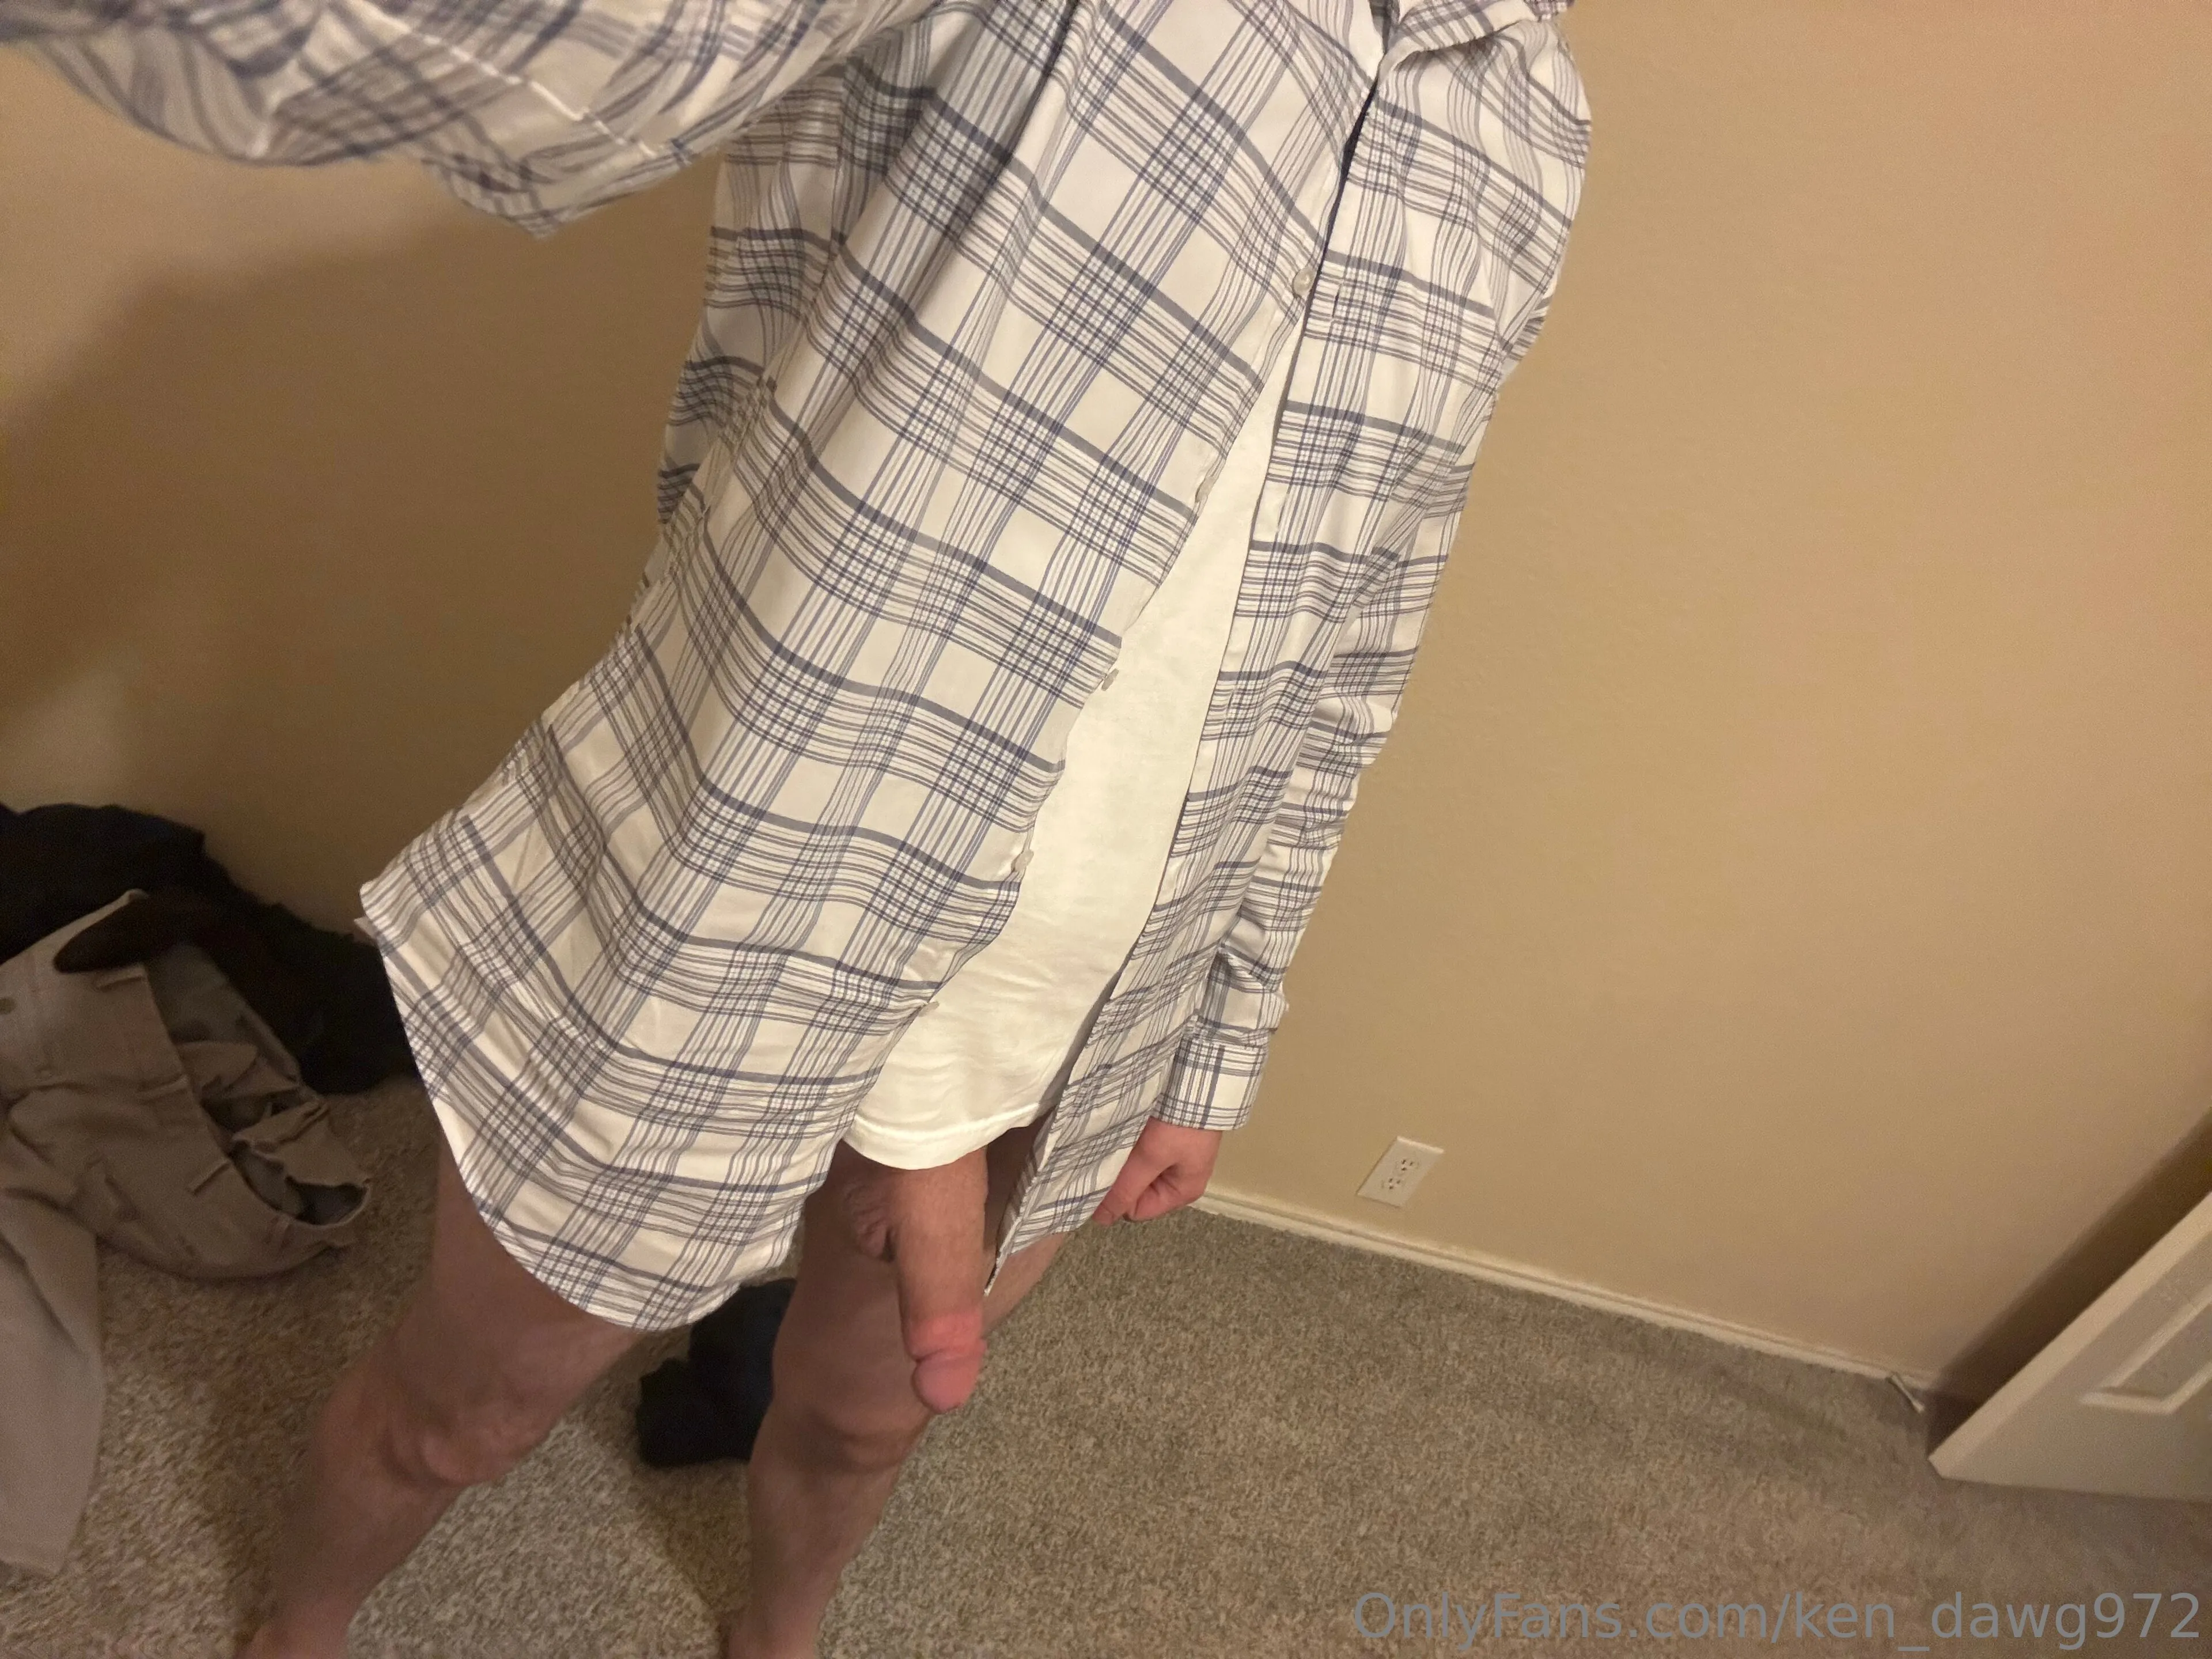
Kenny G. nude Photo / Porn - Photo #11
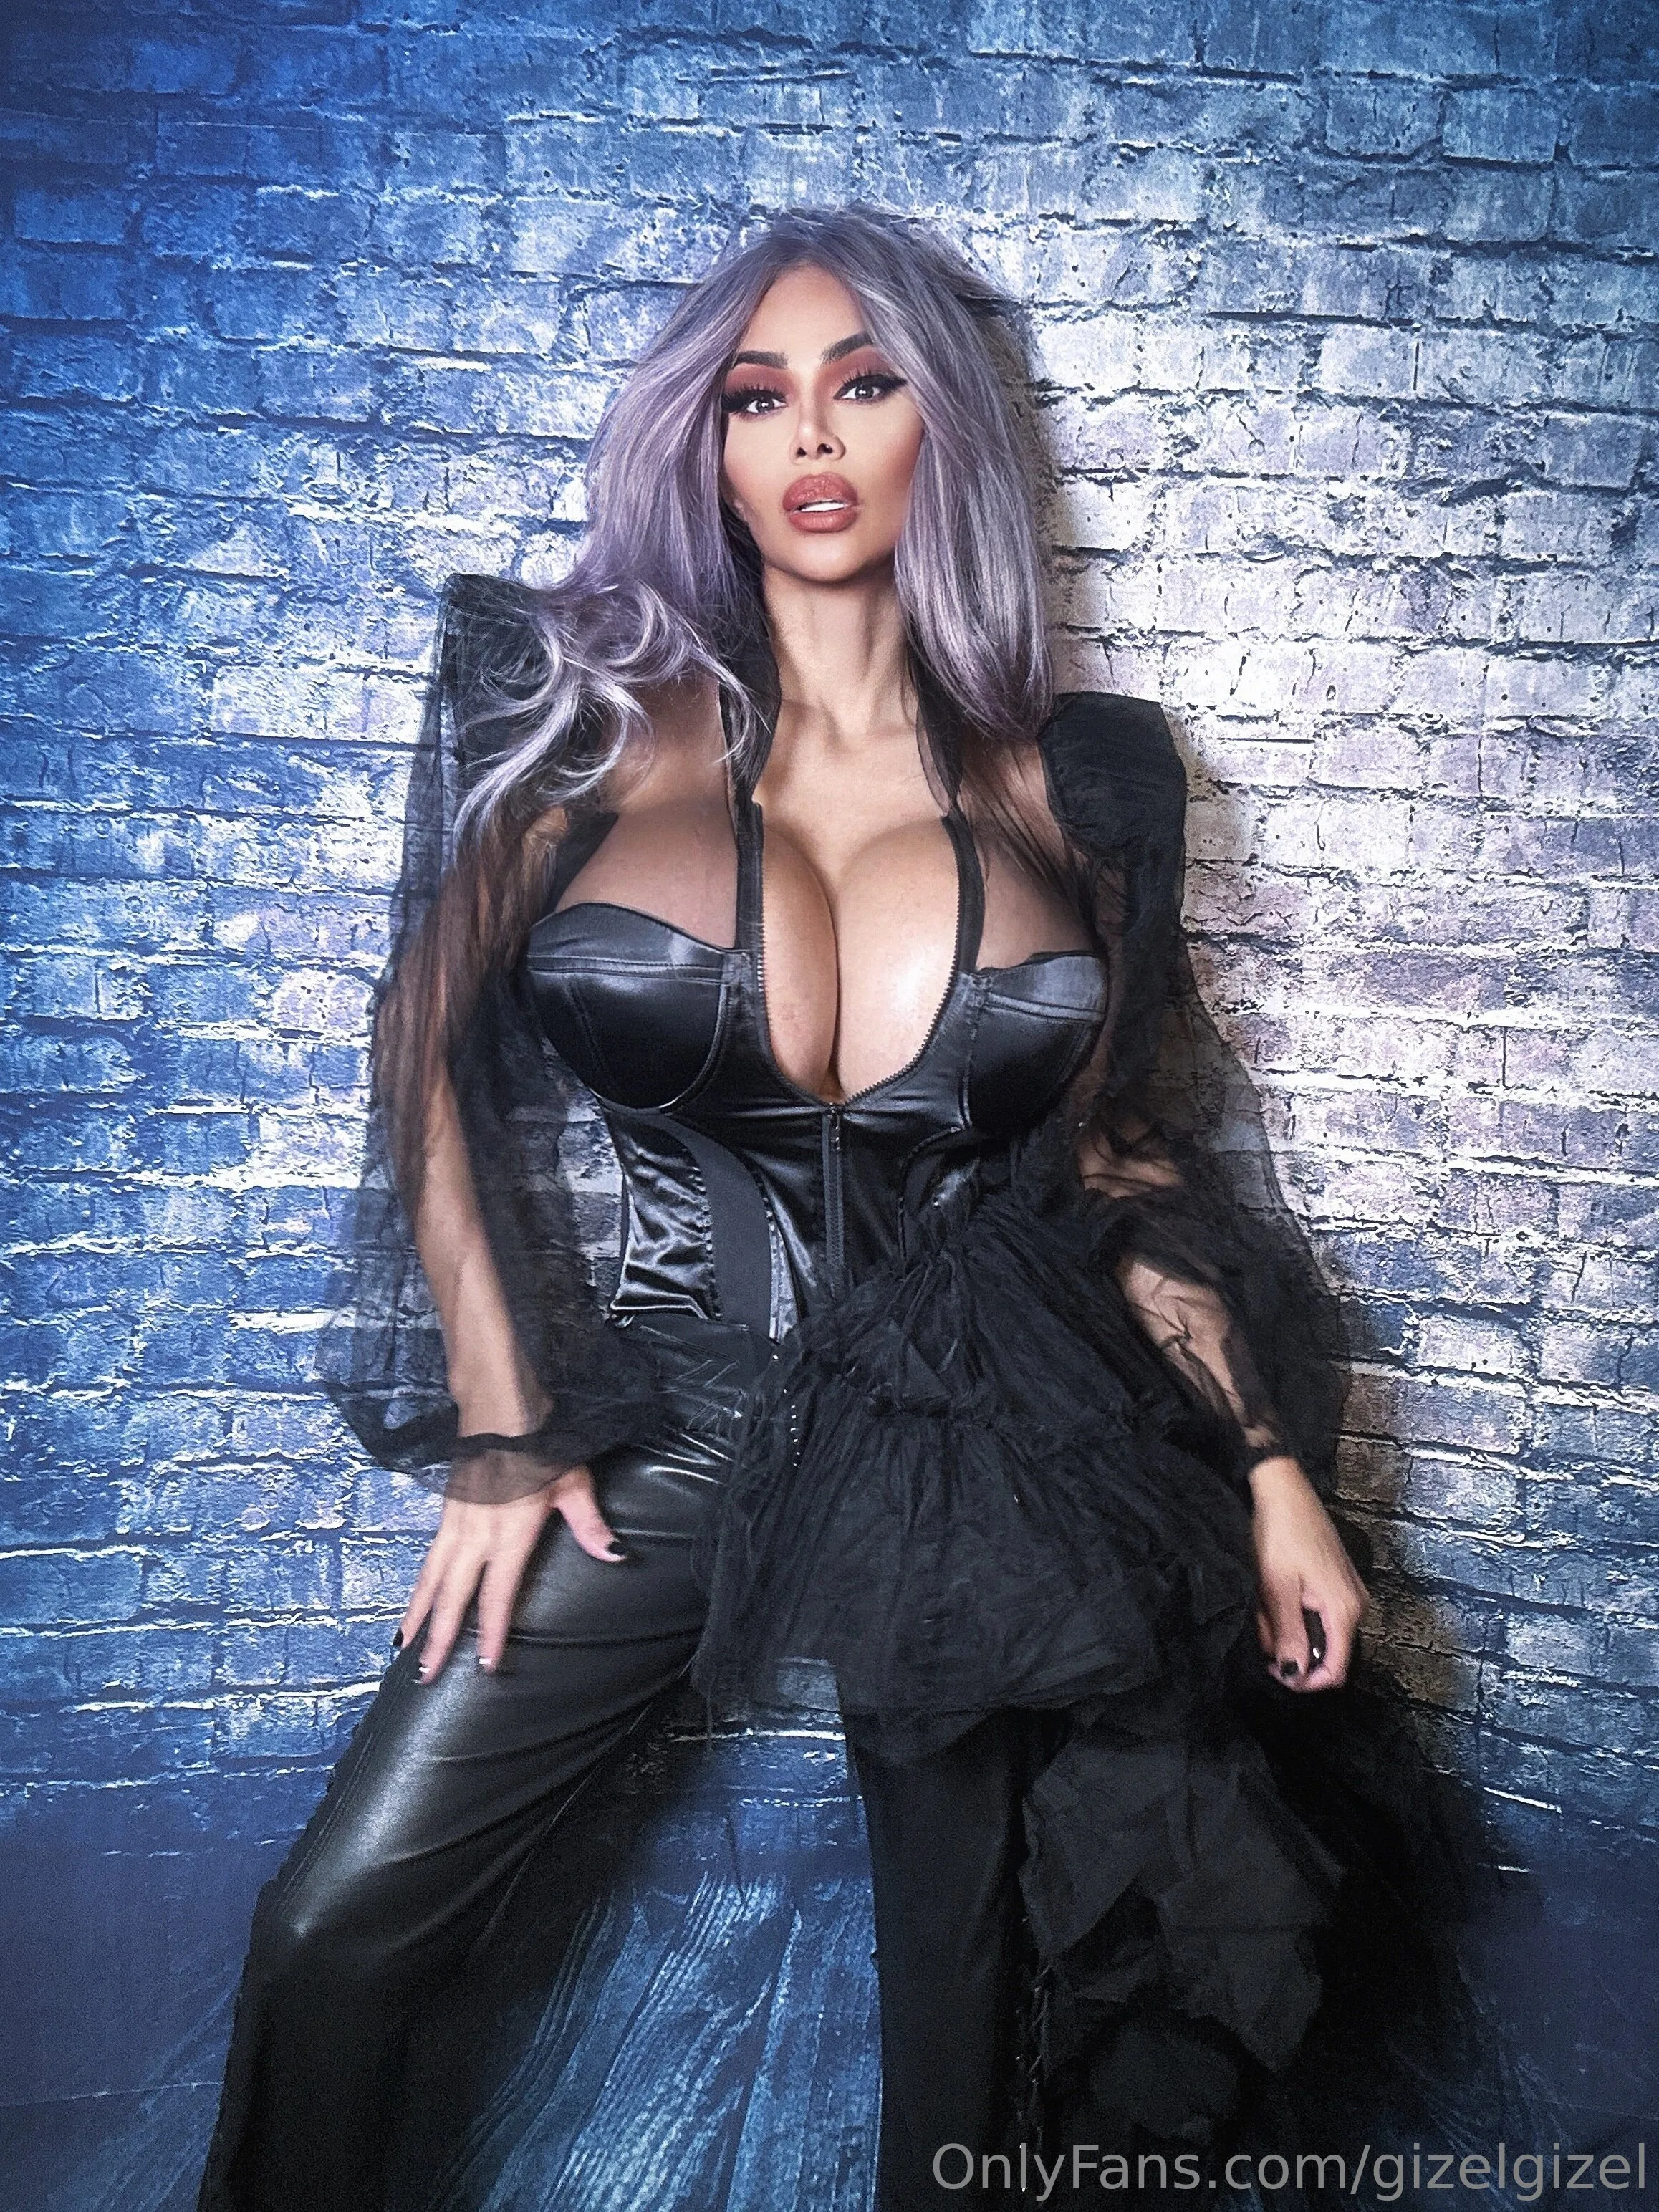
gizel.net nude Photo / Porn - Photo #56
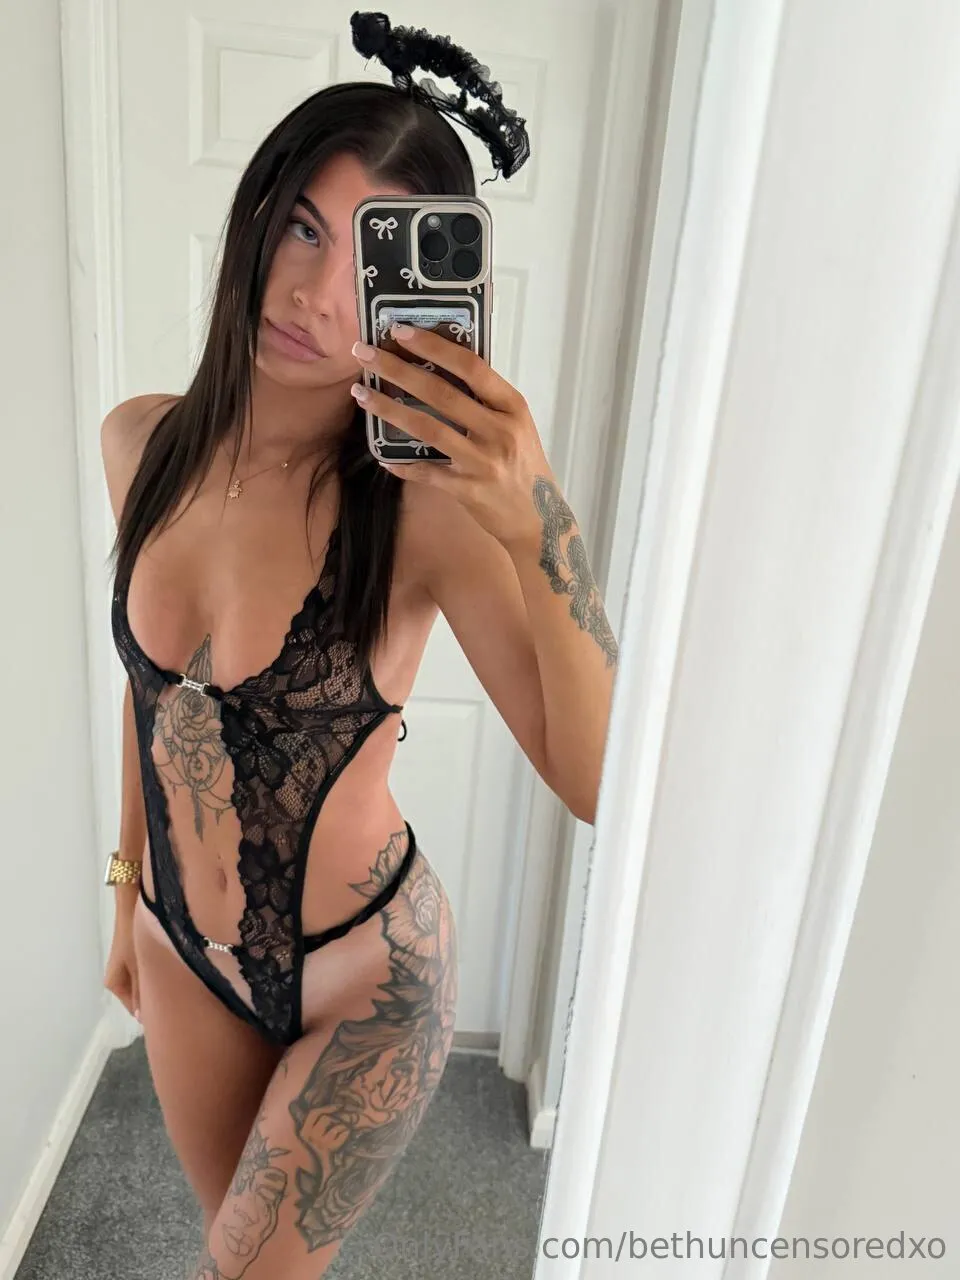
Beth💞 nude Photo / Porn - Photo #1
Cherry Lu🍒 nude Photo / Porn - Photo #10
Tams nude Photo / Porn - Photo #9
JESS🔥 nude Photo / Porn - Photo #3
Profiles