Enjoy onlyfans porn @kgrahamsfb_free Kristen Graham's steamy leaked nudes shared on Discord servers, with porn galleries and exclusive drops.
Enjoy onlyfans porn @kgrahamsfb_free Kristen Graham's erotic OnlyFans leaks: crystal-clear porn scenes, naked galleries, and private sextape collections.
Main profile
Kristen Graham
@kgrahamsfb_free

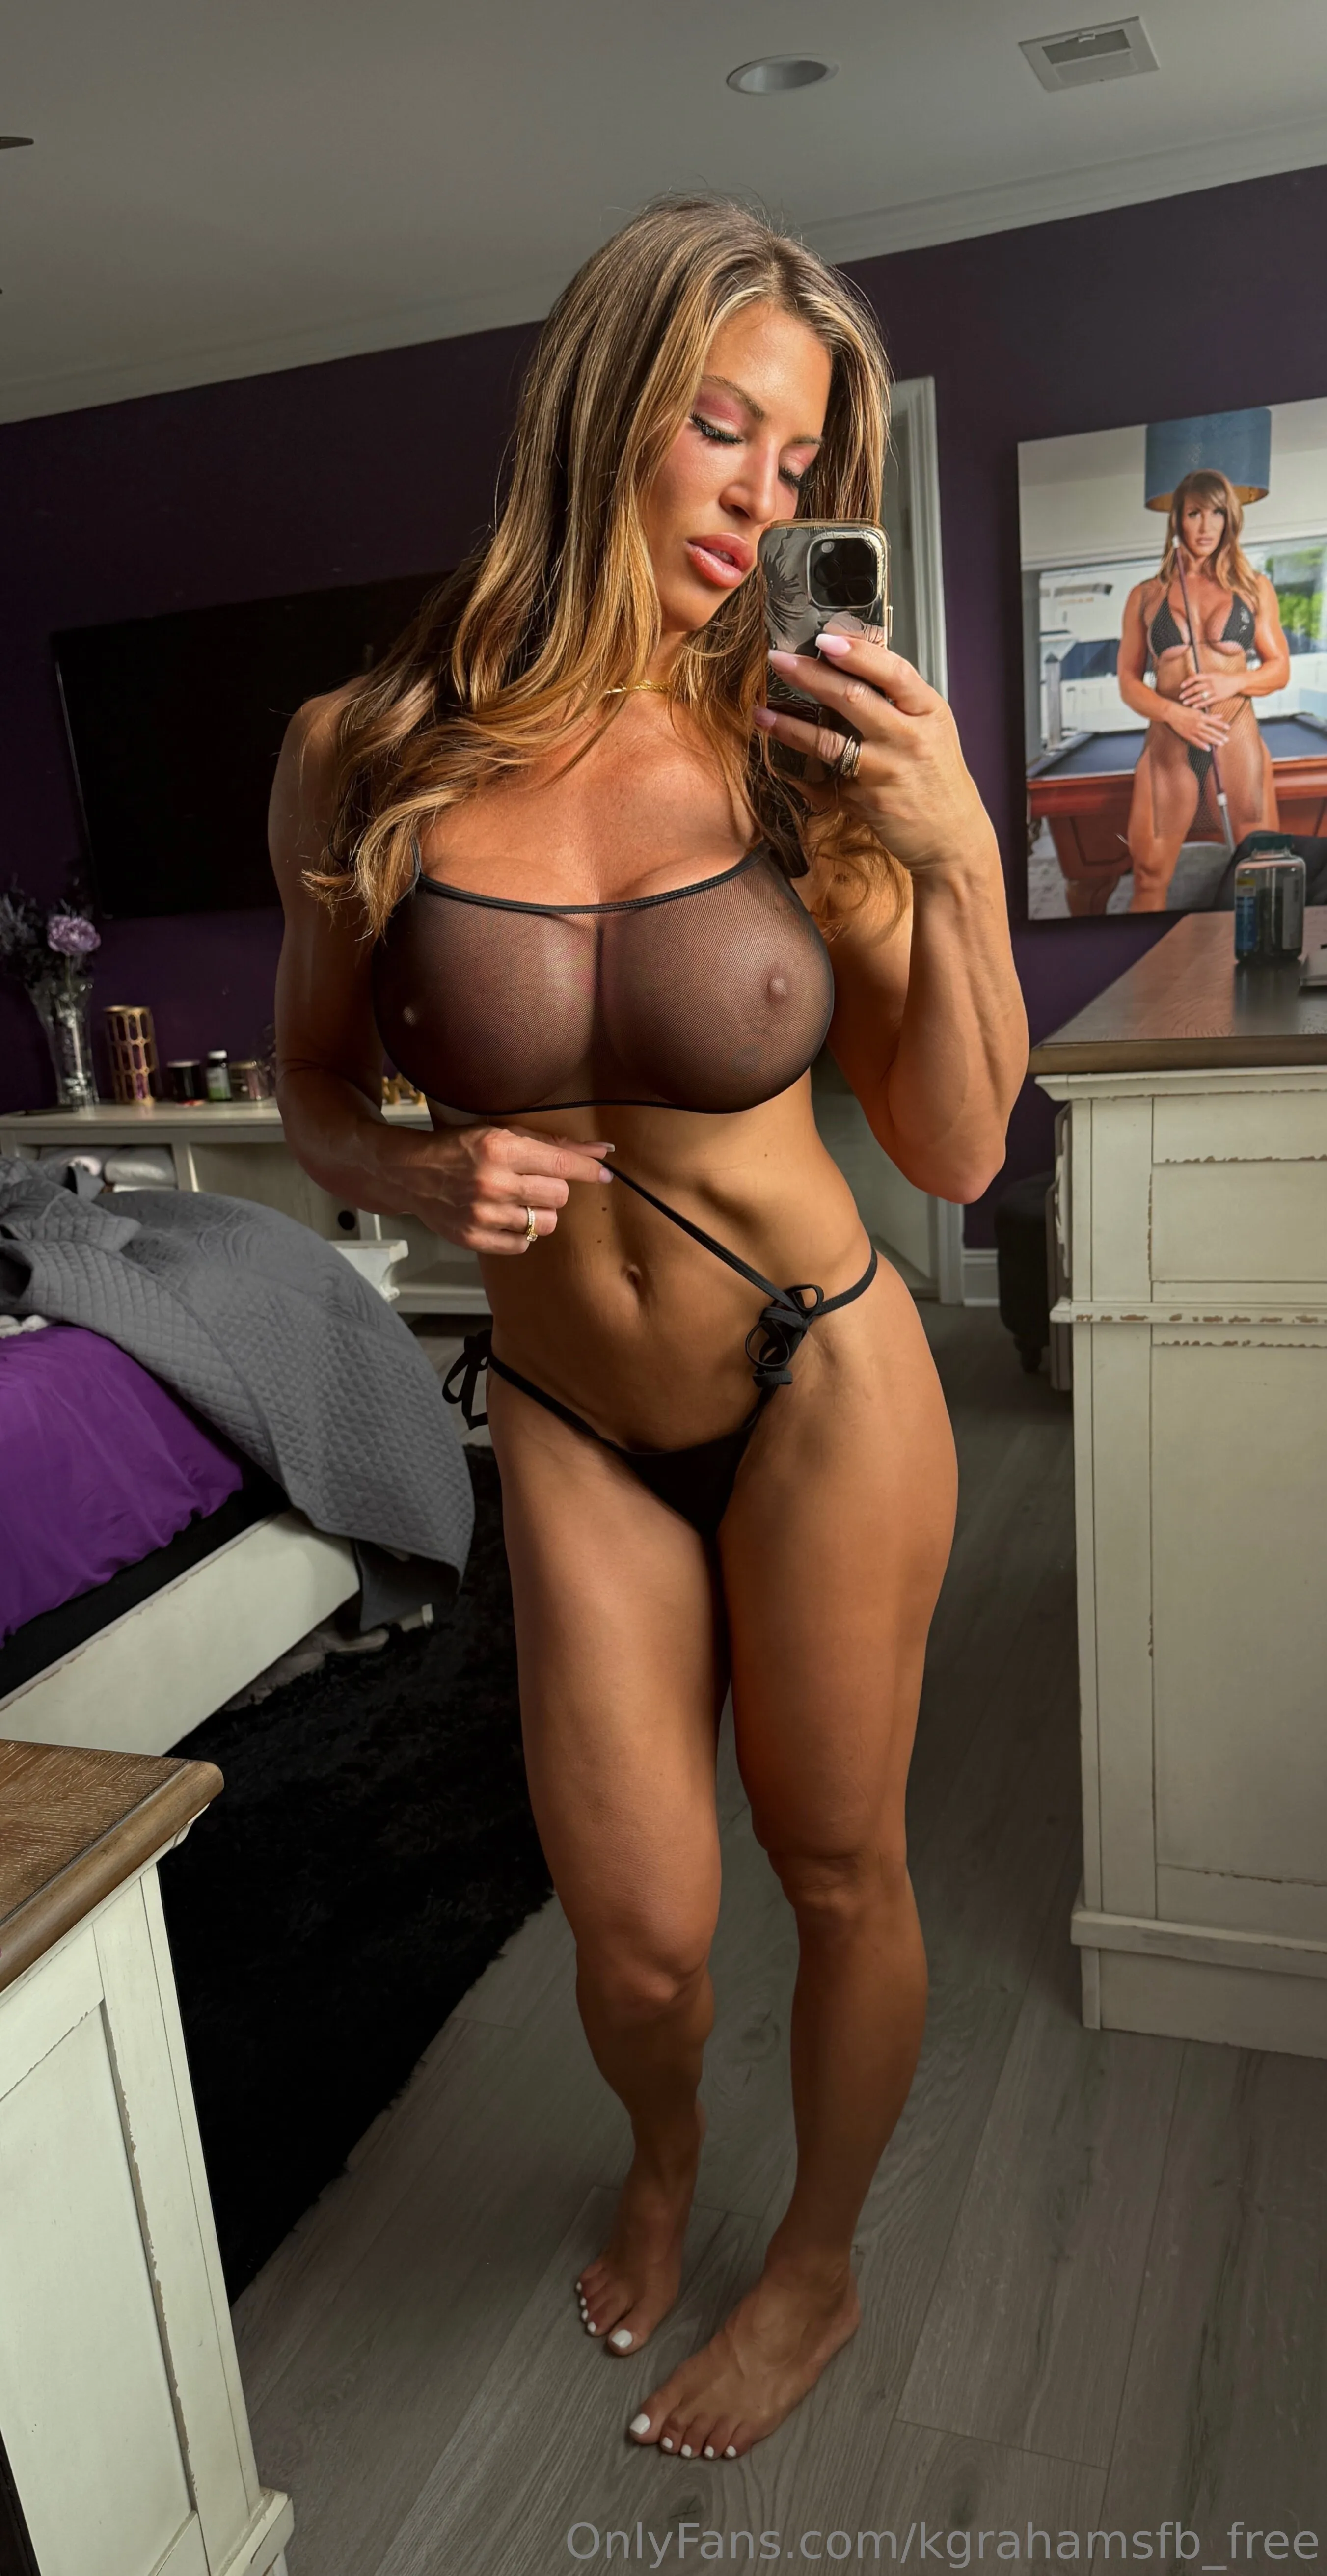
Kristen Graham nude Photo / kgrahamsfb_free Porn - Photo #1
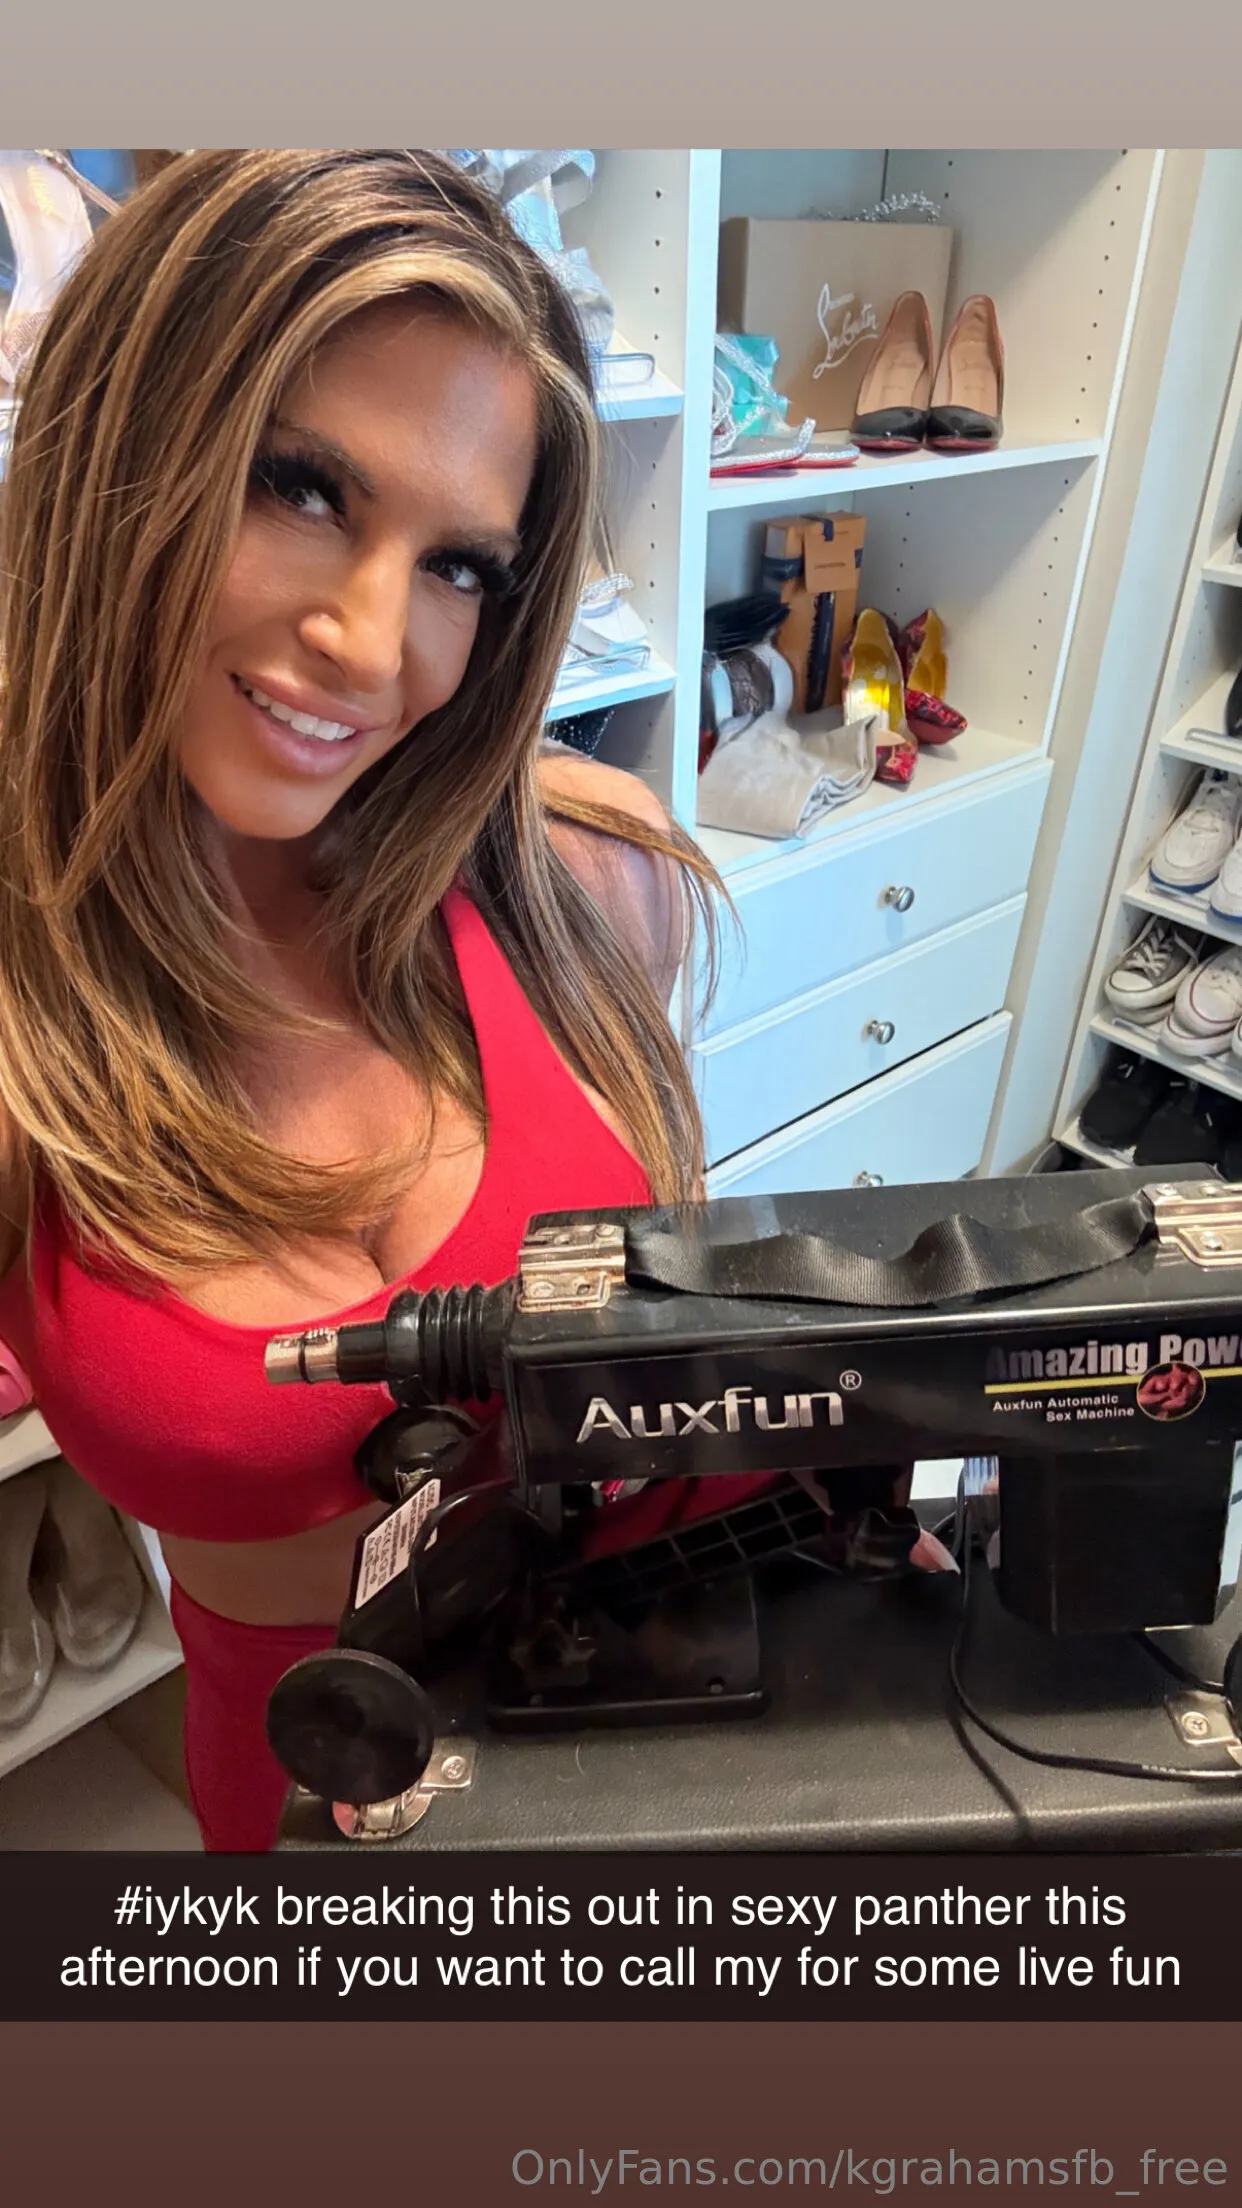
Kristen Graham nude Photo / kgrahamsfb_free Porn - Photo #2

Kristen Graham nude Photo / kgrahamsfb_free Porn - Photo #3

Kristen Graham nude Photo / kgrahamsfb_free Porn - Photo #4

Kristen Graham nude Photo / kgrahamsfb_free Porn - Photo #5

Kristen Graham nude Photo / kgrahamsfb_free Porn - Photo #6
Kristen Graham nude Photo / kgrahamsfb_free Porn - Photo #7

Kristen Graham nude Photo / kgrahamsfb_free Porn - Photo #8

Kristen Graham nude Photo / kgrahamsfb_free Porn - Photo #9

Kristen Graham nude Photo / kgrahamsfb_free Porn - Photo #10

Kristen Graham nude Photo / kgrahamsfb_free Porn - Photo #11
More leaked posts
Explore the drops

MissWarmJFree nude Photo / Porn - Photo #6

Dominique⭐💫 💚 spam free account 💚 nude Photo / Porn - Photo #6

Mercyy nude Photo / Porn - Photo #7
Janaina nude Photo / Porn - Photo #1
Mr ANACONDA🍆💦 nude Photo / Porn - Photo #12
Pretty Kitty❤️💦 nude Photo / Porn - Photo #12

SexyBlonde955 nude Photo / Porn - Photo #14
Georgia peach nude Photo / Porn - Photo #1

Silvana 🤍 nude Photo / Porn - Photo #4

Black Bonnie nude Photo / Porn - Photo #9
Ruby Soles nude Photo / Porn - Photo #7
Pork nude Photo / Porn - Photo #14

Mrs. Ava Andrews nude Photo / Porn - Photo #2

Aspen Brooks nude Photo / Porn - Photo #17
Bry85 nude Photo / Porn - Photo #18

Svet19👄 (TOP 0.89%) nude Photo / Porn - Photo #8
Amanda 🔥💋 nude Photo / Porn - Photo #4

Josie Addington nude Photo / Porn - Photo #6
Karina 🌸😛 nude Photo / Porn - Photo #14

Mizzymay95 nude Photo / Porn - Photo #5
Amara Romani nude Photo / Porn - Photo #26
Lucifer Witch nude Photo / Porn - Photo #6

Bri 😜 nude Photo / Porn - Photo #5
White Chocolate 🤍🍫 nude Photo / Porn - Photo #3
Profiles