Unravel porn star Ella Crimson @ella_magic's private leaks across YouTube hints – full porn videos, nudes, and steamy OnlyFans sextapes.
Enjoy porn star Ella Crimson @ella_magic's erotic OnlyFans leaks: crystal-clear porn scenes, naked galleries, and private sextape collections.
Main profile
Ella Crimson
@ella_magic

Ella Crimson nude Photo / ella_magic Porn - Photo #1

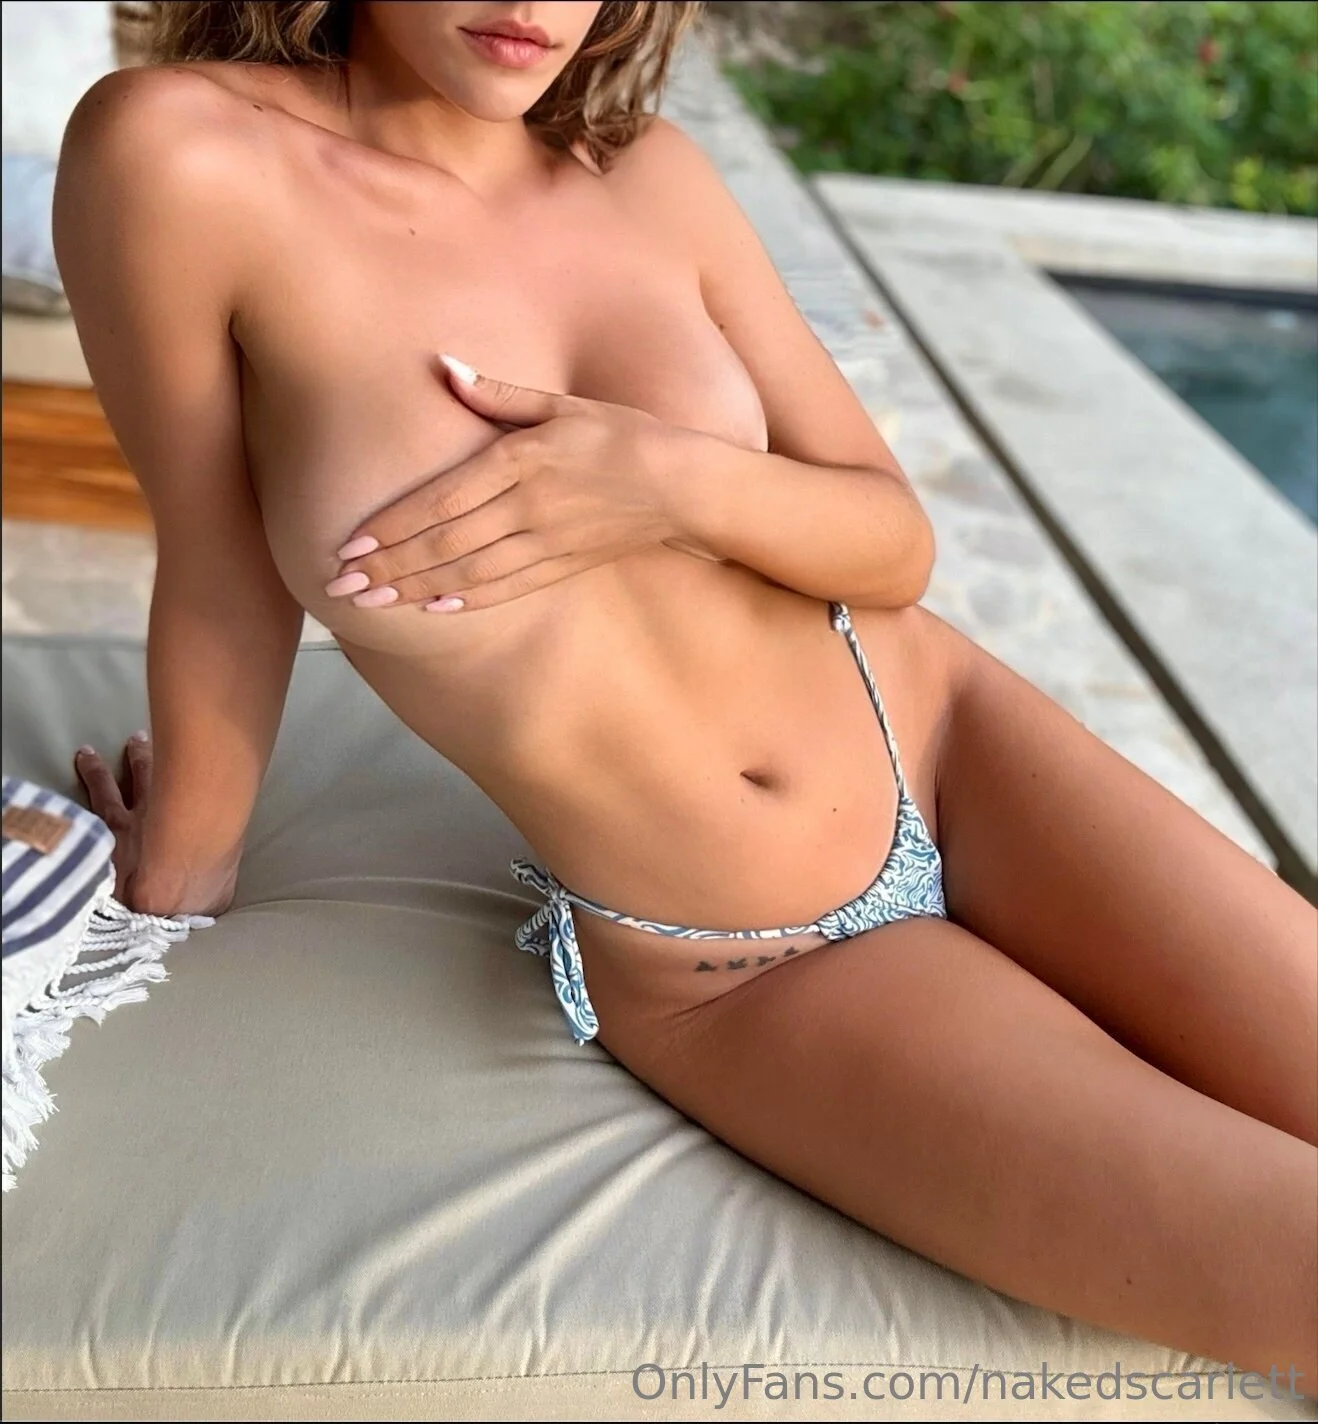
Ella Crimson nude Photo / ella_magic Porn - Photo #2

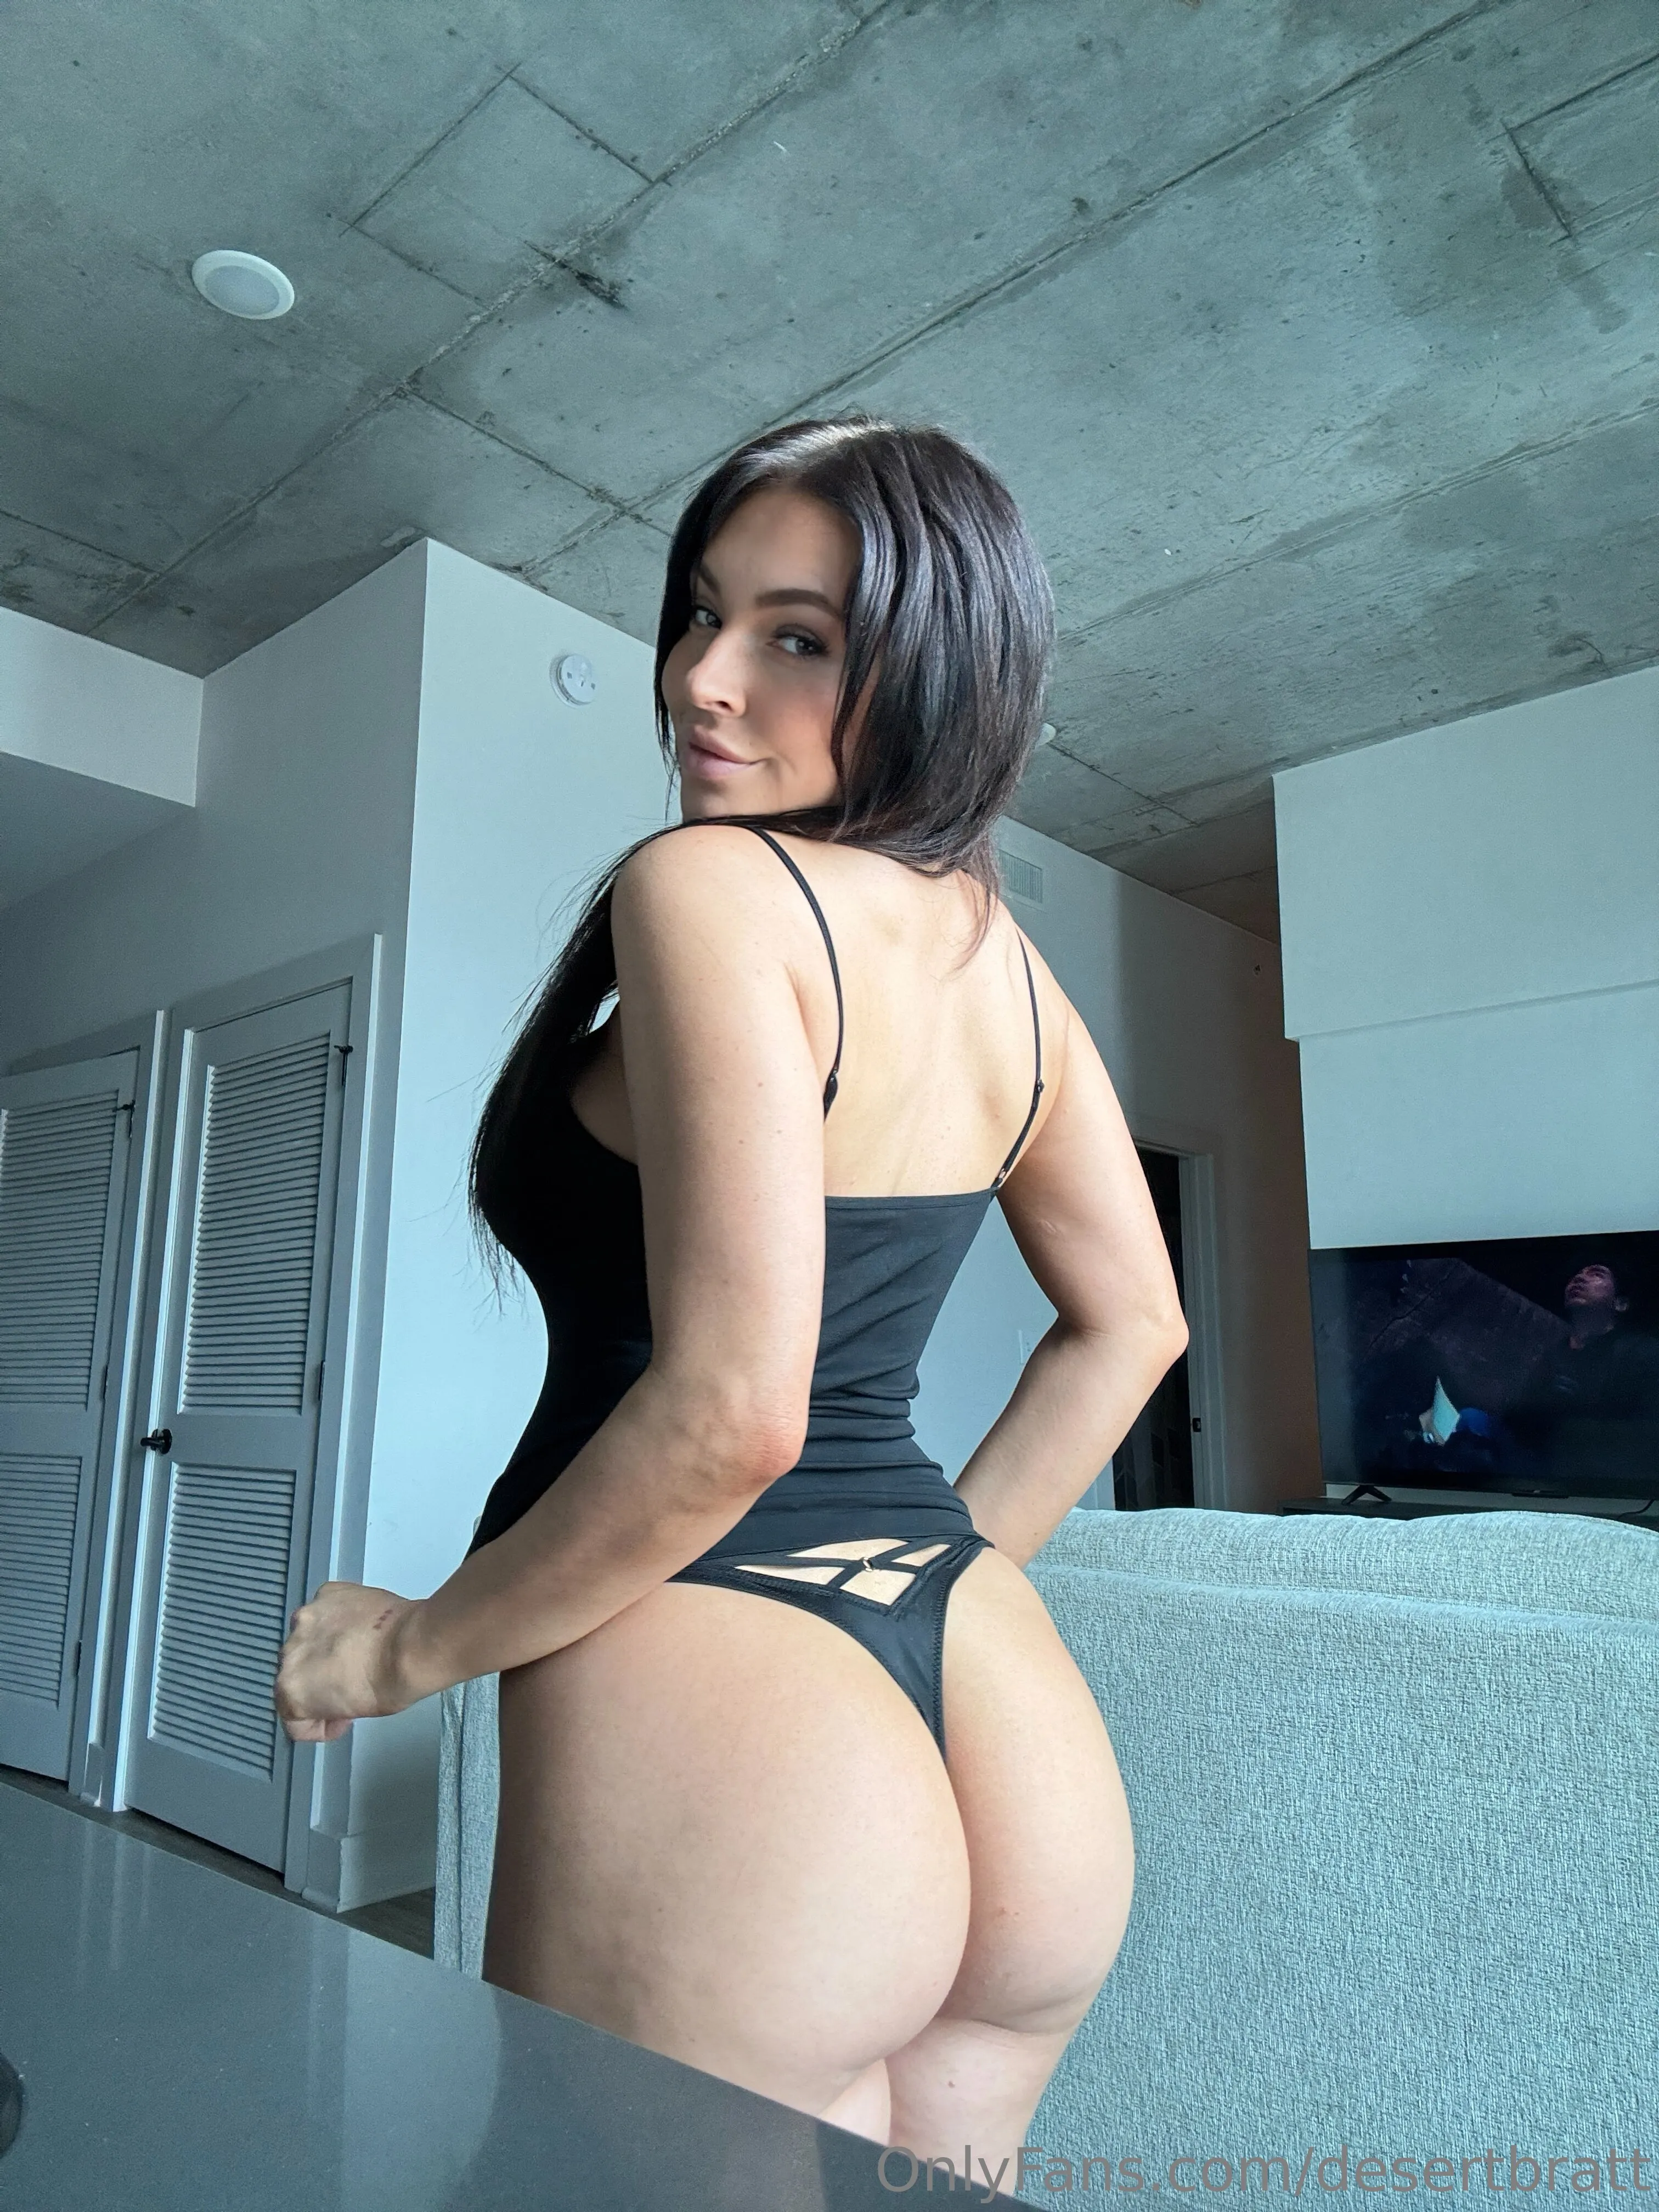
Ella Crimson nude Photo / ella_magic Porn - Photo #3
Ella Crimson nude Photo / ella_magic Porn - Photo #4

Ella Crimson nude Photo / ella_magic Porn - Photo #5

Ella Crimson nude Photo / ella_magic Porn - Photo #6

Ella Crimson nude Photo / ella_magic Porn - Photo #7

Ella Crimson nude Photo / ella_magic Porn - Photo #8

Ella Crimson nude Photo / ella_magic Porn - Photo #9

Ella Crimson nude Photo / ella_magic Porn - Photo #10
Ella Crimson nude Photo / ella_magic Porn - Photo #11
Ella Crimson nude Photo / ella_magic Porn - Photo #12
More leaked posts
Explore the drops
Hanako nude Photo / Porn - Photo #21

NIKNAK nude Photo / Porn - Photo #13

Baystyles nude Photo / Porn - Photo #13
AUGUST 💛 (JUICIEST ASS ON THE INTERNET ) nude Photo / Porn - Photo #2

Dulce Besos nude Photo / Porn - Photo #13
chai_latte55 nude Photo / Porn - Photo #11

CREAMY ARI 😜 I LOVE DICK PICS 😈🥵😩 nude Photo / Porn - Photo #3
Lena🐆 nude Photo / Porn - Photo #4

Hipsandcurves75 nude Photo / Porn - Photo #23

Miss Pink Plush nude Photo / Porn - Photo #2
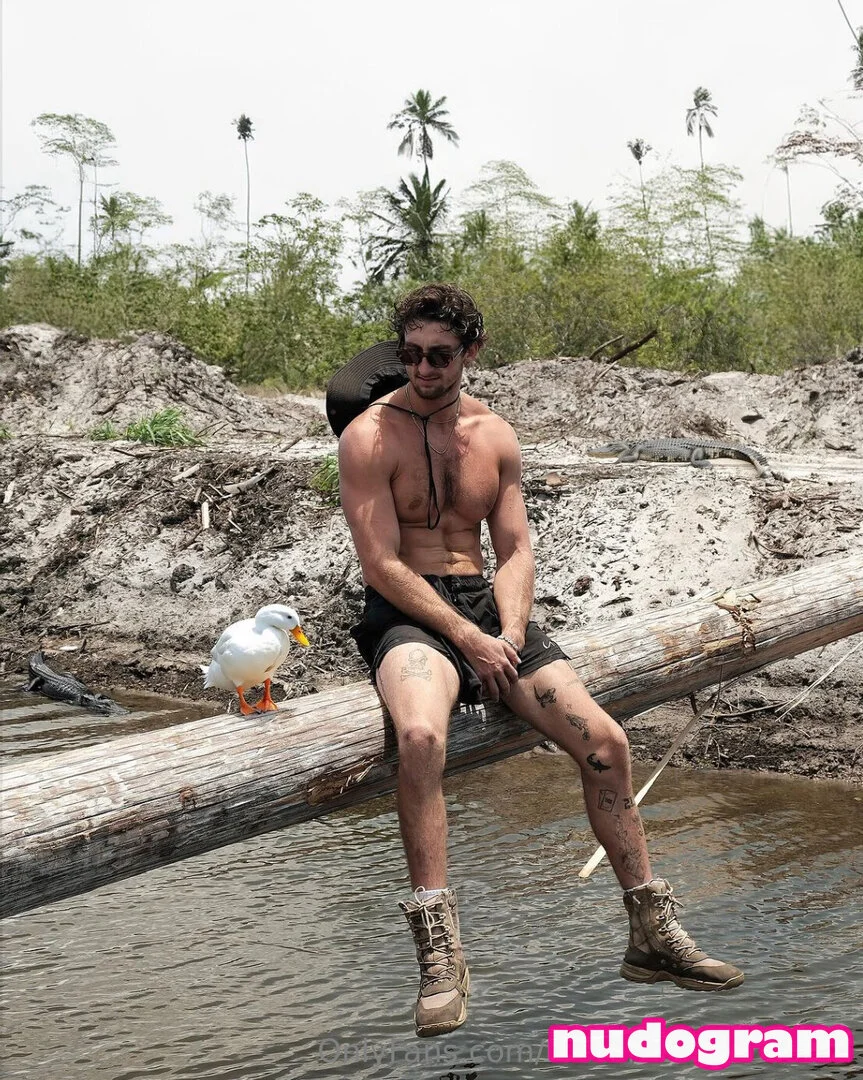
Jack Doherty nude Photo / Porn - Photo #4

MISTRESS CANDY 🐷💸 nude Photo / Porn - Photo #44

Juliana. nude Photo / Porn - Photo #1

Icy Mikey nude Photo / Porn - Photo #9
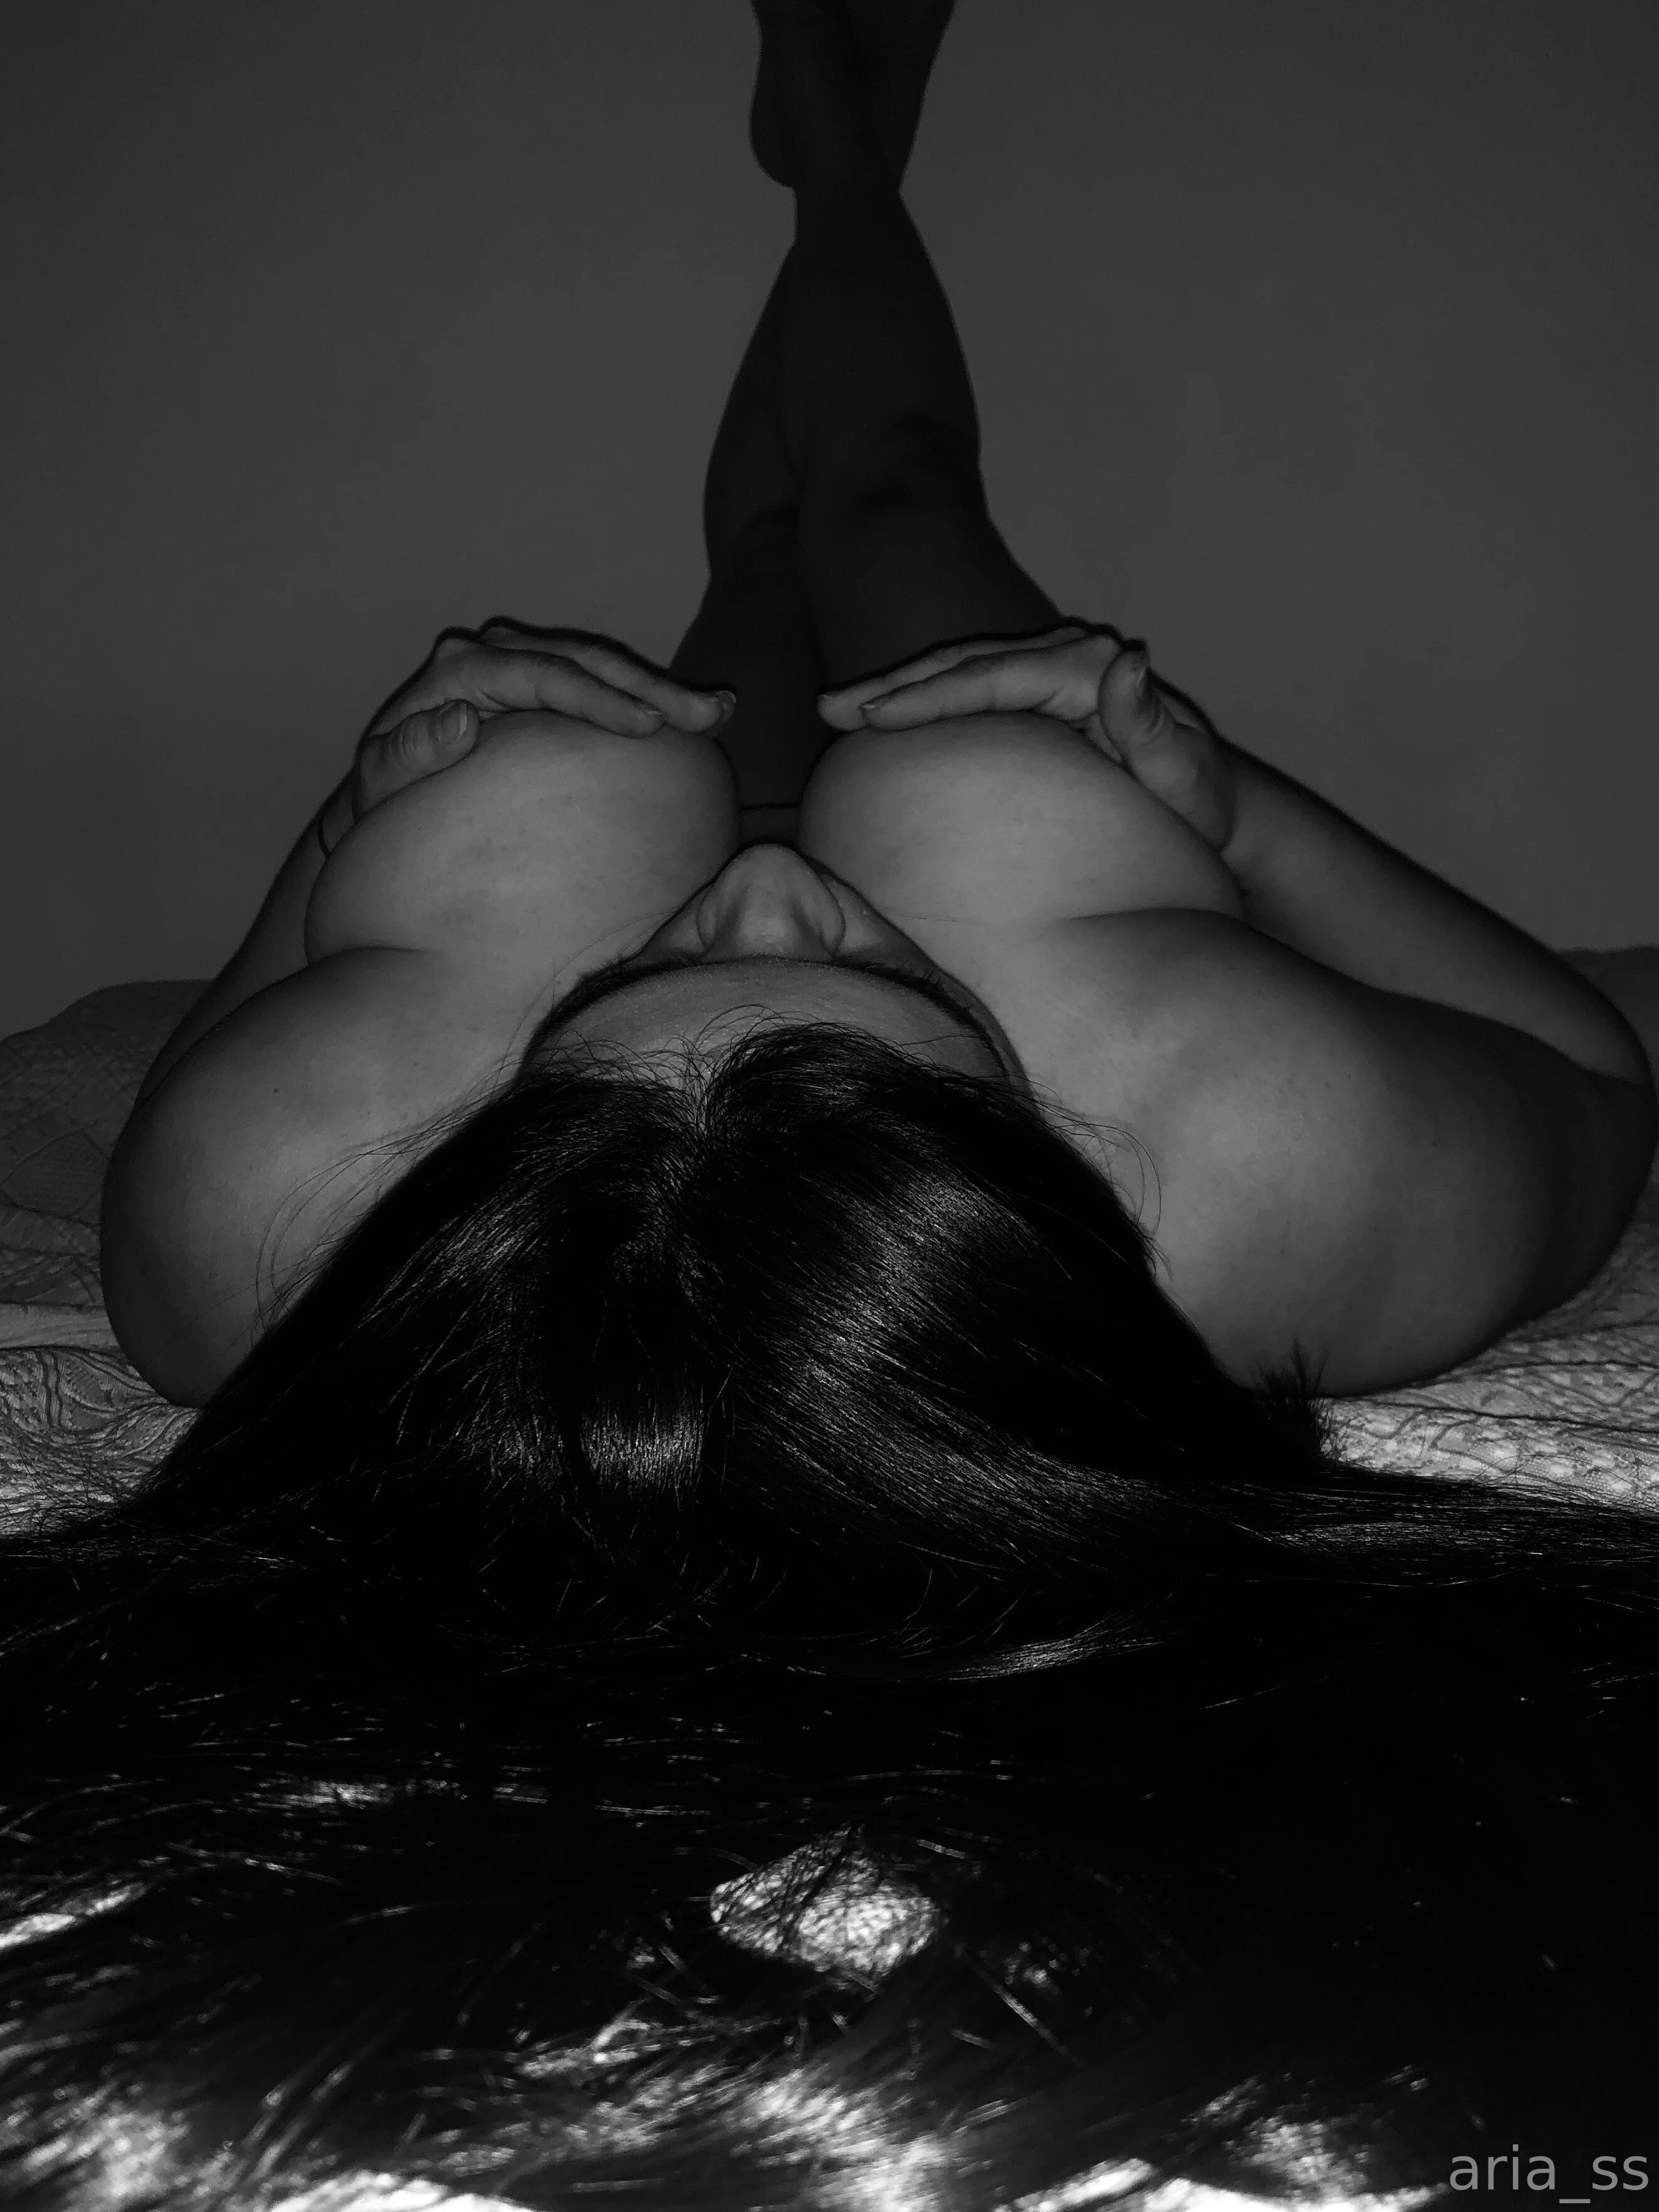
Aria nude Photo / Porn - Photo #2
𝙁𝙄𝙇𝙇 𝙈𝙀 𝙐𝙋 🥧💦 18 yo 😋 nude Photo / Porn - Photo #36

Jazz nude Photo / Porn - Photo #16

Ahsoka Tanhoe's $3 Video Store nude Photo / Porn - Photo #5
Lauren Wild FREE 😈 nude Photo / Porn - Photo #14

Isla Moon✨Free nude Photo / Porn - Photo #9
TooTurntTony nude Photo / Porn - Photo #11

Yessenia loch nude Photo / Porn - Photo #12

𝐁𝐁𝐘𝐆𝐈𝐑𝐋❤️ nude Photo / Porn - Photo #31

Blanquita nude Photo / Porn - Photo #3
Profiles